Basic Blowout How To
Among the ever-changing styles that come and go, there are some basic styling techniques that should be staples in any woman’s arsenal. Apart from being able to safely and effectively use curling irons, hot rollers and flat irons, or to wrap a wet-set, every woman should understand the basics of the "blowout."
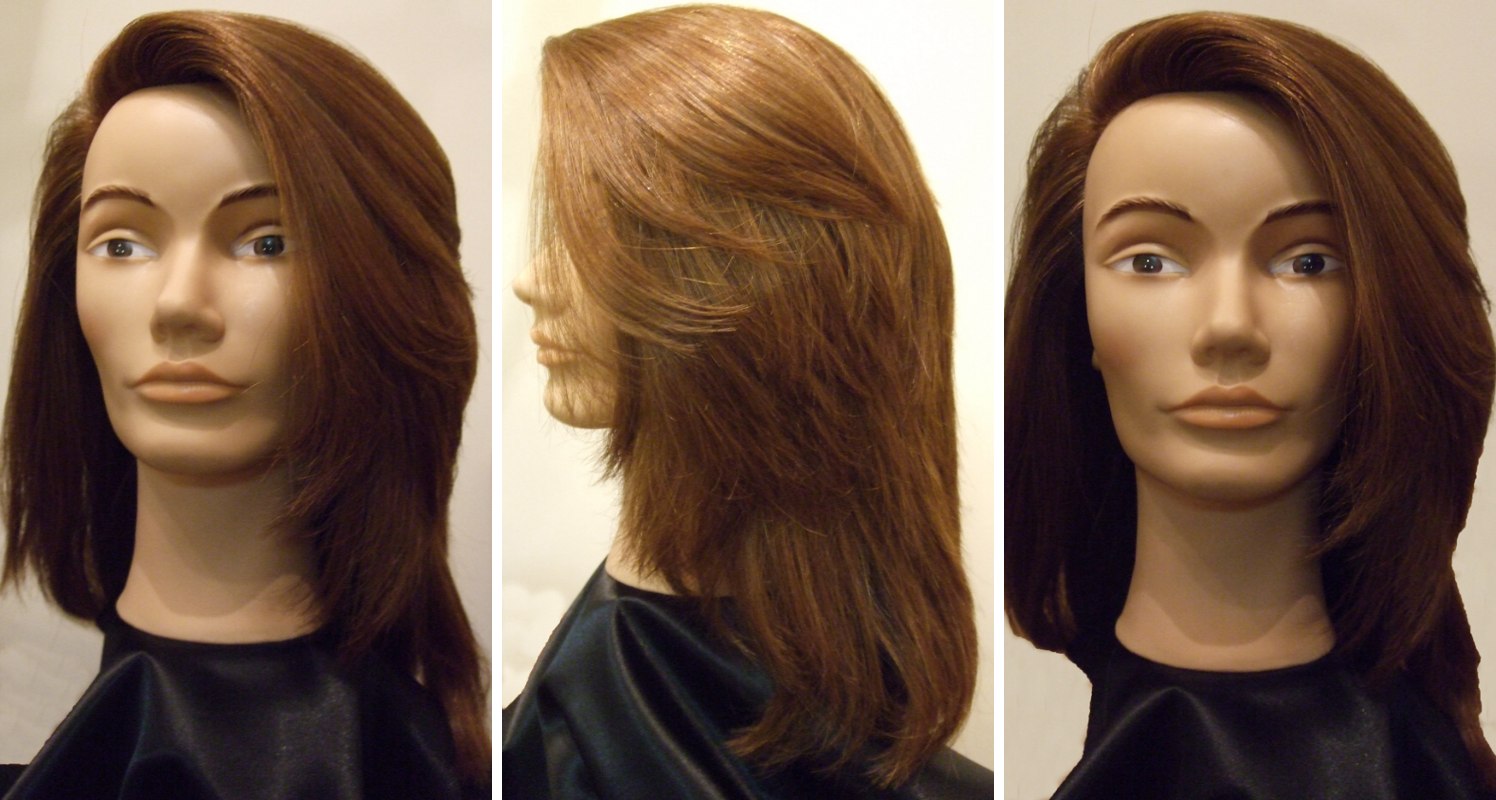
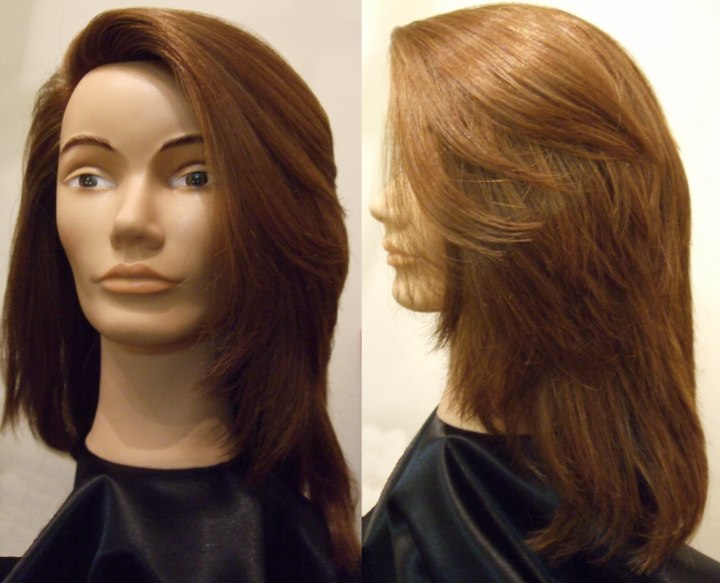
Now, you probably think of the blowout as just "drying the hair," but in actuality, the blowout is a styling technique, and when done properly, you can create soft, gentle curves in the hair. A proper blowout can add fullness and volume to the hair, can straighten curls, and can even add shine. We’ll go over a few simple tools you need, and then take you through the blowout process.
• Clean, conditioned hair
• A Blow Dryer
• Heat-Protective Styling Product (preferably mousse or foam)
• A Comb
• A Vented Brush
• A Round Brush
• Clips for Controlling the Hair
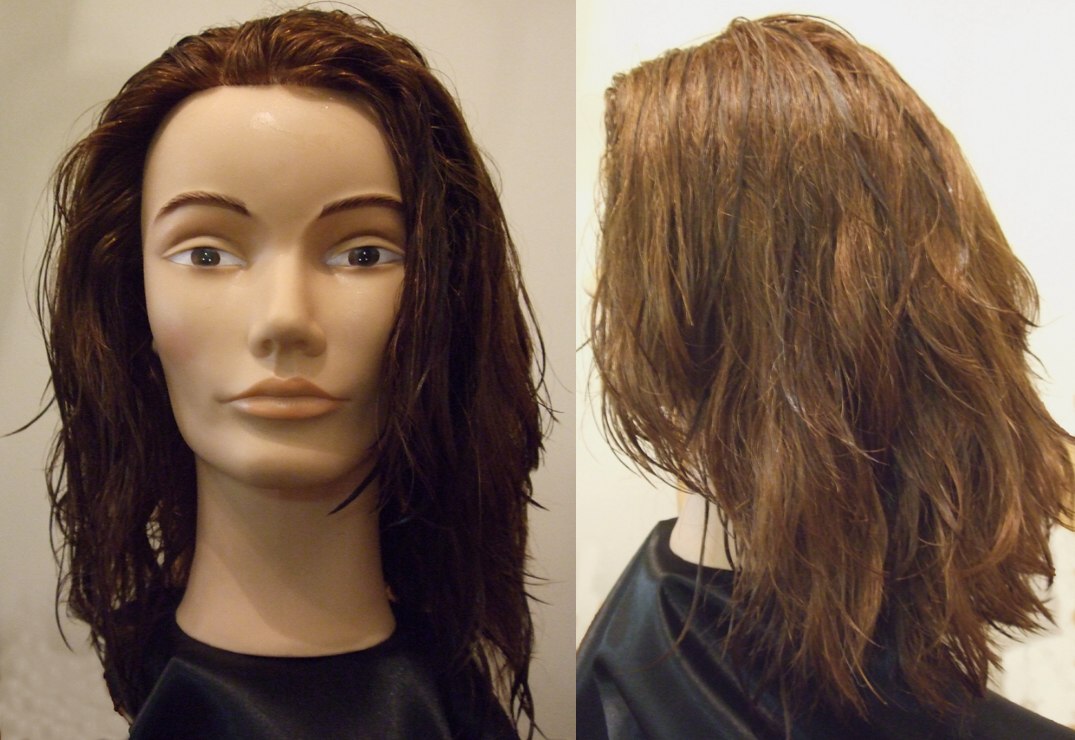
As with many styling demonstrations, we want to start with freshly shampooed and conditioned hair. This ensures an even starting point for our styling. Residual styling products can leave the hair stiff and can alter the look of the hair during the styling process. It's important to know what is in the hair when you're planning to try out new techniques, and it's doubly important to know what is in the hair when you're trying to get a feel for how a technique is supposed to work.
NNow, aside from clean hair, the most important factor in this technique is the blow dryer. Any blow dryer can help you dry your hair. But if you want to get the best result from a blowout style, you want something that allows you to control the temperature and airflow more than just your basic blow dryer.
You want a hair dryer that offers at least a dual-setting switch on the fan and the temperature. You also want a dryer with a "cool shot" button which disengages the heating element as long as the button is pressed. This allows you to change the temperature of the airflow to cool and "lock" a bend in the hair.
The vented and round hair brushes are for drying and then styling the hair respectively. The vented brush is called such because it has vents in its base that allow air to circulate through the brush and dry the hair more quickly.
The round brush typically has a metal or ceramic barrel at its base that is designed to retain heat and allow you to reshape the hair shaft along the curve of the barrel. It’s this barrel curvature that allows the hair to be shaped into soft curves. Just as with rollers, you want the barrel of your round brush to be larger depending on the length of your hair.
How To:
Once the hair has been shampooed, conditioned, and towel-dried, apply a generous amount of your protective/styling product and comb it through evenly. Next take your comb and your hair clips and divide the hair into thirds vertically. Gather the top third of the hair of the head and twist it into a coil and clip it in place. The middle third of the hair should be separated into left and right sides. Leave the lower third hanging loose and comb it to remove any tangles and make sure the product is distributed evenly – adding more as needed.
Start blow-drying the hair using low heat and high airflow. Draw the vented brush through the hair to separate the strands and keep the hair and dryer moving constantly. The goal is to gently dissipate the water from the hair and get it to a "mostly dry" state. Once the hair is "mostly dry," you want to switch to your round brush and shift your dryer to high heat and low air flow.
Use the round brush and pull the hair taut as you direct the hot air along the length of the shaft in the direction the hair grows. You never want to blow the air toward the scalp along the hair shaft.
{PRO TIP: The secret to blow dry straightening is this: TENSION. You need a brush that is going to pull the hair taut as you blow the hot air along its length. If you have fine hair and can’t seem to get your hair straight with a blow-dryer, this is probably why. If necessary, use a brush with natural fiber bristles to get the desired tension. Furthermore, for truly straight hair in a blowout style, use a flat paddle brush. We’re demoing the round brush look because we want a gentle curve to the hair.}
If you want to add extra fullness to the hair, use your round brush and hold segments of the hair taut near the scalp while you direct the airflow to warm the hair. Once the hair is warmed, hit the cool shot button and cool off the hair to set the configuration. This will cause the hair to stand away from the scalp and give volume.
Continue with these steps through the middle and upper thirds of the hair. Take your time and work in smaller sections as you wish. The goal at first is to master the technique, speed will follow with practice. You’ll be happier with spending an extra 20 minutes than you will be with rushing the job and getting less desirable results.
To finish the look, you can actually set a few sharper curves in the hair by using your round brush and cool shot feature. Along the front hairline, try curling the hair around the brush and warming it while you hold the hair taut, then cool the hair and remove the brush. You can create these deep bends along a parting line or simply at the forward hairline to give a more polished look.
Use a similar technique at the ends of the hair by rolling the brush in your fingers to keep the hair wrapped around the barrel of the brush while it is warmed. Cool the hair while you continue rolling the brush to set the bend in the hair. Once you have the look you want, spray the hair lightly with hairspray to keep the style looking smooth and neat.
©Hairfinder.com
See also:
The physical effects of blow drying on the hair structure
How to blow dry hair
How to blow dry hair straight