Balanced Round Graduation
Step by step guide on how to cut a balanced round graduation, from Stacey Broughton, myhairdressers.com
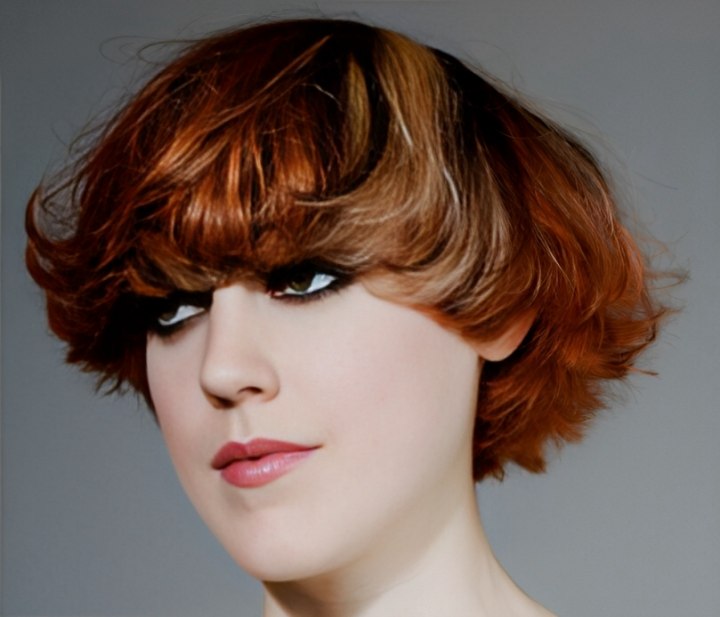
"Hello Halo" is a suitable, balanced, rounded shape, which embraces texture and color, and is compliant with a modern lifestyle. A balanced play between the Noughties and Twenties. Biba-esque and Now!
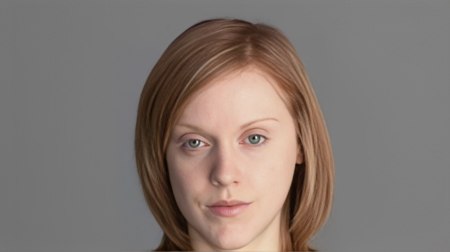
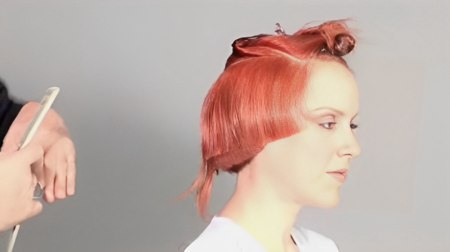
Before: Lauren before the cut.
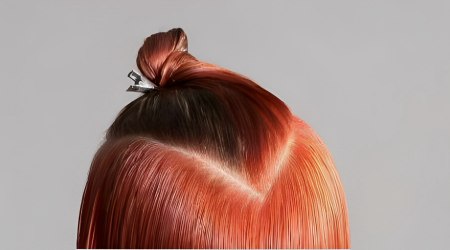
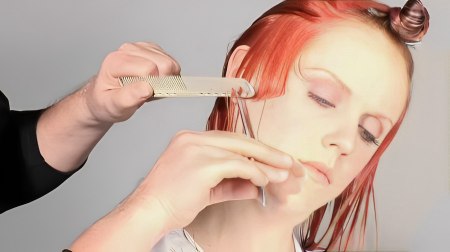
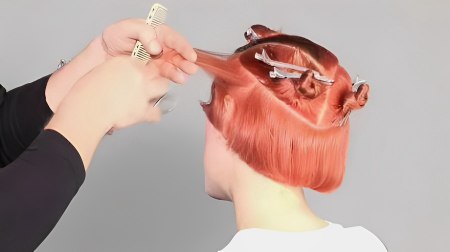
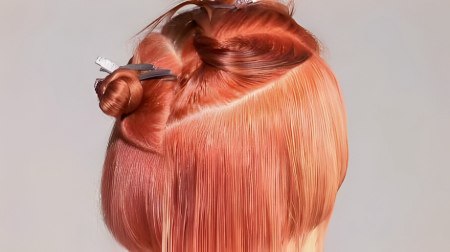
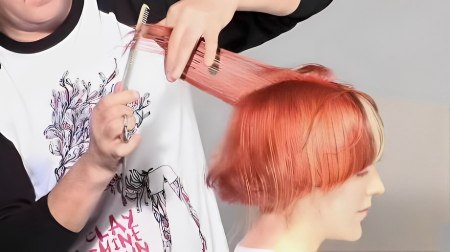
Step 1: The hair is sectioned from the temple working to a point in the crown area, creating a V-shape section.
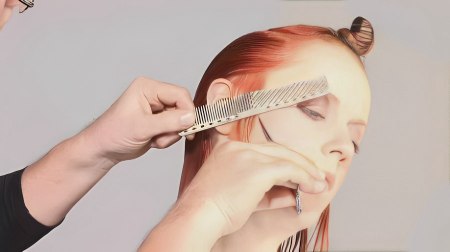
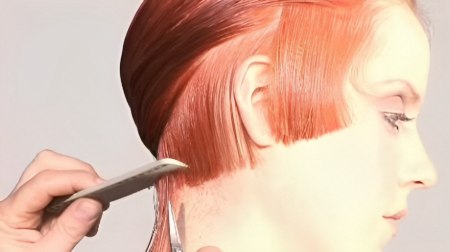
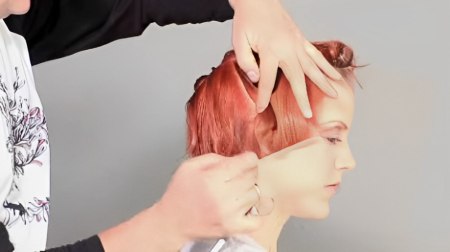
Step 2: Start with a diagonal section from the front hairline, to in front of the ear, resting the comb on the skin and the hair to be accurate with the angle. Point a line towards the tip of the ear. At this stage we need to create weight on the outline.
Step 3: Continue with diagonal sections, following the outline shape, again using a pointing technique. This weighted panel will provide a guide for the back.
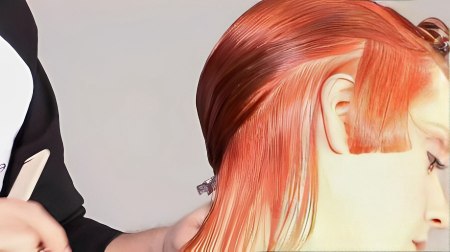
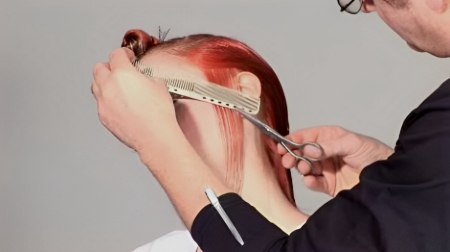
Step 4: Next take a diagonal section around the head from top of the ear to the nape.
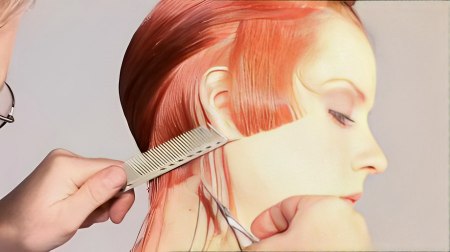
Step 5: With a pointing technique start the section from the middle, working the centre.
Step 6: Next from the centre to the ear.
Step 7: Then from the centre to the back. This ensures a good amount of weight behind the ear and a fluid line.
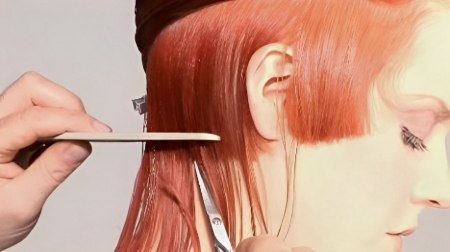
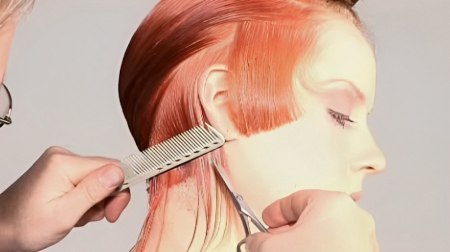
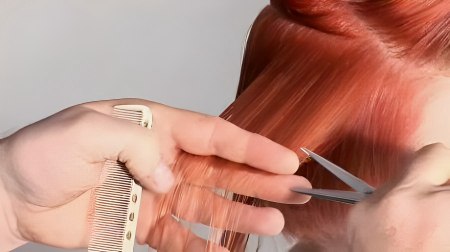
Step 8: The following sections are taken parallel to the outline, these sections are again pointed using the comb as a guide. Establishing the outline is integral to the graduation process, lending a freedom to the movement of the hair, and insuring a clean shape.
Step 9: Repeat this process on the other side, employing your comb as a guide.
Step 10: Be cautious to check the balance between both sides. Notice the sections run parallel to the outline on both sides.
Step 11 You may need to internally check the area over the ear that connects the initial front panel and subsequent sections, to keep the weight and shape over the ear consistent.
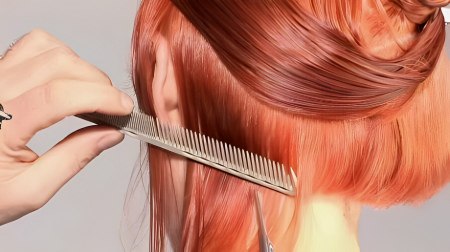
Step 12: Continue with parallel sections, using your outline as a guide.
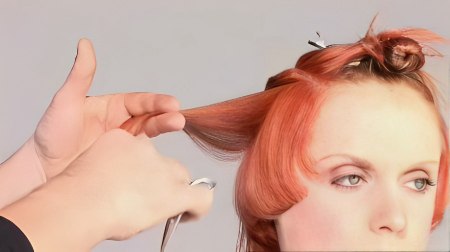
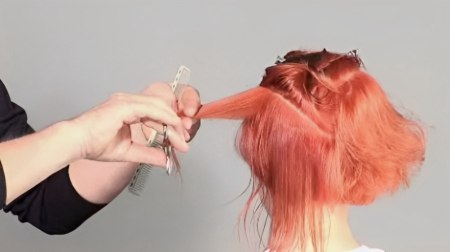
Step 13: Having established the weight on the outline, we move on to graduate the internal shape.
Step 14: Each section is now elevated, creating your graduation and shape, which is determined by the characteristics of the hair you are working with, for example texture and quality.
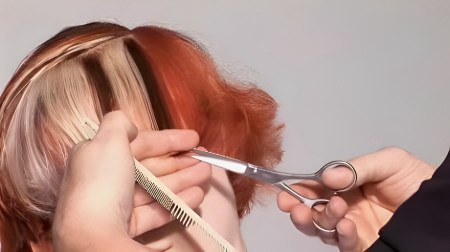
Step 15: We can clearly see how the graduation extends and flows from the front into the back, taking account of the ear area.
Step 16: Next, cross check your shape diagonally. Notice how chosen angle of the hair and the position of the section is tailored to this particular head shape.
Step 17: Repeat the process on the other side. Notice how Stacey is working from wet to dry, embracing the natural texture.

Step 18: Stacey now moves to the top area, initially working with slightly curved horizontal sections. Comb the hair forwards on to the eye line, and, using tension, point a curved outline, starting in the centre and moving out. Notice how the curved line drops below the previous side panels in order to leave room to connect the fringe and the sides separately. This counteracts the weakness of the temple area.
Step 19: Next Stacey connects the temple area.
Step 20: Connect the crown area, using over direction and elevation, using the front as a guide and completing the oval internal shape.
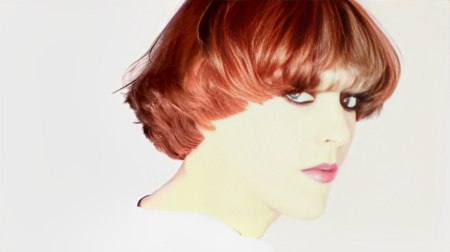
Finish: The finished hairstyle is a suitable balanced rounded shape, which embraces texture and color and is compliant with a modern lifestyle.
Text and photos by MHD. Subscribe to view the training video!
See also:
How to cut a short graduated bob
How to cut a graduated bob with a mix of angles
How to cut a short Debbie Harry influenced hairstyle