Lower Layers of a Shag Cut
A: You've touched on one of the most common challenges stylists face when creating shorter shag cuts, especially on clients with finer hair like yours. The good news is that managing these lower layers is actually much more straightforward than it initially appears, and there are several approaches depending on the specific look you're trying to achieve.
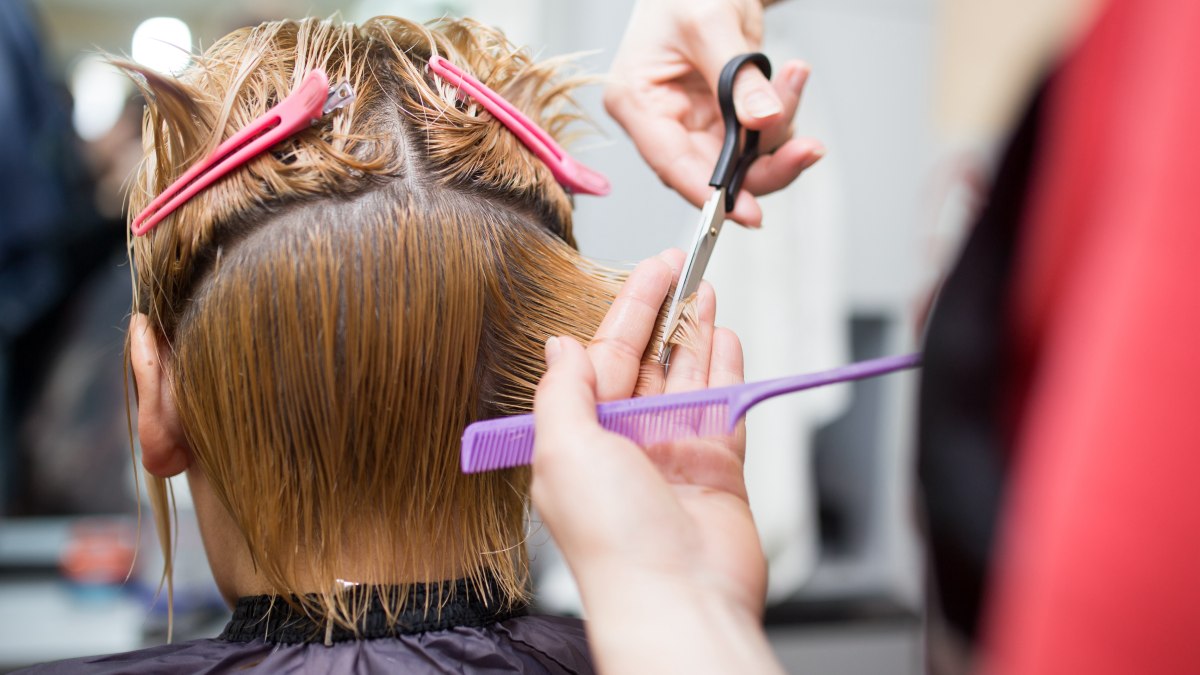
When dealing with sections that won't reach your stationary guide, your elevation angle becomes your primary tool for controlling the final result. If you're aiming for a more structured look with clear separation between the layers, you'll want to work with a lower elevation angle, typically somewhere between 45 to 60 degrees. This approach creates more weight in the lower sections and gives you those distinct layered lines that are characteristic of a classic shag.
On the other hand, if you prefer a softer, more blended appearance that maintains the shag's signature movement without harsh lines, you should increase your elevation to at least 90 degrees or even slightly beyond. This technique allows the lower layers to blend more seamlessly with the lengths you've already established through your stationary guide. The higher elevation removes more length from the interior while preserving length at the perimeter, creating that wispy, lived-in texture that makes shags so appealing.
For hair like yours that's on the finer side, I'd recommend leaning toward the higher elevation approach. Fine hair tends to show cutting lines more readily than coarser textures, so the blended technique will give you a more forgiving result that grows out gracefully. The additional body from your color treatment will help support the layers and prevent them from falling flat against your head.
Another crucial consideration is the sectioning pattern you use for these lower layers. Rather than taking large, uniform sections, try working with smaller, more manageable pieces that allow you to maintain consistent tension and control. This is important when working at higher elevations, as it ensures each section receives the appropriate amount of graduation.
Once you've established your basic layer structure, point cutting or razor work can further refine the texture and movement. A razor tool is exceptional for creating that soft, feathered edge that's synonymous with beautiful shag cuts. When using a razor on fine hair, work with slightly damp hair and use light, swift strokes to avoid creating too much texture, which can make thin hair appear even thinner.
©Hairfinder.com
See also:
How to cut a shag
How to cut box layers