How to Use a Razor Tool
A: A razor tool is exactly what it sounds like. It's a specialized razor designed specifically for cutting hair. Think of it as a traditionally styled straight razor that's been adapted for hairstyling rather than shaving. The tool features an approximately three-inch blade housed in a fold-out design that's both compact and functional.
It's important to understand that these razors are extremely sharp instruments that can easily cause injury if handled carelessly. Beauty schools recognize this danger and typically don't allow their students to even touch razor tools until they've progressed well into their training program and demonstrated proficiency with scissors and other basic cutting tools.
You can purchase straight razors designed for haircutting at virtually any barber or beauty supply store, both in physical locations and online. A basic starter razor suitable for beginners typically costs around ten to fifteen dollars and usually comes packaged with a set of replacement blades to get you started. As you advance in skill, you might want to invest in higher-quality tools, but a basic model is perfectly adequate for learning fundamental techniques.
The proper way to hold a razor tool requires specific finger positioning for both safety and control. Your thumb should be placed beneath and slightly beside the blade for stability and leverage. Your index and middle fingers rest on top of the tool on the blade side of the protective cover, providing precise guidance during cutting motions. The ring finger fits naturally into the curved tang at the end of the handle, giving you additional control and preventing the tool from slipping during use. The protective cover should be angled upward.
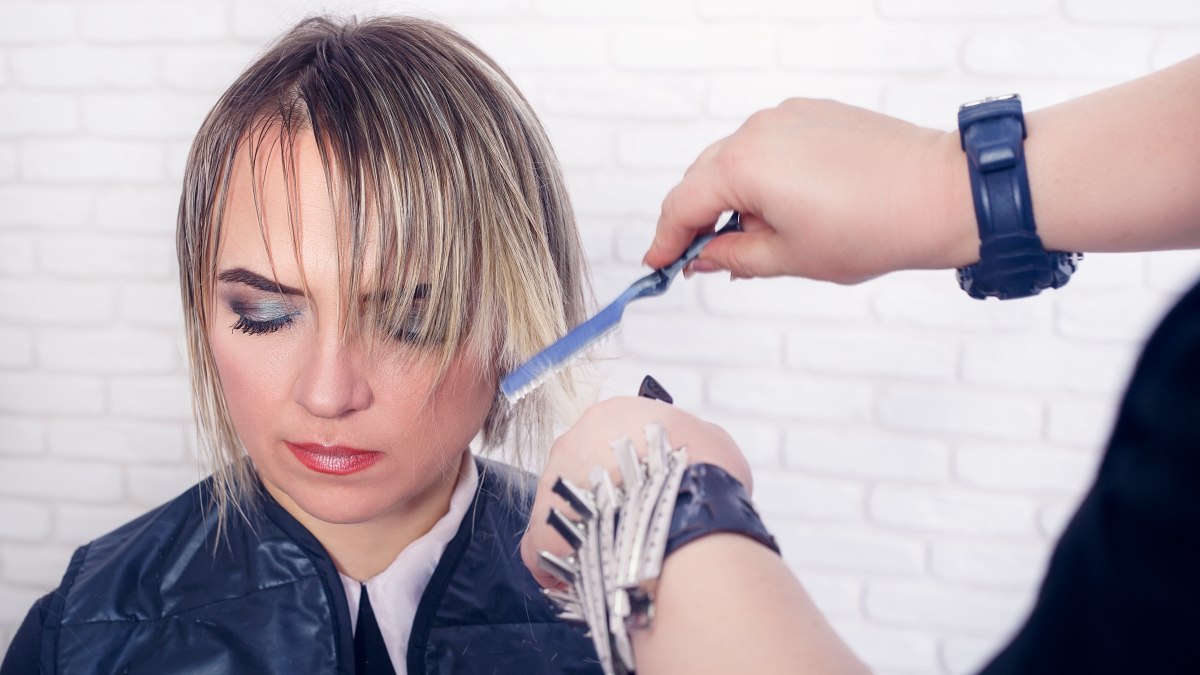
Using a razor creates a distinctly different effect compared to scissors. While scissors create blunt cuts with clean, defined edges, a razor produces softer, more feathered ends. This technique is particularly effective for creating graduated layers, adding texture to thick hair, and achieving that coveted "lived-in" look.
If you're serious about learning razor cutting techniques, I strongly recommend investing in a haircutting mannequin head for practice sessions. These training heads, available at beauty supply stores for around thirty to fifty dollars, allow you to experiment with different techniques and get comfortable with the tool without risking damage to your own hair or that of friends and family members. Working on a mannequin gives you the opportunity to understand how the razor responds to different hair textures, cutting angles, and pressure levels.
Consider taking a professional workshop or online course specifically focused on razor cutting techniques before attempting complex styles. While the tool itself is relatively inexpensive, proper instruction can save you from costly mistakes and help you develop good habits from the start.
©Hairfinder.com
See also:
Is there a difference between getting a razor cut and a scissors cut?
Who should get razor cuts, and who should not?
How to razor cut hair into a shag bob