How to do a Medieval Queen Braid (2)
Previous Page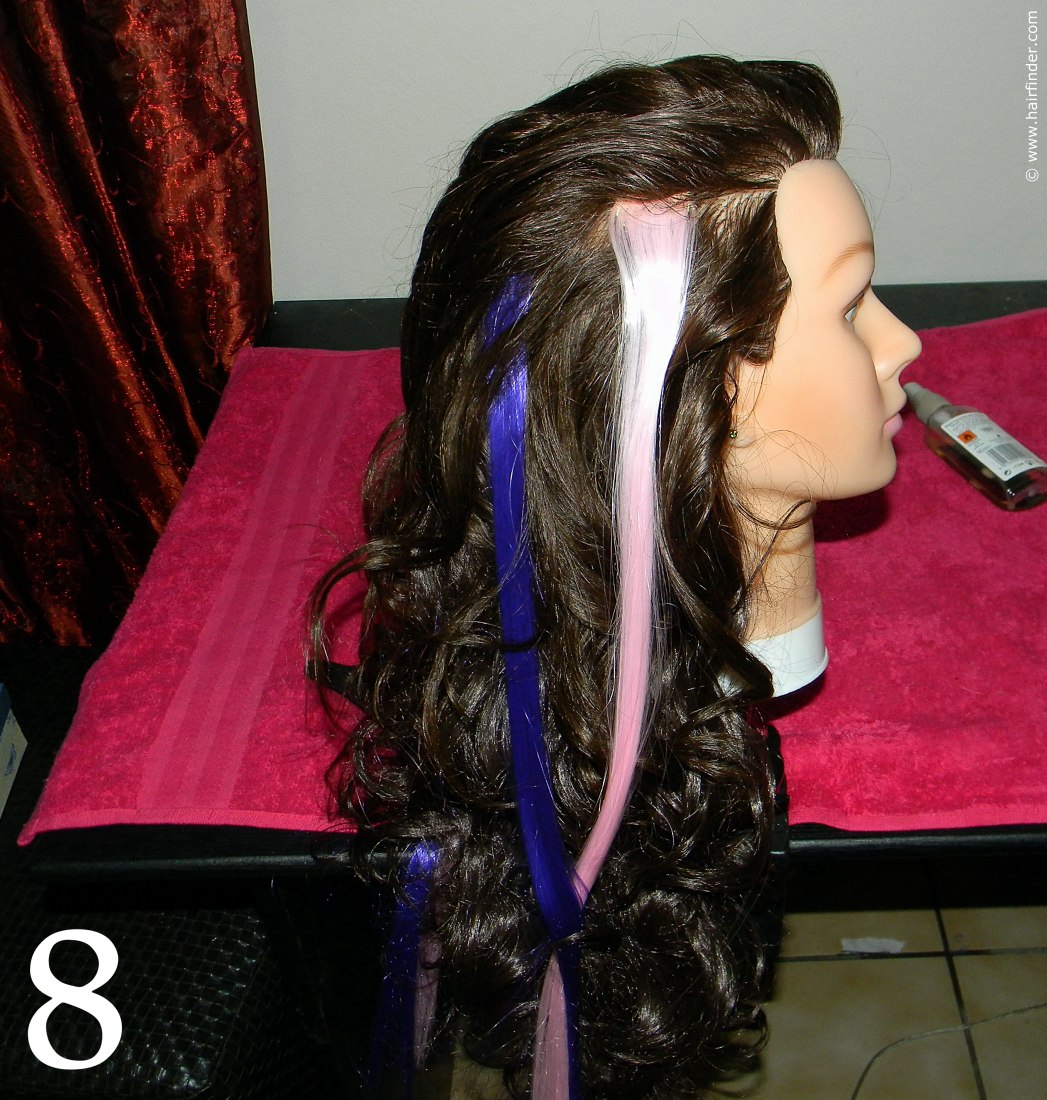 8. Take down the hair that has been clipped to the top part of the hair, and gently comb your fingers through the curls in order to blend the natural and extension hair. Most likely the extensions will not be a perfect
match to your own hair, except if you have it colored to match the exact shade, hue and color of your natural hair.
8. Take down the hair that has been clipped to the top part of the hair, and gently comb your fingers through the curls in order to blend the natural and extension hair. Most likely the extensions will not be a perfect
match to your own hair, except if you have it colored to match the exact shade, hue and color of your natural hair.Most hair is usually lighter on top than at the bottom because of natural elements such as sun and wind affecting the top hair the most, as well as styling methods such as blow-drying and other heat-styling methods. Thus if your extensions are slightly darker than your own hair, this will look quite natural and realistic. Insert the colored extension strips on the sides of the head.
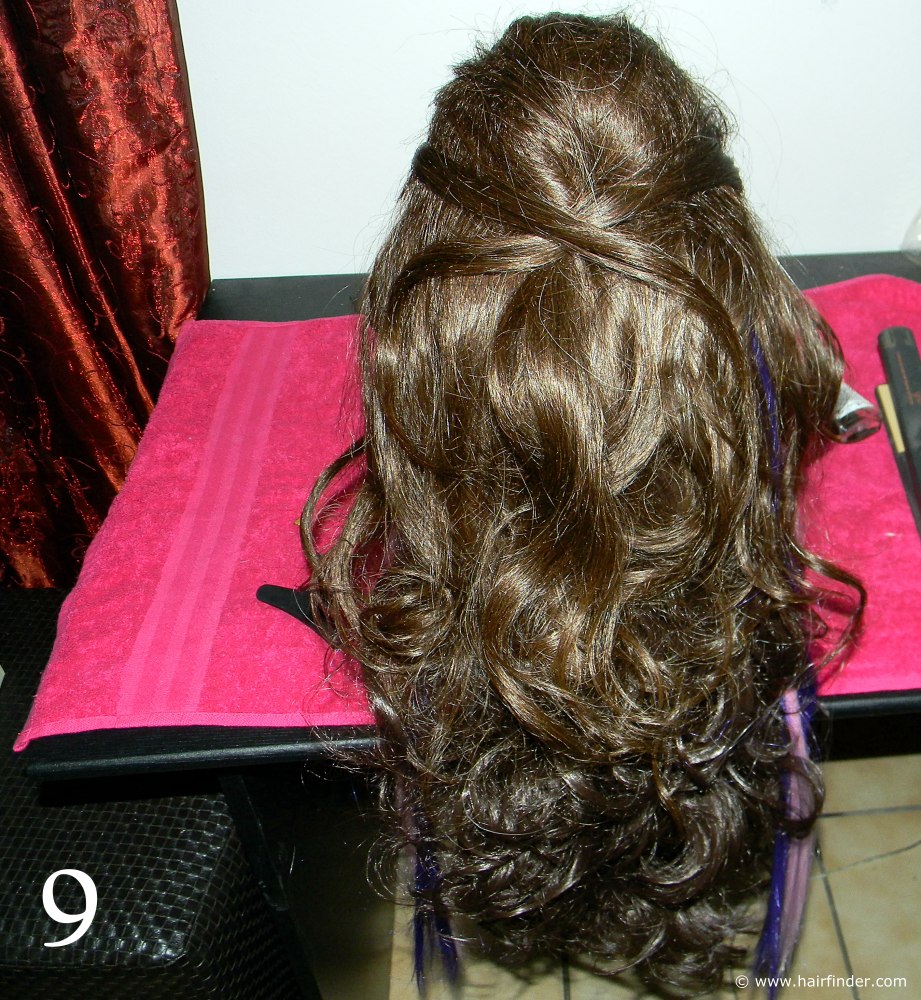
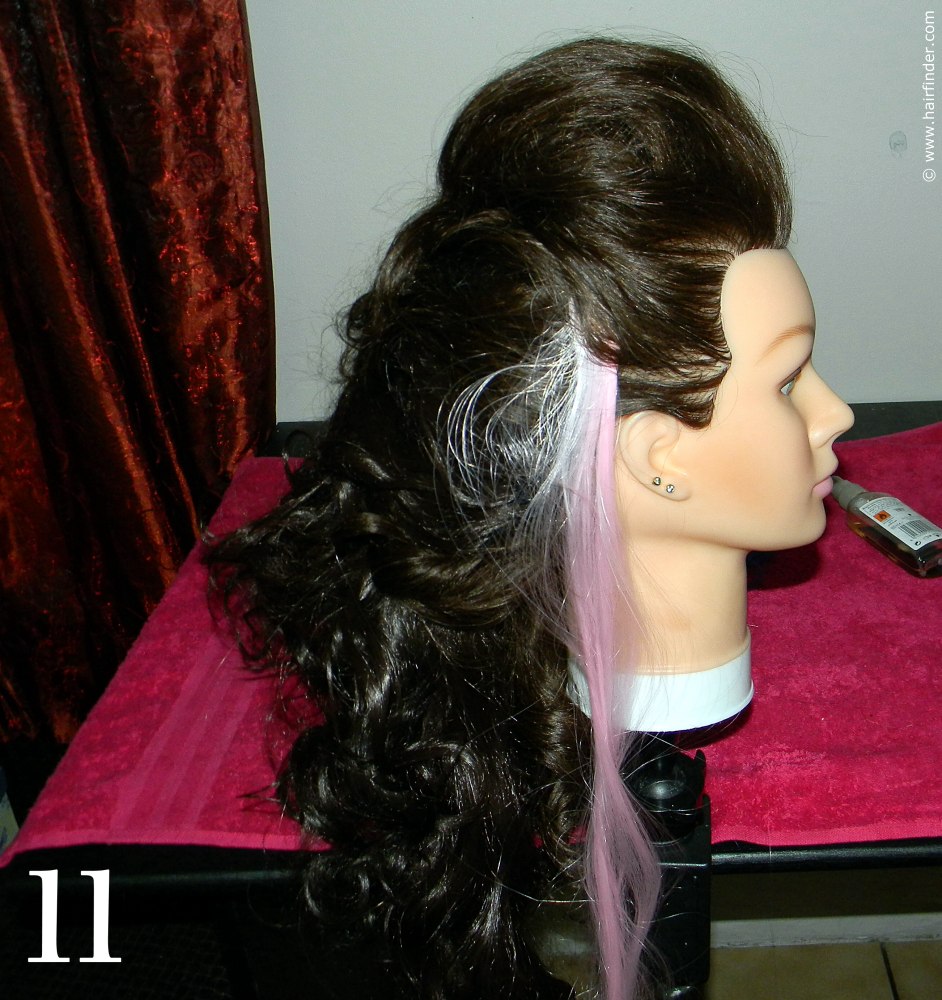
10. Braid a simple three strand plait down the length of the model’s hair. The braid needn’t be tight or too perfect. Have a look at movies featuring medieval heroines, and you’ll see that our common perception of their hair is that they wore it in everyday braids that were relatively loose, with generous amounts of hair and thin wisps of it escaping the braid while riding a horse, attacking the enemy or seducing a king. Note that the colored strips of extensions are left separate at this stage.
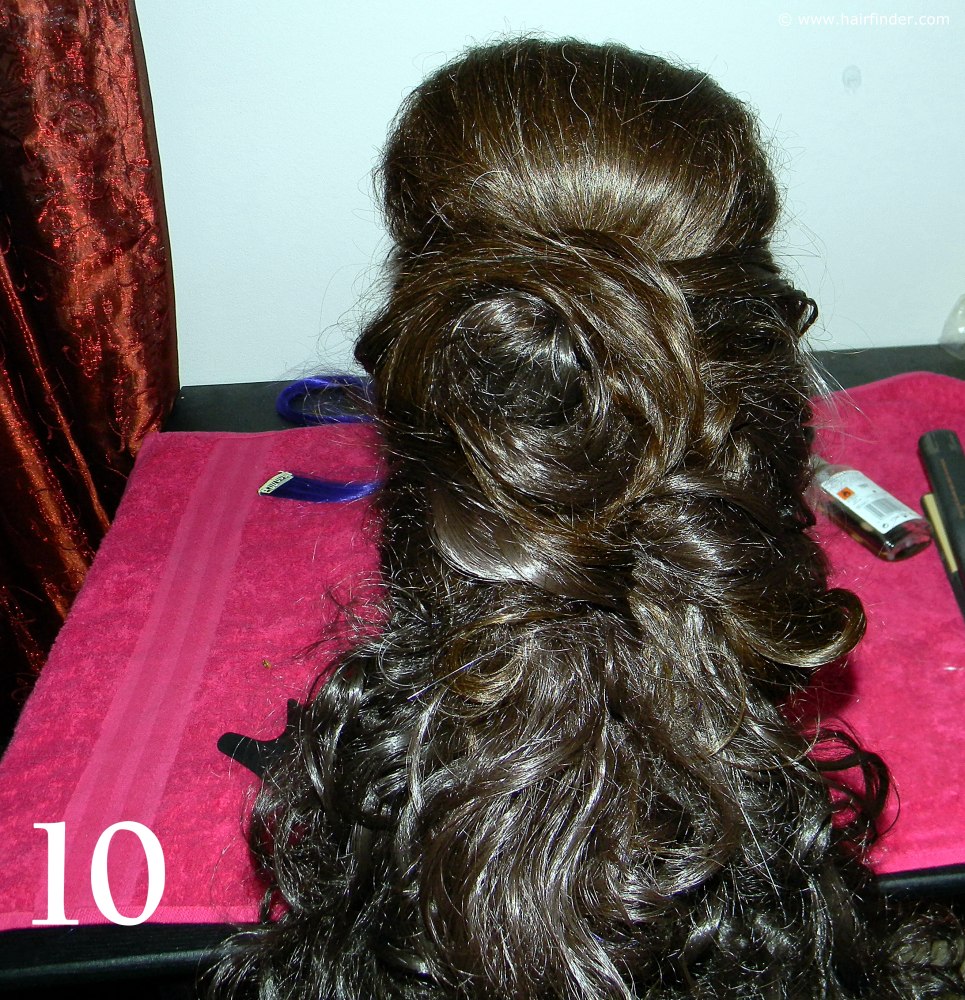
11. Note the exaggerated height of the bubble, and that the strands of the braid originate from the outer fringes of the model’s hairline. This is to create a braid that spans the whole surface of her head, making it more impressive and lush in comparison with a central-based, tightly woven braid.
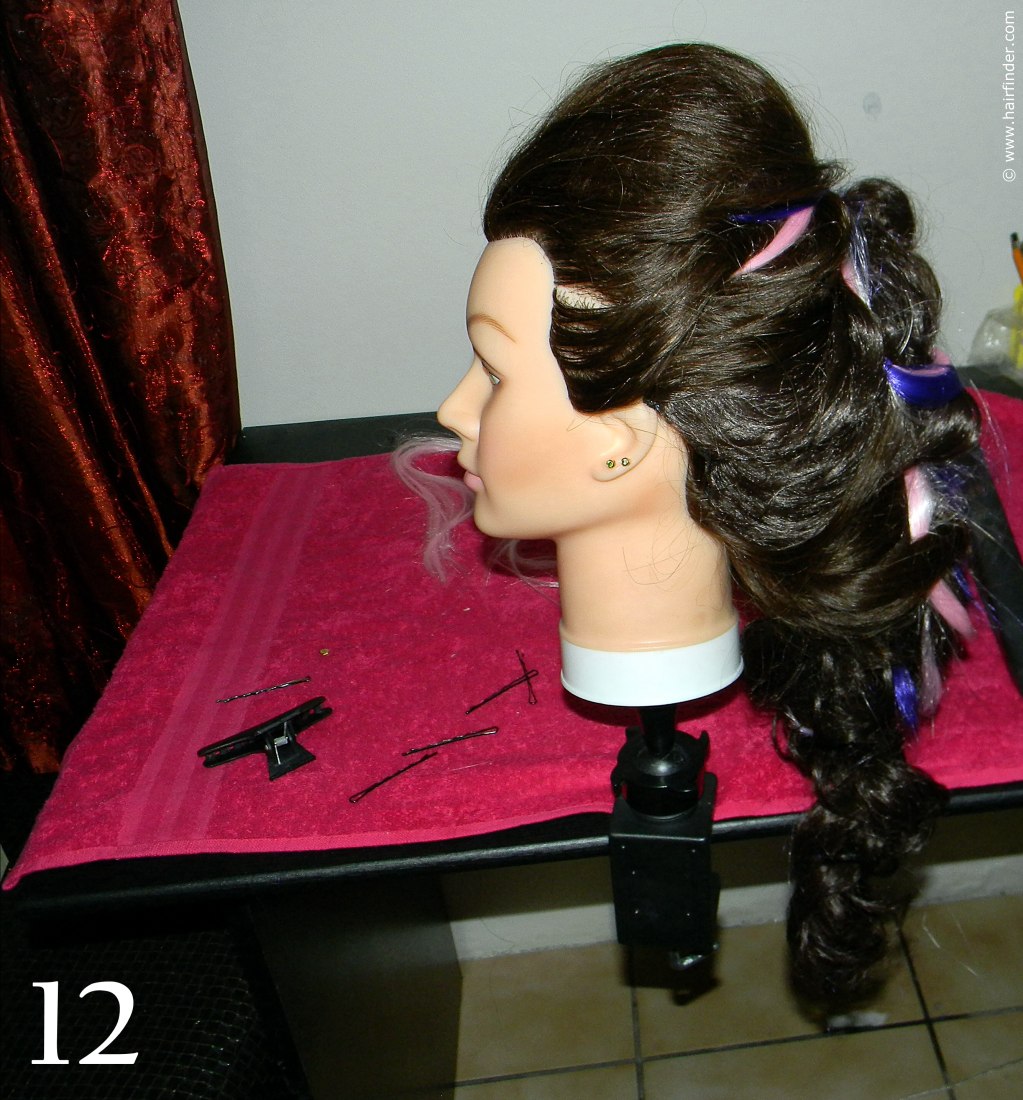
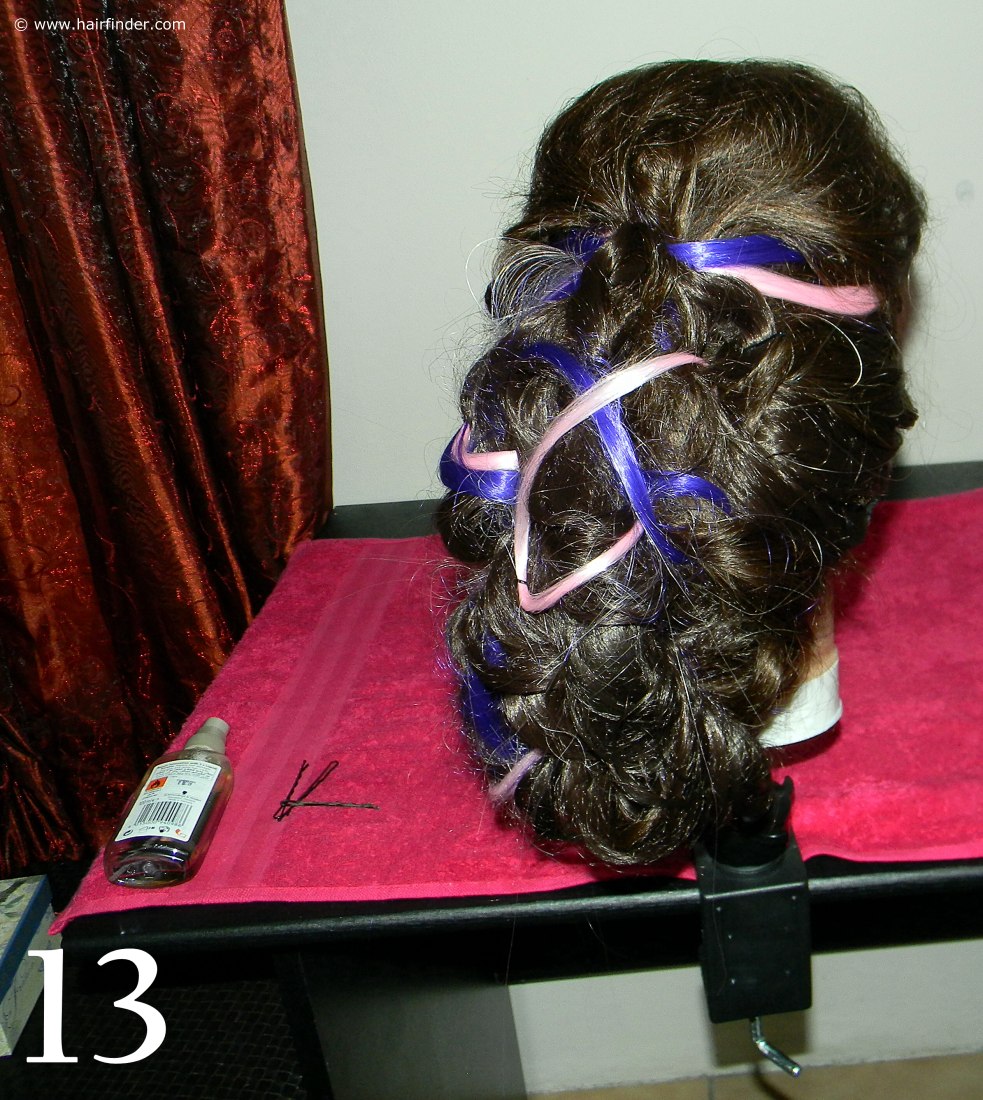
12. After you have completed the braid, secure the tip with a clip. Weave the colored strips of hair extensions still hanging separately to the sides, into the braid. While you’re doing this, you’ll use your fingertips to gently pull out strands of hair to create dimension and depth to the braid, as well as making space to weave the colored strips of hair through your braid. Do this in such a manner that you do not compromise the structural stability and balance of your style, yet creating the illusion of almost impossible thick and lush hair.
 13. Secure the braid with the placement of disguised bobby pins to the side of the model’s head. The braid should rest along the side of the model’s neck, to ensure maximum visual effect from the front and side, as well
as aesthetic equilibrium and inclination.
13. Secure the braid with the placement of disguised bobby pins to the side of the model’s head. The braid should rest along the side of the model’s neck, to ensure maximum visual effect from the front and side, as well
as aesthetic equilibrium and inclination.Note that this is a lot of hair to work with, which makes the style heavy and complicated. Make sure that you use enough hair pins and hairspray to ensure that the hair will not fall out or relax.
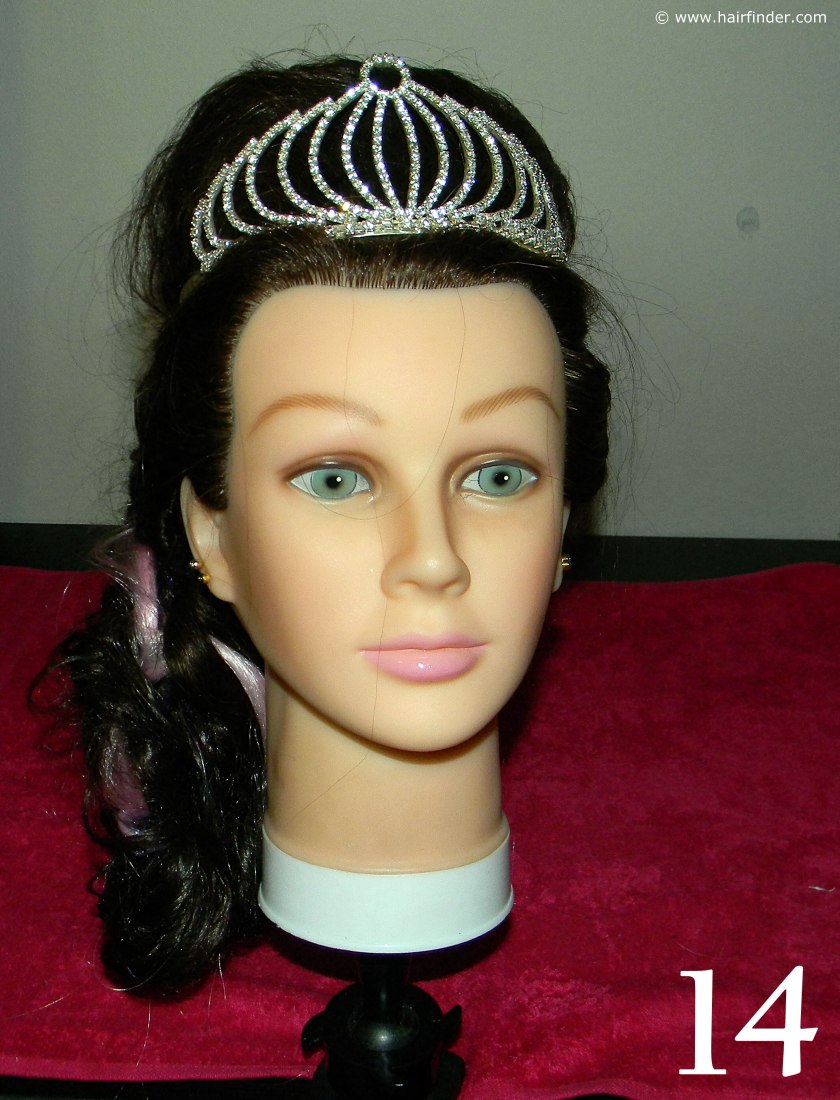
14. Insert a tiara along the front base of the bubble. Position the tiara in such a manner that you do not lose the balance and structure of the style. Note that the bubble’s height still exceeds that of the tiara, lending a sense of elegance and superiority to the style.
End off the style with a silicon-based hairspray to add a healthy glean and shine to the style, while simultaneously blocking out any humidity or moisture that may be present in the air.
© www.hairfinder.com
See also:
How to do the Romantic Side-Braid
Hairline Braid with a Twisted Bun