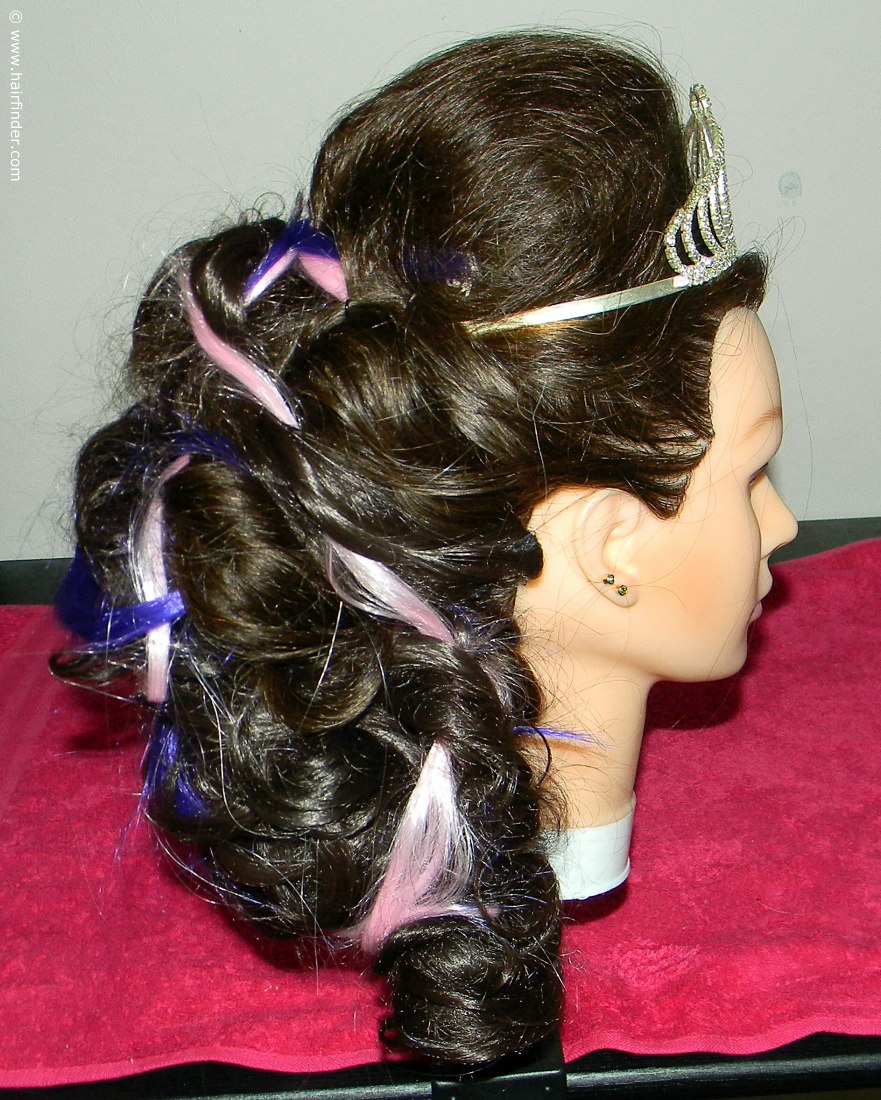
How to do a Medieval Queen Braid
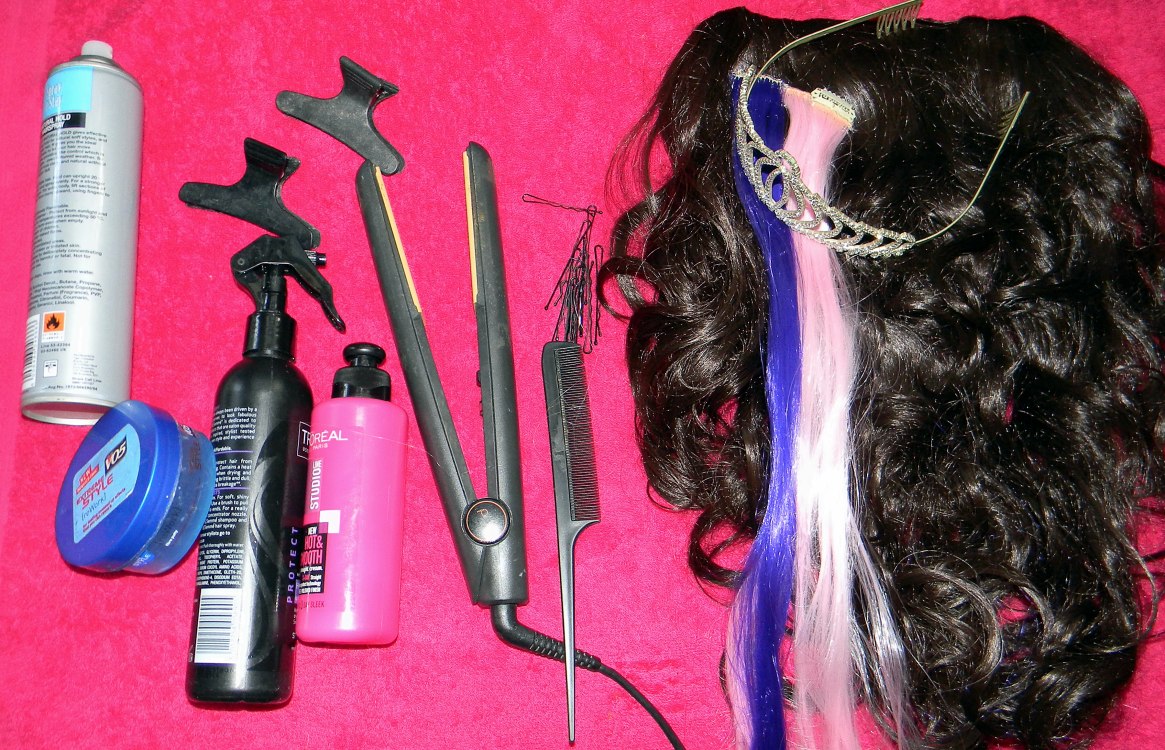
1. What you will need:- Colored strips of hair extensions
- A thick and lengthy one-piece hair extension/half wig extension
- Heat-protection spray + Strong-hold hairspray
- Tiara + Combs + Clips + Bobby pins

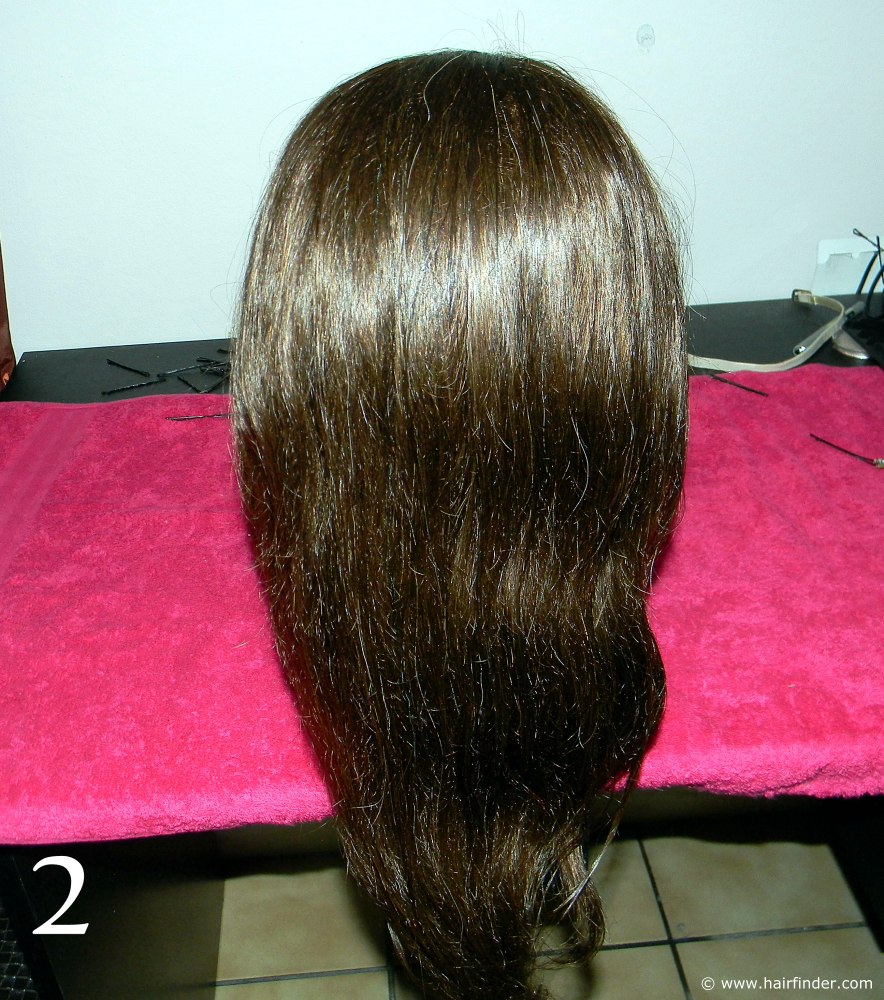
2. Comb the hair backwards from the face. Note that we use dry clean hair for this hairstyle. Hair that has been washed the day before usually works best for up styles; as the hair is still clean, yet a thin layer of sebum has formed on the surface of the hair. The sebum makes the styling easier as the hairs stick to each other slightly, making for easier up styling.
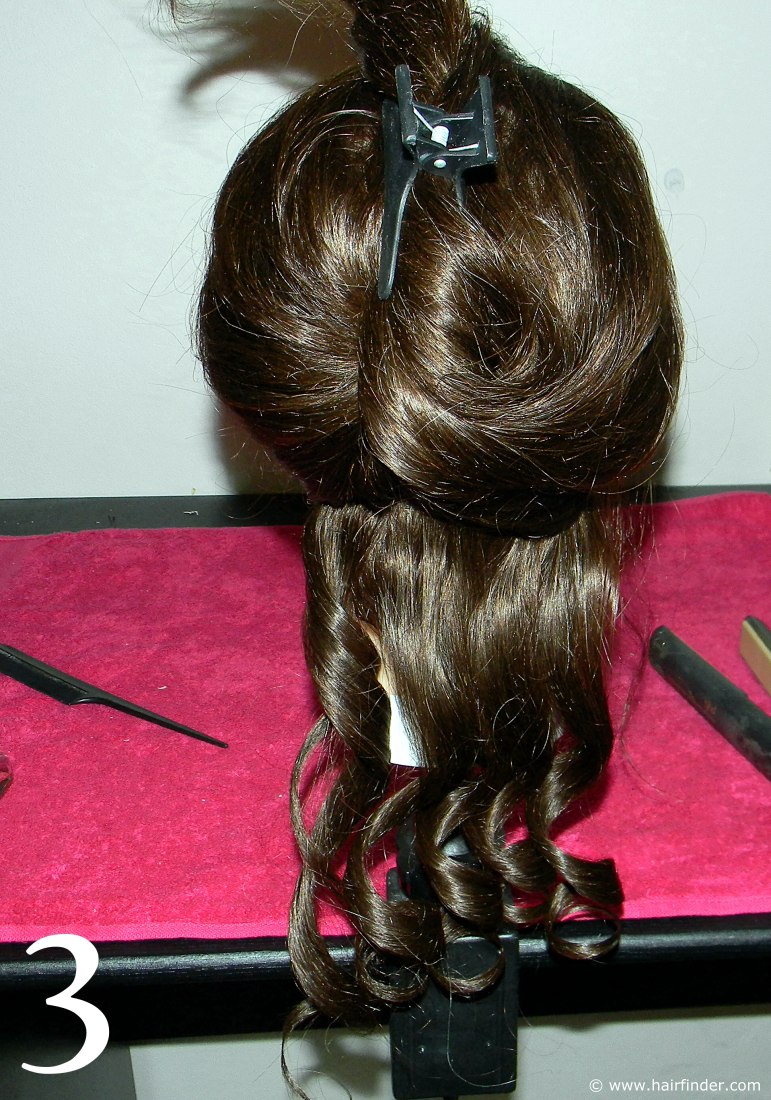
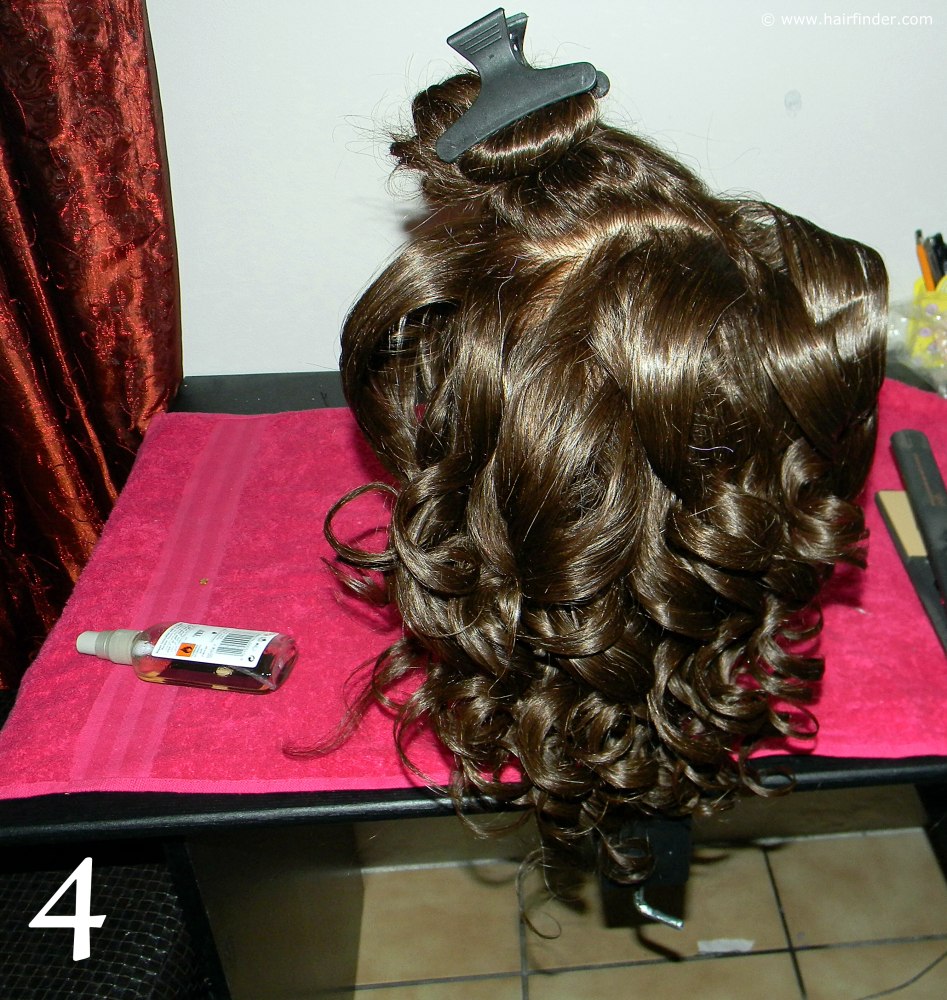
Then use the tips of your fingers to separate a section of about one inch in breadth of hair from the bottom section. Use your flat iron or curling iron to create a curl; starting the curling process from the base to the tip of the hair. Repeat this process until the whole of your first section has been curled. When you’re finished, spray the curls with a strong-hold hairspray to preserve the curls.
4. Repeat this process all the way to the top. Note that it is easier to section off the crown and top of the model’s hair; using a rectangle shape to section off this top section. This gives you greater control over the hair, and improves the placement of the curls in this segment. Always be careful with heat-procedures and –techniques when working within such a close proximity to the face and ears.
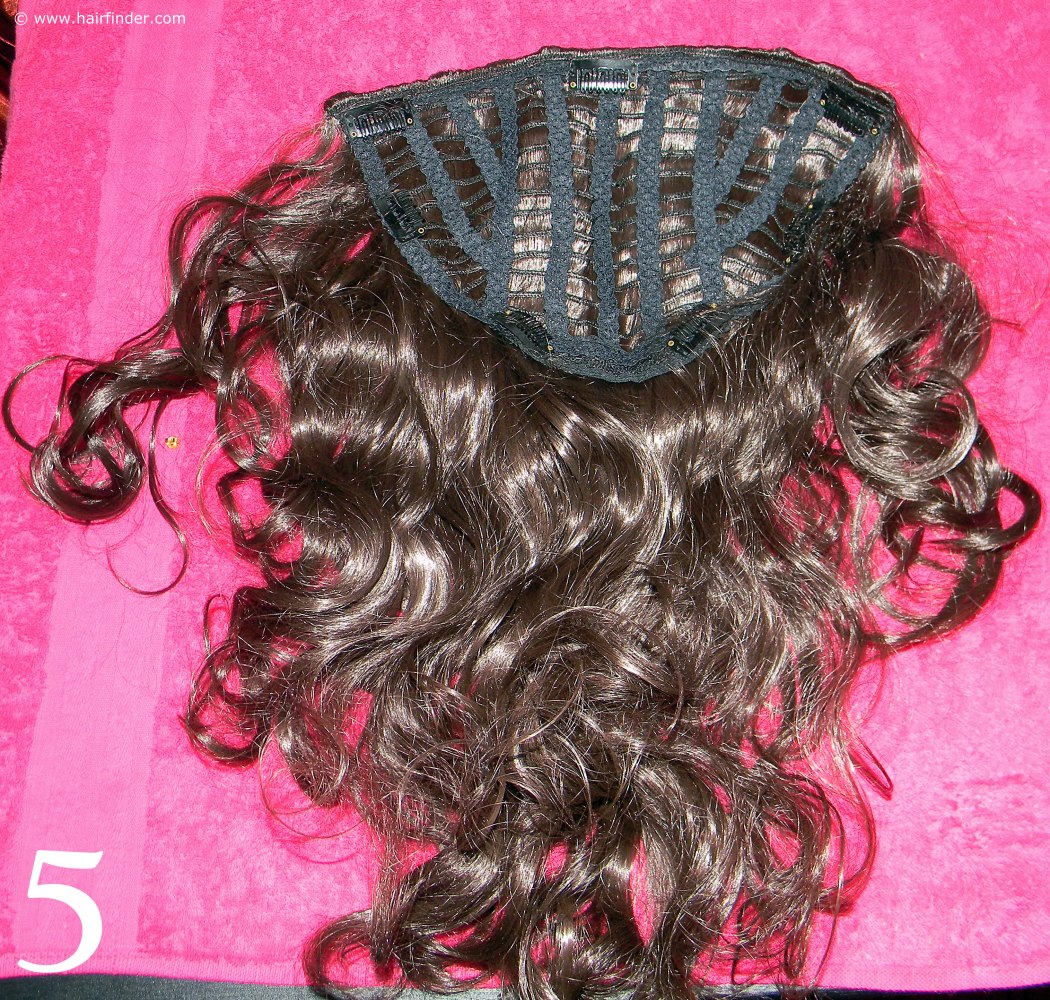
5. Now it’s time to insert the hairpiece you’ll be using to create exaggerated thickness to your style. Remember that two of the main characteristics of medieval queen styles as we know it are its thickness and wonderfully long length.
The extra hairpiece will help you to achieve this. This hairpiece is a half-wig clip in hair extension. It covers literally the lower part of the model’s scalp, which means that the end result is impressively realistic, thick and lush hair.
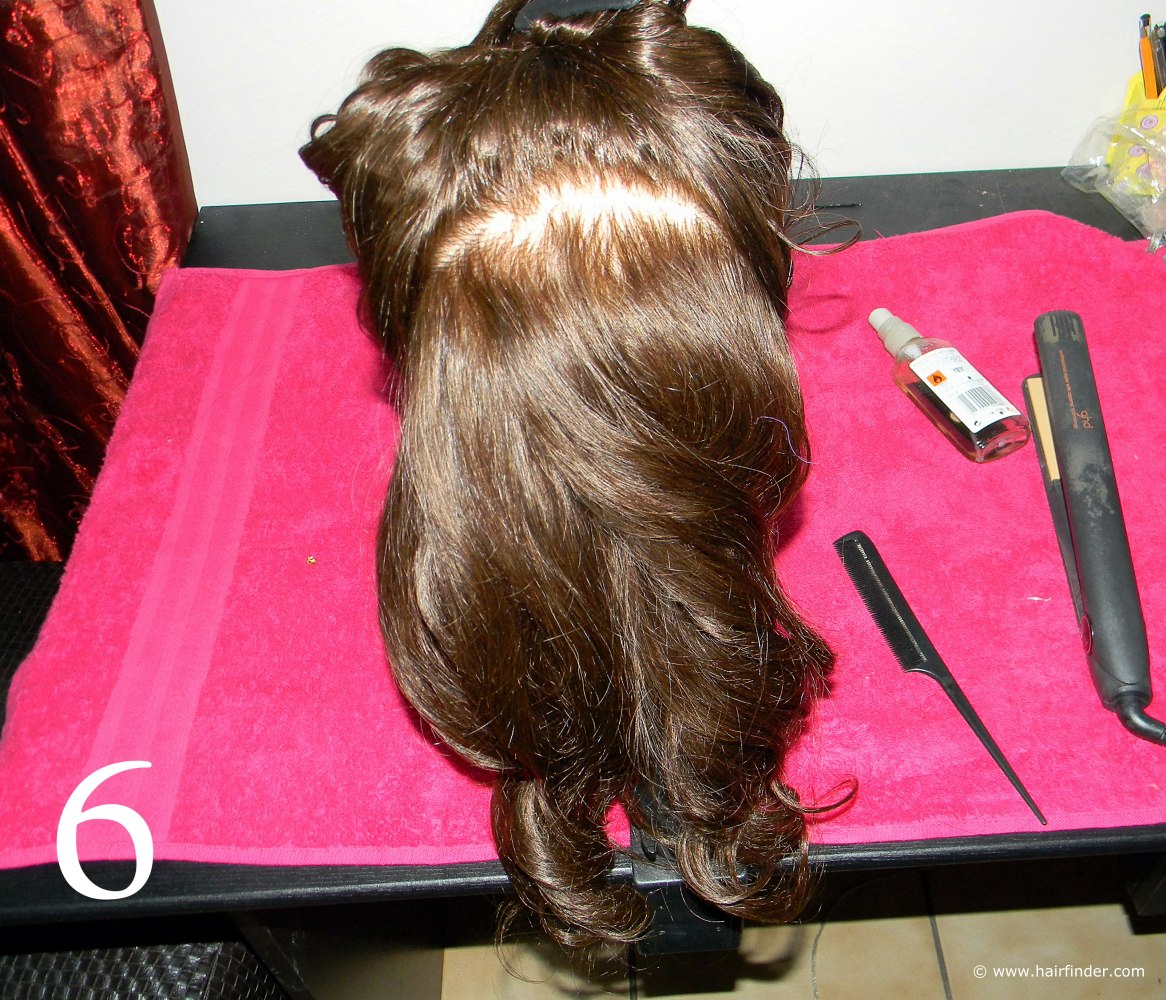
6. Use the sharp end of your tail comb to draw out a section from the one ear to the other in an arched shape. Clip the rest of the hair on top of the model’s head. Slightly comb out the curls that you’ve style in the bottom region of the model’s head, to create more uniform, slightly more relaxed curls. Again spray this region of curls with hairspray.
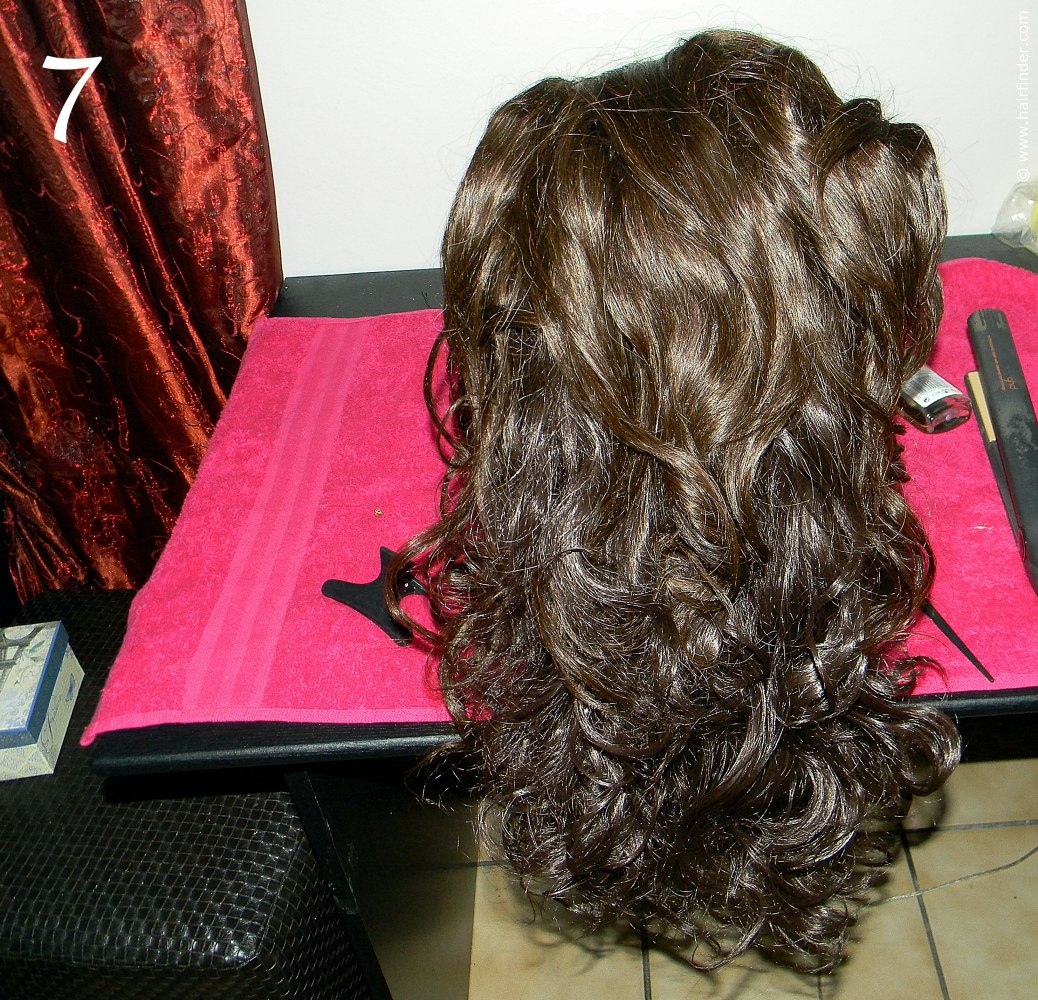
7. Insert the hairpiece, starting from the top clips, working your way to the bottom ones. Repeatedly ask the model whether she is experiencing any discomfort or pain from the extension pulling on individual hair strands. If she does experience pain or discomfort, adjust the piece until she is comfortable.
Remember that those individual strands will continue to pull in a painful manner if adjustments are not made, which means that the model will eventually start pulling the hair strands or the clip-in extension, which will affect the stability of the style and potentially ruin the visual balance and aesthetic value of equilibrium.
Next Page