Short Graduation

Step by step guide on how to cut a short graduation, from Steve Turner, myhairdressers.com. The short graduation is a backbone technique and a foundation to many varied looks.

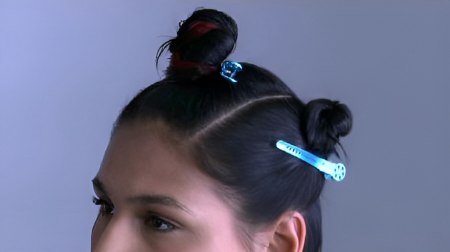
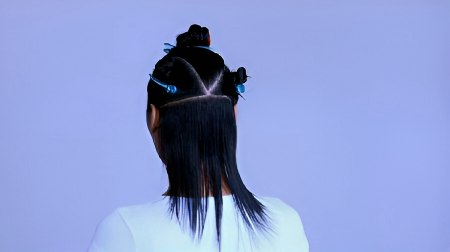
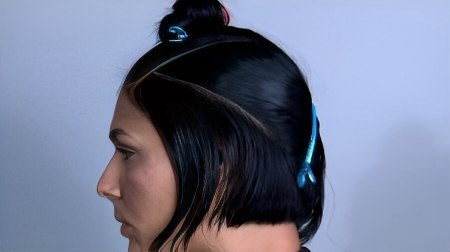
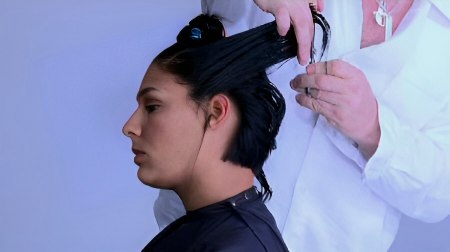
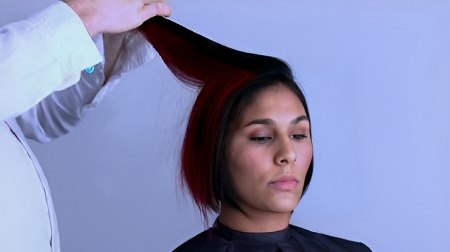
Before: Jade before the cut.
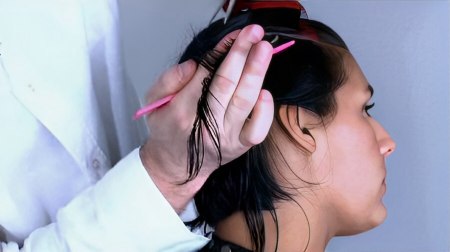
Step 1: First take a section that runs high in the temple area, running right the way down through to below the crown area.
Step 2: Then take a slightly curved horizontal section from this point to behind the ear.
Step 3: Apply appropriate protective clothing.
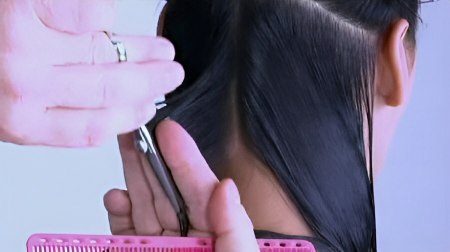
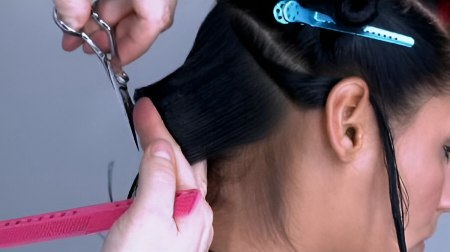
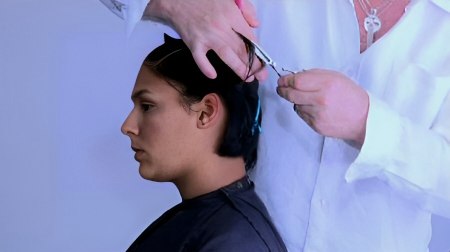
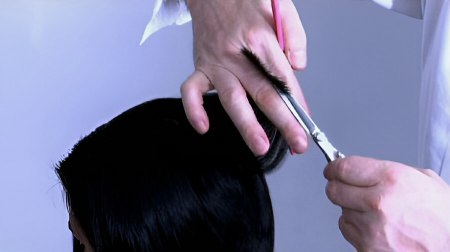
Step 4: Start in the centre-back area, taking a vertical section and cutting a square graduated line.
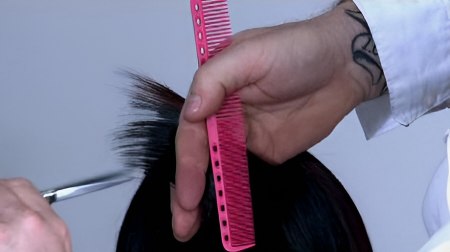
Step 5: Now, take pivoting diagonal sections that move up the centre section, working from the vertical and progressing to the horizontal section line.
Step 6: Now cross-check your work in the opposite manner. Note: Cross-checking is done to refine and not alter the line.
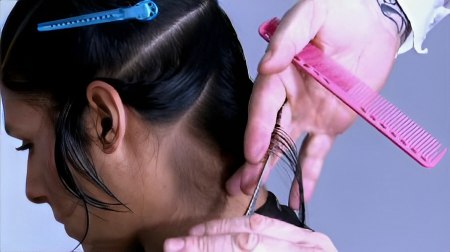
Step 7: Repeat this process on the second side, using the central section as a guide. Maintain awareness of the body and finger positions to ensure proper balance.
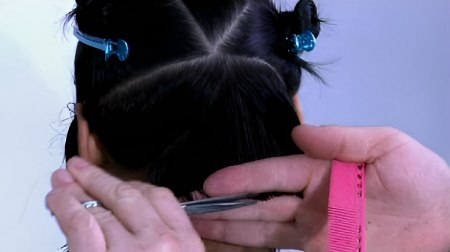
Step 8: After completing four sections on the second side, cross-check your work to assess the flow of balance.
Step 9: Finally cross-check and refine the section.
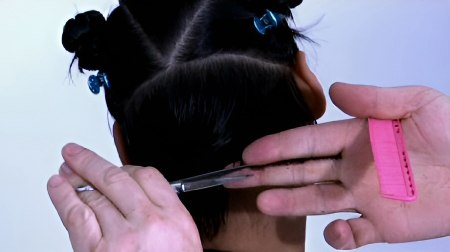
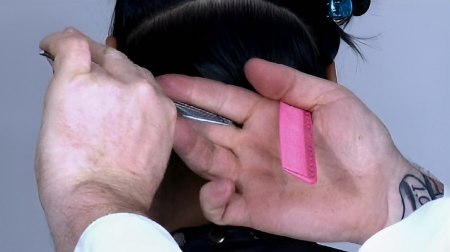
Step 10: Refine the outline shape, using a pointing technique.
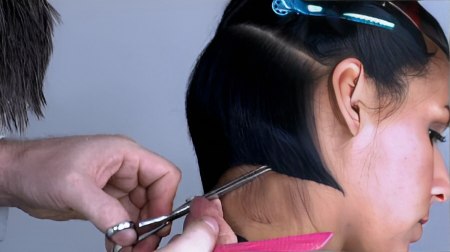
Step 11: Start with the left-hand side area, which is the shorter side of the parting. Work a diagonal section from the front temple area through to behind the ear. Elevate and over-direct back and use the guide in the back section to cut a line from long to short.
Step 12: Notice that, due to the elevation, the perimeter outline is going to have a soft loose edge.
Step 13: Now take subsequent parallel sections through the remaining left side panel, elevating and connecting to the back panel.
Step 14: Repeat this process on the other side.
Step 15: Next, bring down the top section and blow dry the hair. This section is pivoted from the crown, starting vertically and moving towards the front hairline - elevating and over-directing the sections and cutting a square line using the underneath as a guide. The square graduation creates a long front piece.
Step 16: Work through these sections and loosen the haircut, using a pointing technique to reduce weight and produce a flattering slimline shape.
Step 17: Notice how the finger angle has changed from vertical to horizontal.
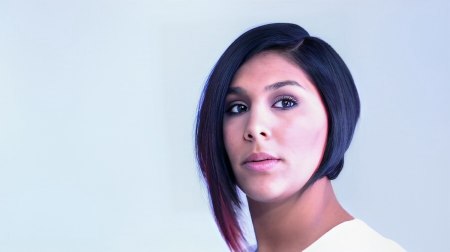
Finish: This is a backbone technique and a foundation to many varied looks.
Text and photos by MHD. Subscribe to view the training video!
See also:
How to cut aninvigorating haircut with uniform layer and pivoting sections
How to cut hair with the basic concave layer technique
How to cut a short graduated haircut with disconnection