Long Graduation
Step by step guide on how to cut hair with the long graduation technique, from Mark Smith, myhairdressers.com. The long graduation is a back bone technique and a foundation to many varied looks.

Before: Carly before the cut.
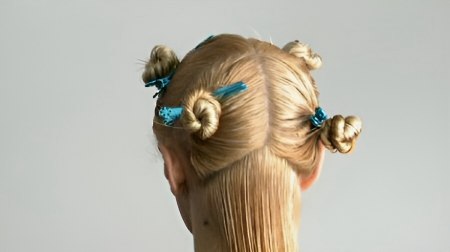
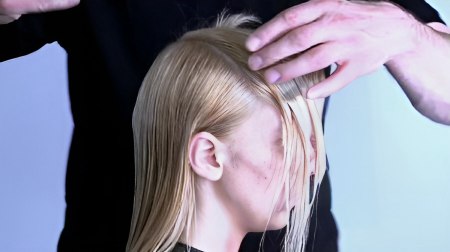
Step 1: Before commencing, assess the hairline and growth patterns.
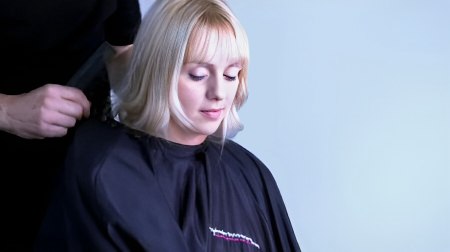
Step 2: Apply the appropriate protective clothing.
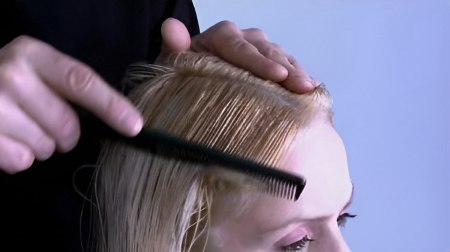
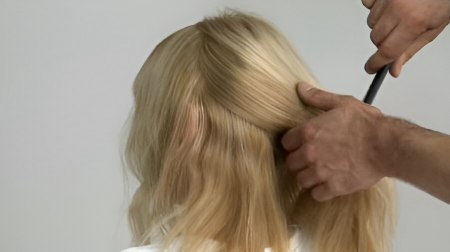
Step 3: Comb the natural parting into position to assess full movement in this area.
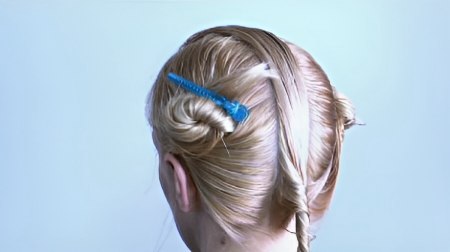
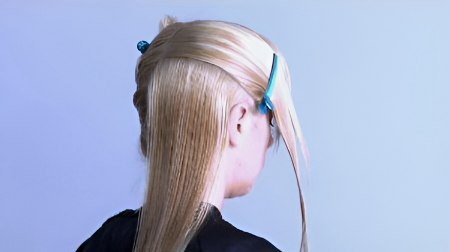
Step 4: Now divide the hair down the centre back, finding the natural centre using the top of the spine as a guide. Then divide the section to behind the ear to separate the back section.
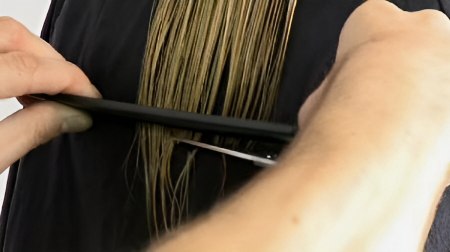
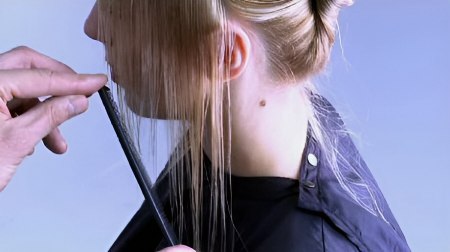
Step 5: Start by taking a curved horizontal line in the nape area. Note: this section will depend on the quality and the density of the hair texture. Comb this section as close to the shoulders or the back as possible, with very little tension, and cut the hair using the comb as a guide. It is important to understand that your first line is your guideline for the rest of the outline shape.
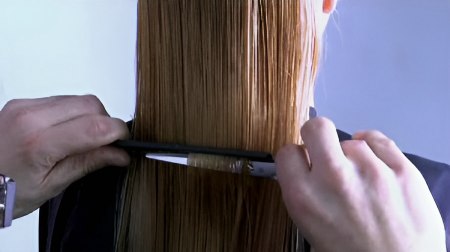
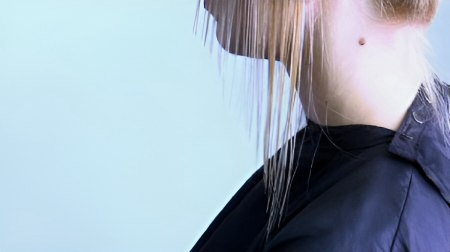
Step 6: Assess the shape before you continue (straightness). Take subsequent sections parallel to the crown and cut in the same manner. Note the client's body position and tension of hair.
Step 7: At this stage continue through into the temple area. Comb the hair back and over the shoulders and continue with the square line through the back area. Note: Again this area is the guide through the side section. It is important to establish a clean guide with the correct amount of weight in the outline. The thickness of this section will vary according to the hair quality.

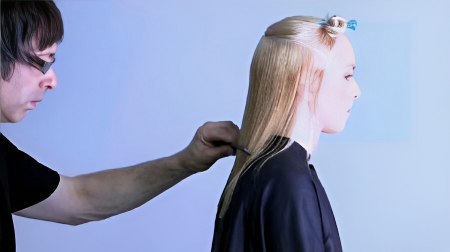
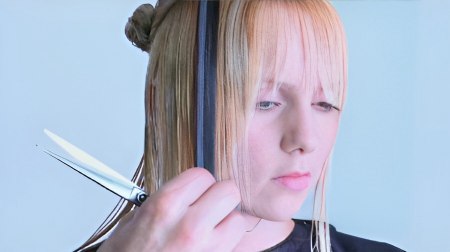
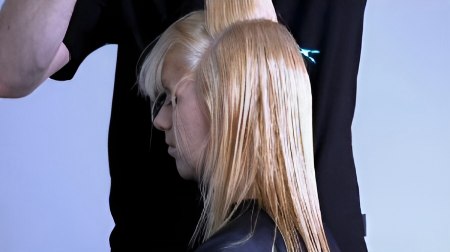
Step 8: Once this outline has been established, move onto the front outline shape. Take a section from the centre down to the back of the ear on a diagonal line. This mirrors the outline shape.
Step 9: Now assess the outline before cutting.
Step 10: Next comb the hair, allowing for its natural fall. Overdirection is not required as the outline will be established in a free manner. Hold the hair in place with fingers and cut the angle free-hand from long to short.
Step 11: Now repeat this on the second side. By establishing the outline in both sides an accurate balance is achieved.
Step 12: Then take subsequent sections parallel to the first, moving back toward the crown, again mirroring the outline.
Step 13: Please note the direction in which the hair is combed and cut. Too much overdirection will increase the graduation through the outline.
Step 14: Repeat this process on the other side.
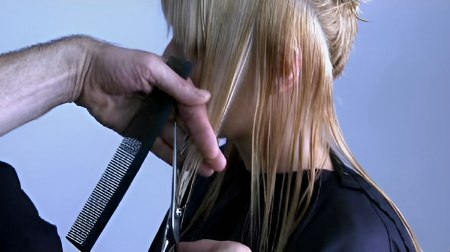
Step 15: Next divide the hair from the front hairline vertically to the nape in 2cm sections.
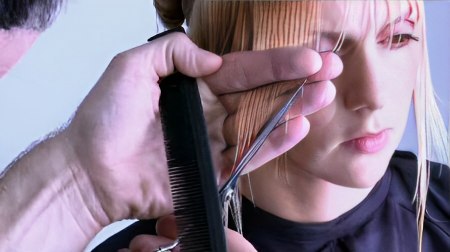
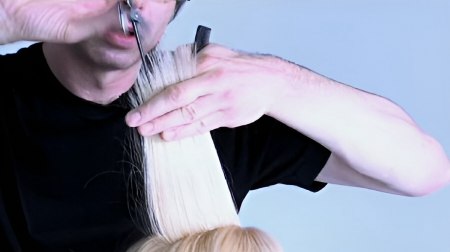
Step 16: Elevate the hair vertically, straight out from the head and cut a straight line from short to long (graduation) using the previously cut fringe section as a guide. Ensure enough weight is established through the outline.
Step 17: The central section is a guide for the internal layering. Take a pivoted section from the crown down to the front hairline, incorporating a part of the central section already cut. Again, the hair is elevated, overdirected and cut using the previous section as a guide. Note: Because of the natural curve of the head, the hair is overdirected and thus creating an internal concave shape.
Step 18: Take subsequent parallel sections. Overdirect using the previous section as a guide. Again, these sections are elevated and cut short to long (graduation).
Step 19: Now repeat this process on the second side.
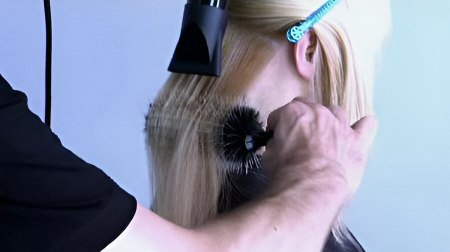
Step 20: Blow dry and add a finish to the hair.
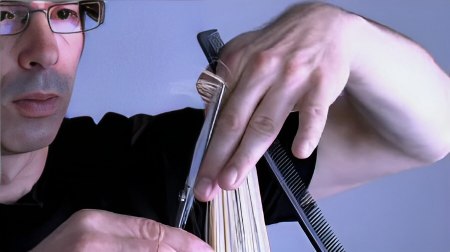
Step 21: Then refine using a pointing technique to loosen the internal shape.

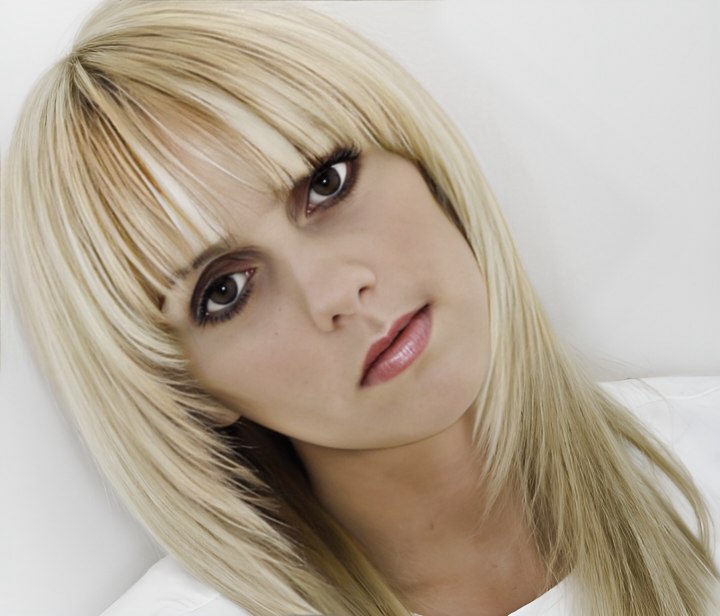
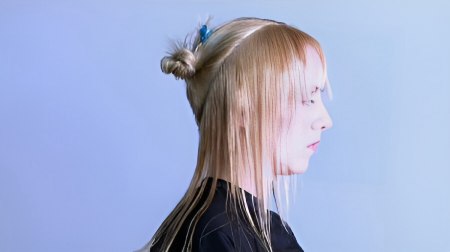
Finish: A back bone technique. A foundation to many varied looks. A long hairstyle with bangs and graduation.
Text and photos by MHD. Subscribe to view the training video!
See also:
How to cut a long hairstyle with reverse graduation
How to cut long hair with graduation and pivoting sections
How to cut a one length long hairstyle