A-Line Bob
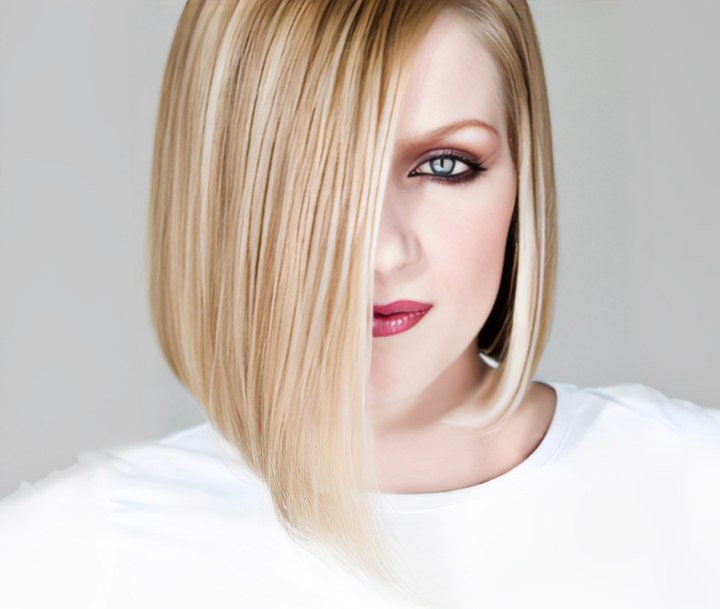
Step by step guide on how to cut an A-line bob, from Stacey Broughton, myhairdressers.com. This Salon Classics cut is a reflection on the timeless A-line shape, wrapped in a radiant blanket of pure blonde color. A sheer brilliant technique.
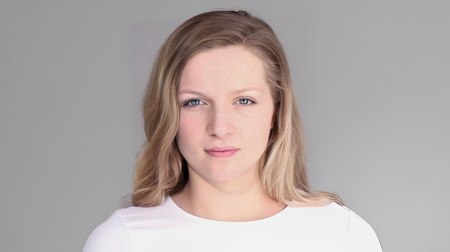
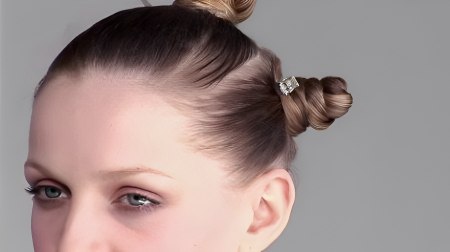
Before: Martha before the cut.
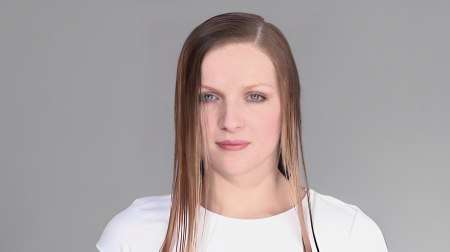
Step 1: Before sectioning, it is a good idea to establish the parting in order to realise the balance at a later stage. Martha's hair falls naturally into a side parting. To determine this, comb the hair back with very little tension, then push forward, creating a natural break in the hair.
Step 2: Let the hair fall naturally around the crown. Defining the natural parting first will help with the sectioning and the balance of the haircut.
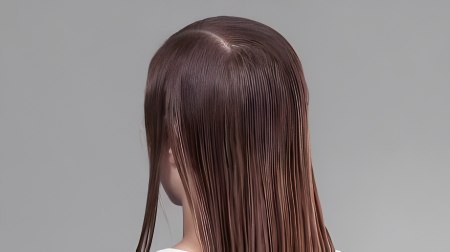
Step 3: Create a horse-shoe section from above the temple, incorporating the parting and allowing for disturbances and irregularities in the crown area.
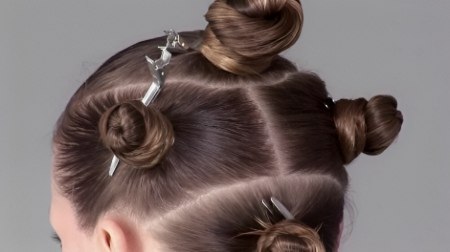
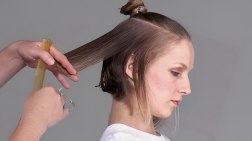
Step 4: Next divide the hair from above the occipital bone to just below the top of the ear. The remaining middle section is divided in the centre back.
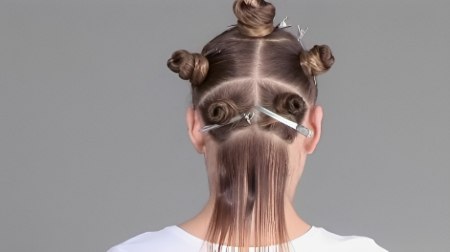
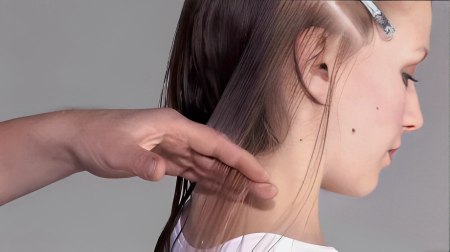
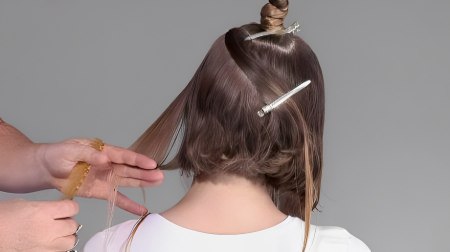
Step 5: Then take out the underneath panel and divide this in the centre back. Next work the first section in the nape area. Note a slight curve in this initial section which will reflect the angle that you will be cutting.

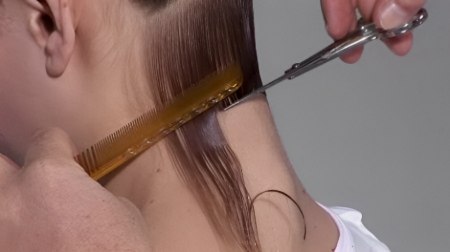
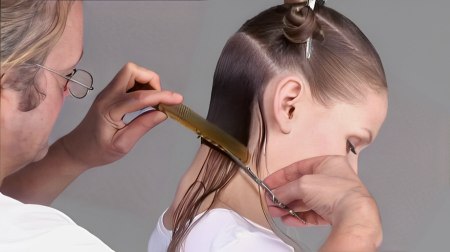
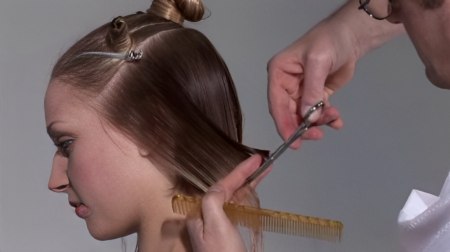
Step 6: Tilt the head very slightly forward and then use the small teeth of the comb to create tension in the hair. Flatten the hair down onto the neck, using your scissors as an aid to stick the hair to the skin. Then cut a curved line.
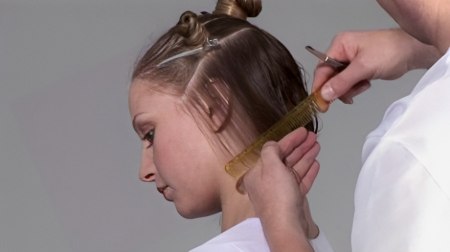
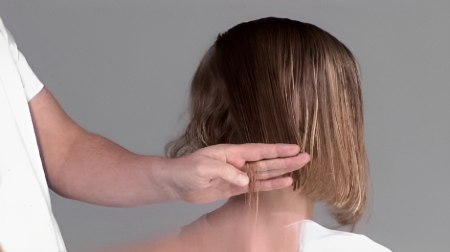
Step 7: Repeat this process on the other side. Make use of the back of your comb to hold the hair still.
Step 8: Continue to take sections up the head reflecting, the initial shape.
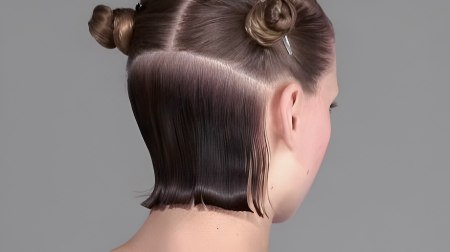
Step 9: Once you have worked this section, release the hair to check the balance.
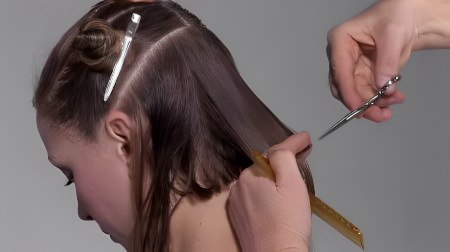
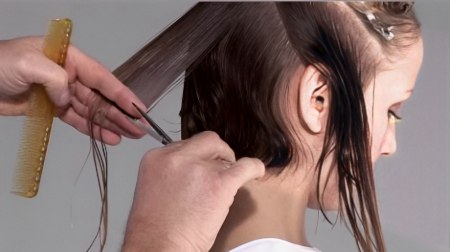
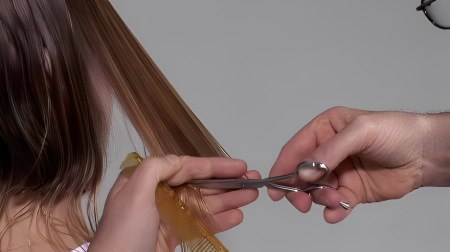
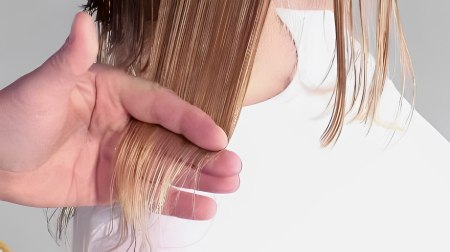
Step 10: Continue into the centre panel, taking parallel sections. Elevate the hair using tension in the fingers, creating graduation. The graduation helps to bevel the outline and distributes the weight more evenly. It is a good practice to visually check the work after completing each section.
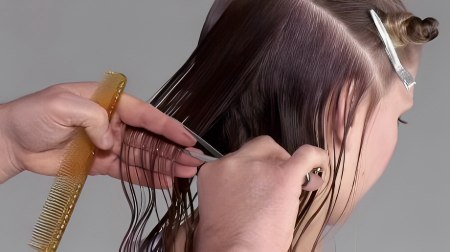
Step 11: Continue to take parallel sections with awareness to elevation.
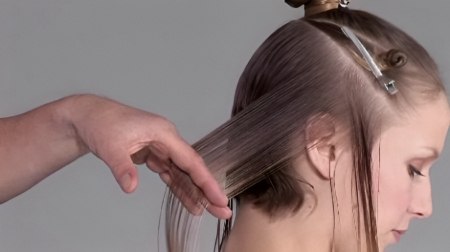
Step 12: When you cut the first front section over the ear, be very mindful of the tension. Over-direct the side sections slightly backwards, creating a shorter to longer line.
Step 13: Repeat this process on the other side. The graduation runs from its widest point in the centre-back and tapers towards the front.
Step 14: Once you reach the roundness of the head in the back area, sub-divide the parallel sections diagonally to create smaller and more controllable sections, allowing you to be very specific with balance and weight control.
Step 15: Continue to maintain continuity of elevation and over-directing as you work into the front sub sections.
Step 16: Repeat this process on the other side.
Step 17: Next continue this process up to the top horse-shoe section. Then check the shape visually.
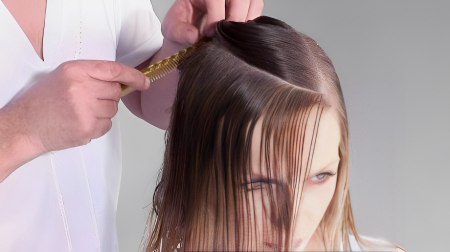
Step 18: Now work in the top area, taking curved sections from the front parting, working towards the back. Working from front to back allows for natural movement in the hair. Remember to always follow your guide. Pay special attention to being consistent in your over-direction, elevation, finger and body position.
Step 19: Continue to take curved parallel sections, again keeping your focus on elevation and over-direction.
Step 20: Now work 2/3 section, then move to work on the lower side of the parting. Notice that on the heavy side of the fringe the fingers point away from the head, but on the lower side the fingers need to point in towards the head to maintain length.
Step 21: After the lower side has been completed, return to work on the heavy side of the parting using the same pattern.
Step 22: In the crown area, cut your section to where it naturally falls which you will later refine once dry.
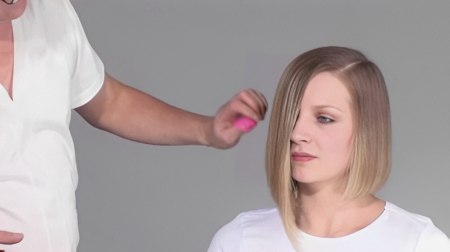
Step 23: This hairstyle can be worn textured or smooth, but it is a good idea to blow-dry and iron in order to refine and check the work as this will give the haircut a lasting quality.

Finish: A reflection on the timeless A-line shape, wrapped in a radiant blanket of pure color. A sheer brilliant technique.
Text and photos by MHD. Subscribe to view the training video!
See also:
How to cut a short graduated bob
How to cut a one length box bob
How to cut a dramatic A-line bob