Flat Iron Straightening for Curly Hair
Preparation:
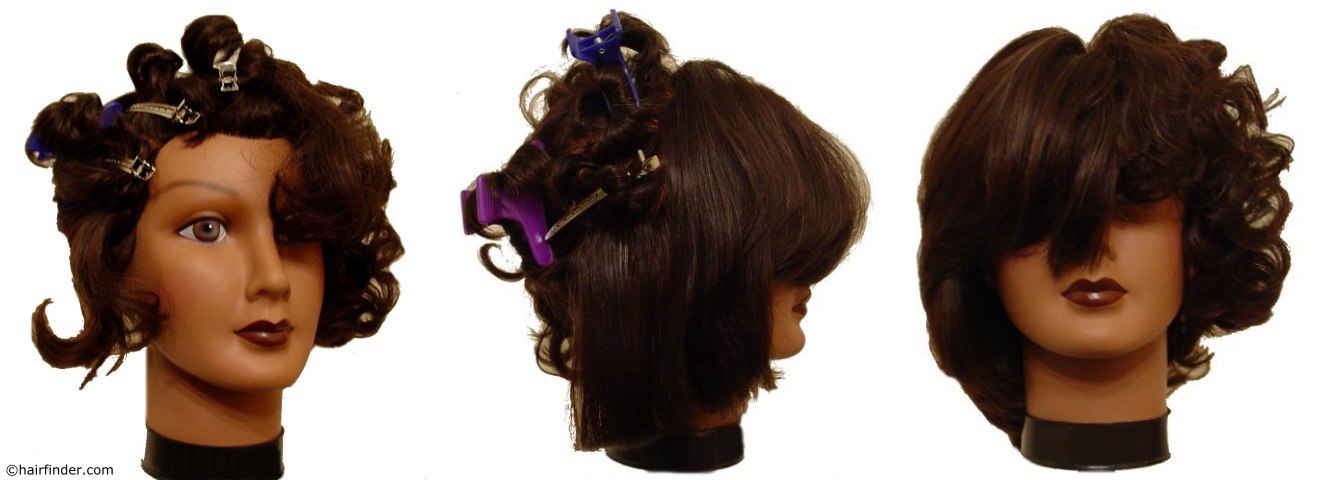
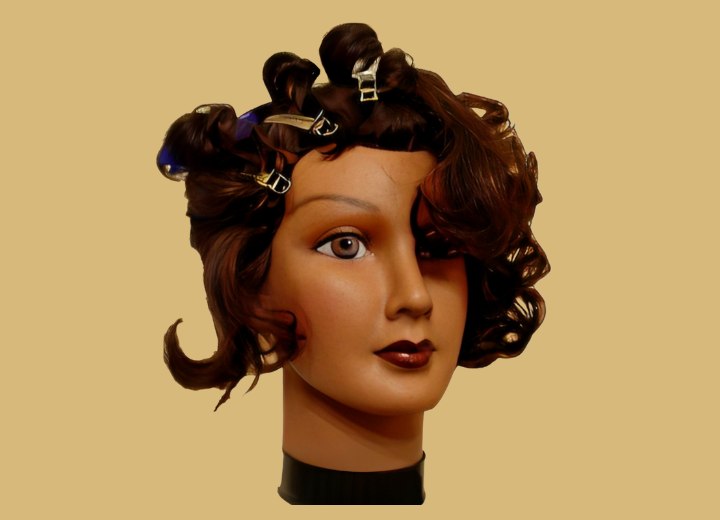
We begin with a manikin whose hair has been shampooed, conditioned with a rinse-through moisturizing formula, and had a leave-in protective conditioner applied. To simulate naturally curly hair, the hair was wrapped on rollers without styling products, partially dried under a hooded dryer, and allowed to air dry overnight to ensure that it was completely dry.
It is important to remember to always use flat irons on completely dry hair, as hair that is even slightly damp can be severely damaged by heated appliances.
For comparison, we are only straightening half the manikin's hair initially. The hair is brushed out and divided at the center parting. We sectioned the hair on one side into panels just narrower than the length of the heating plates on our flat iron.
Styling:
We then begin styling by separating a slice of hair no thicker than half the width of the heating plates on our flat iron. Starting with the bottom segment of the first section, we applied a small amount of hairspray and allowed it to dry before pressing it between the plates of the flat iron.
Before using any flat iron tool on your hair, always test the temperature first. Take a piece of tissue paper and moisten it (making it damp, not wet). Press the tissue paper between the heating plates of the iron and hold for a few seconds. A small amount of steam would be normal, but if there is any smoking, scorching, or discoloration of the paper, then the iron is too hot and the temperature should be adjusted down to prevent burning your hair.
We worked our way through the section of hair from the bottom upward, straightening each segment and allowing it to cool. Once cooled, a comb was passed through the segment to break the hair apart and give it a smoother finish."
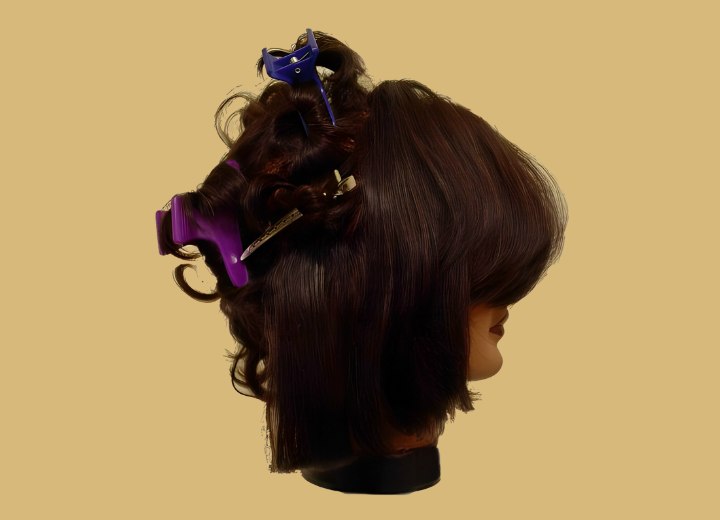
We then moved to the next section and continued straightening as previously done, working from bottom to top and around to the middle of the back of the head. You will usually need to make extra passes through the hair where the sections meet to close any 'gaps' that result from the initial straightening.
At this point, the change is readily apparent. The flat iron has completely smoothed out the curls and left the hair sleek and silky-looking.
Finishing:
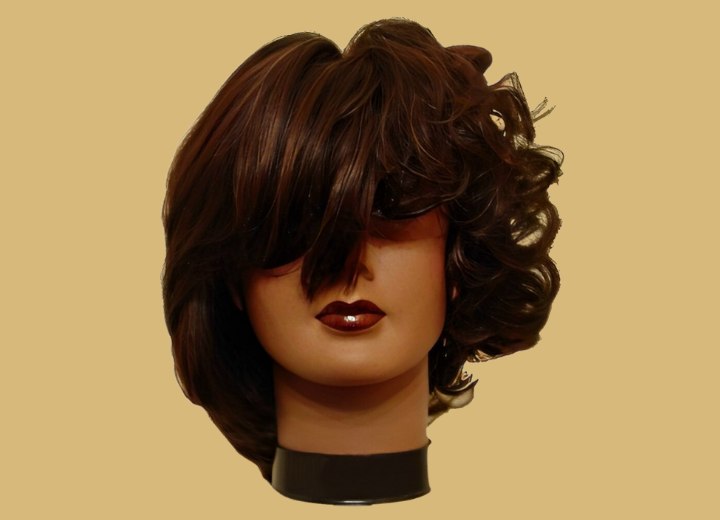
After demonstrating the comparison at the halfway mark, we continued to flatten the curls on the opposite side of the manikin's head. We then rechecked the straightened locks and retouched them where necessary. In our final photo, you can clearly see the smooth finish given by the flat iron.
Note: This process is especially useful when you desire to perform an updo style on curly hair. The hair will respond well to further styling and will have sufficient texture and substance to make up-styling much easier to accomplish.
See also:
More about hair straightening
Flat iron styling information