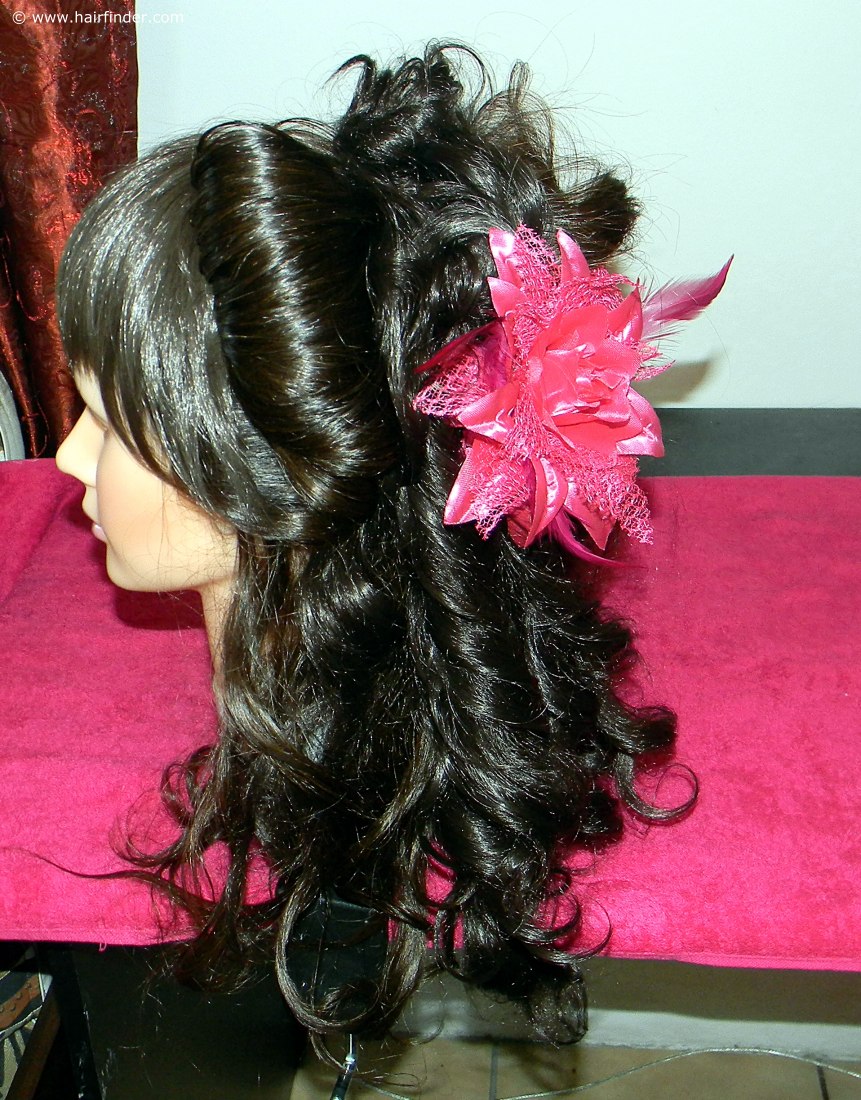
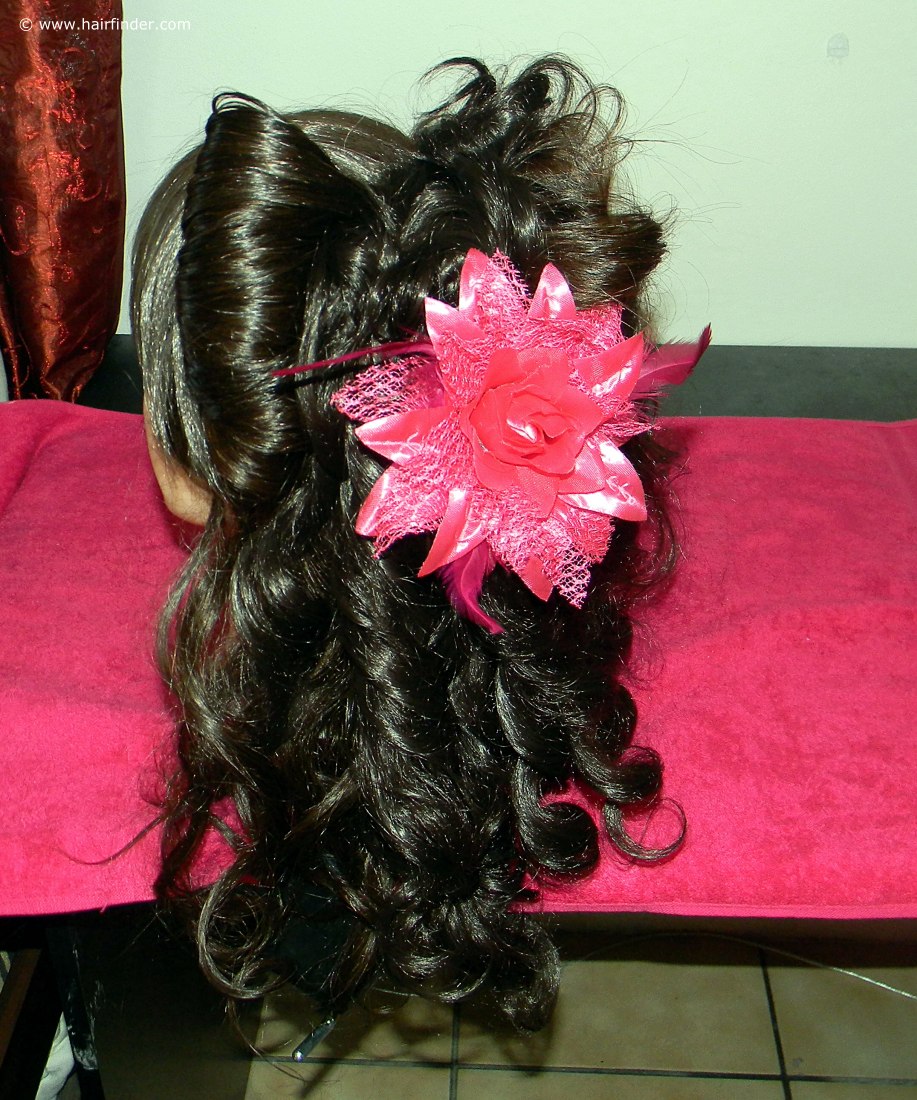
Vintage Pin-up Rolls How To
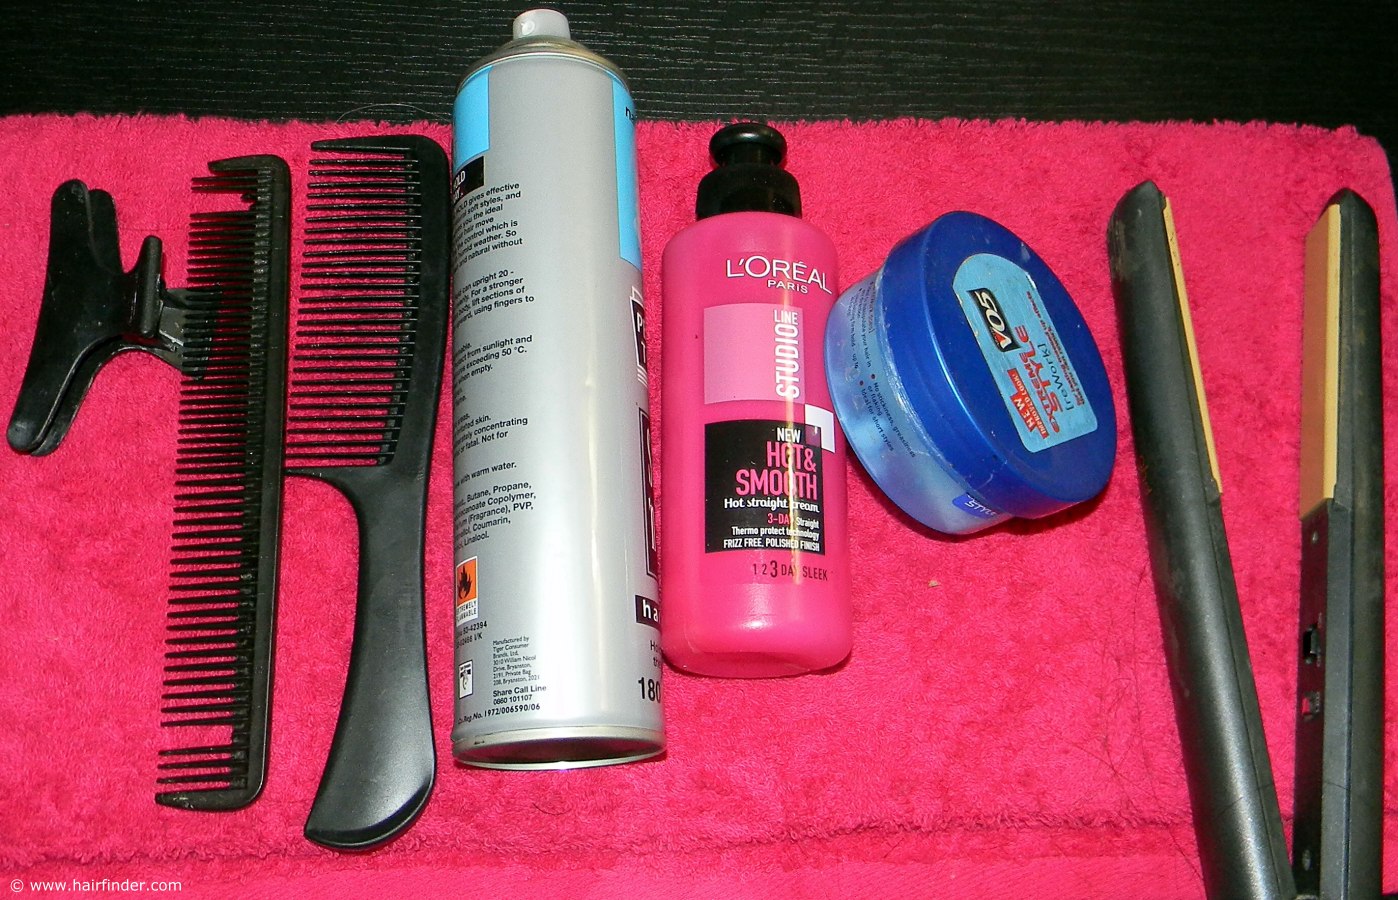
What you will need:a. Flat-iron
b. Bobby-pins
c. Heat-protection spray/cream
d. Combs
e. Hair spray
f. Clips
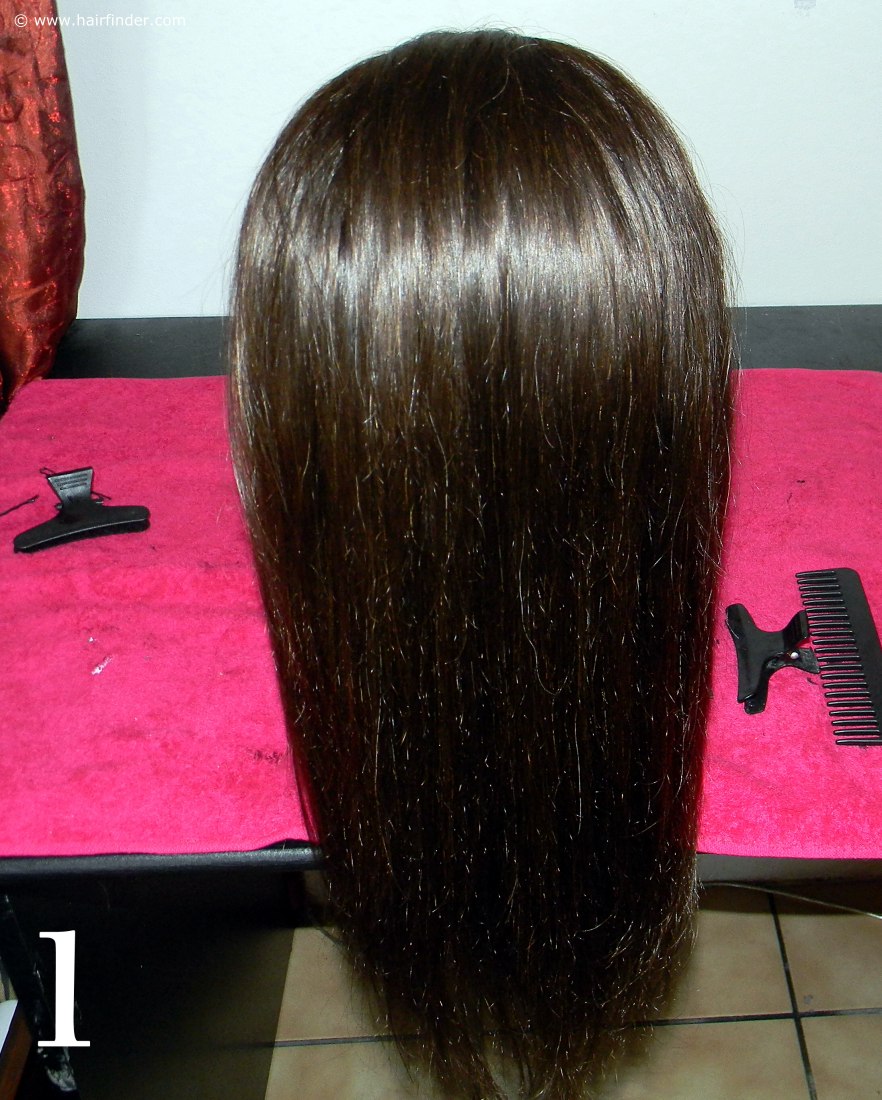
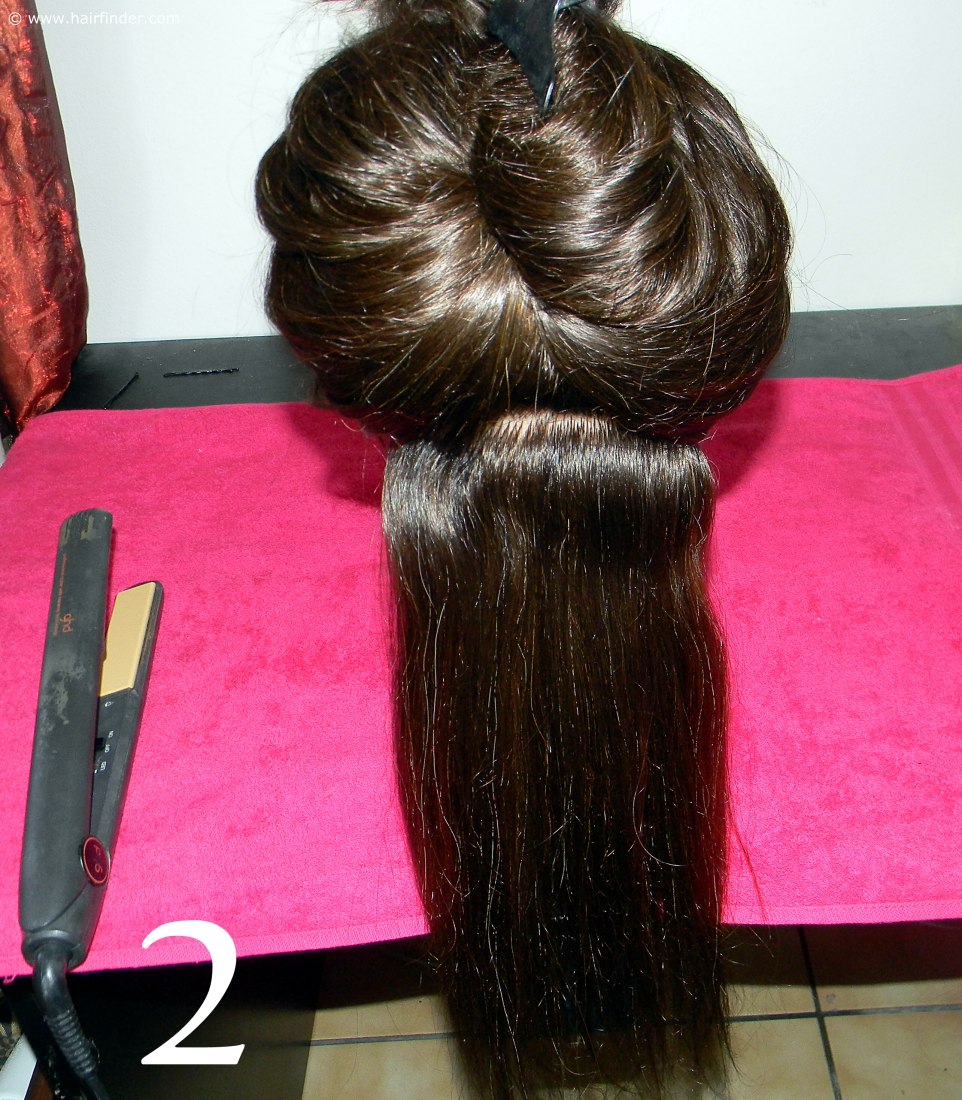
1. Comb the hair to the back of the model’s face. Note that we are working with dry hair. It is always better to work with hair that has been washed a day or two before when you’re creating up-styles.
This is because the thin layer of oil that is manufactured by the hair follicle gives the hair better “grip”, meaning that the style will hold easier and stay in place while you’re styling. It is still paramount that you use a strong-hold hairspray during the styling process.
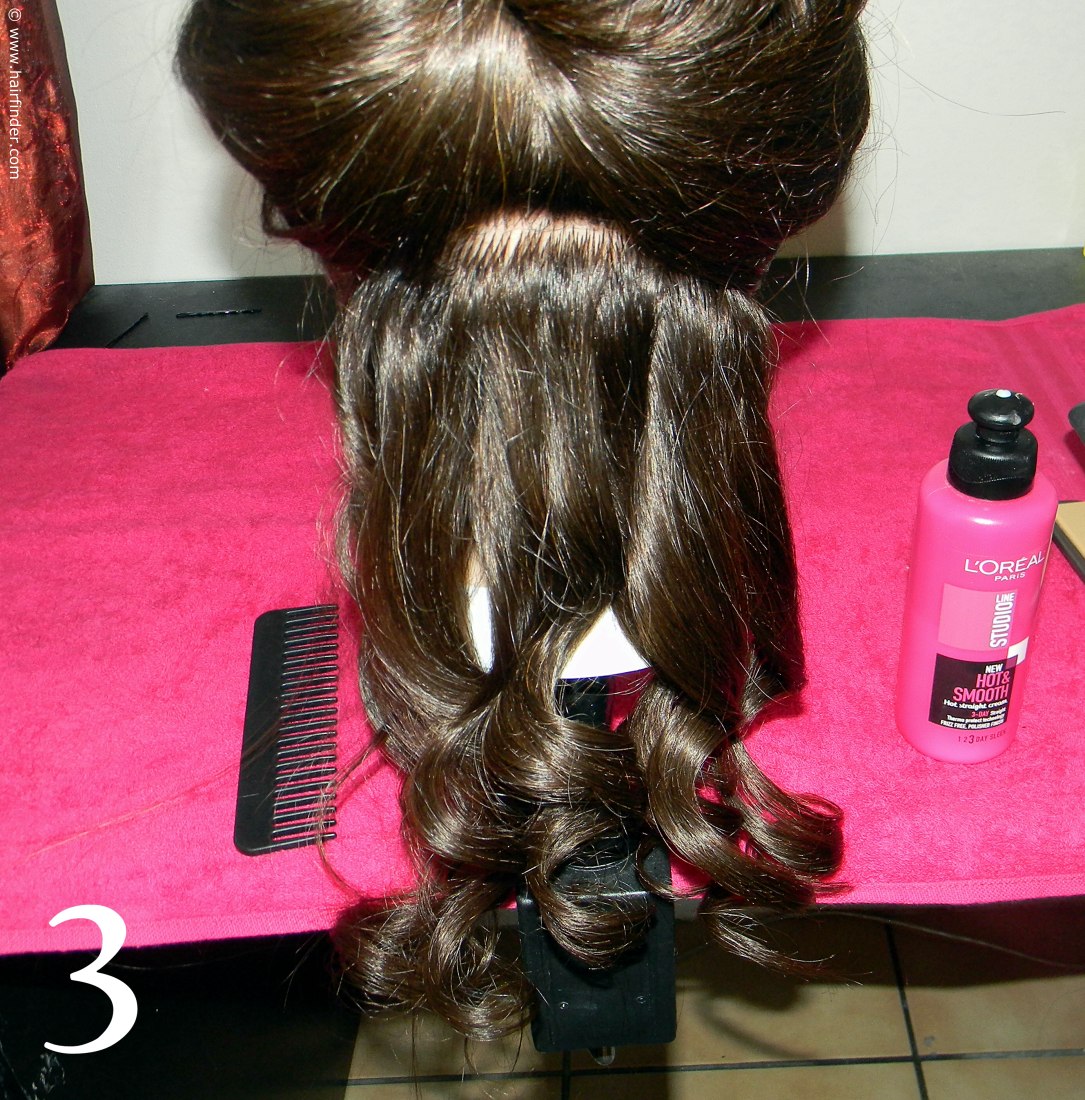
3. Use your flat-iron to create curls in this section. If you’re unfamiliar or uncomfortable with using the flat-iron in this technique, you can alternatively use a large-barrel curling tong to do the job. After the completion of each curl or section (depending on the length and weight of the hair), spray the curls generously with a strong-hold hairspray.
Remember that curls tend to relax very quickly when the hair is long, often resulting in very limp or hardly noticeable curls within a small amount of time. If you use a good quality strong or maximum hold hairspray, this should not happen.
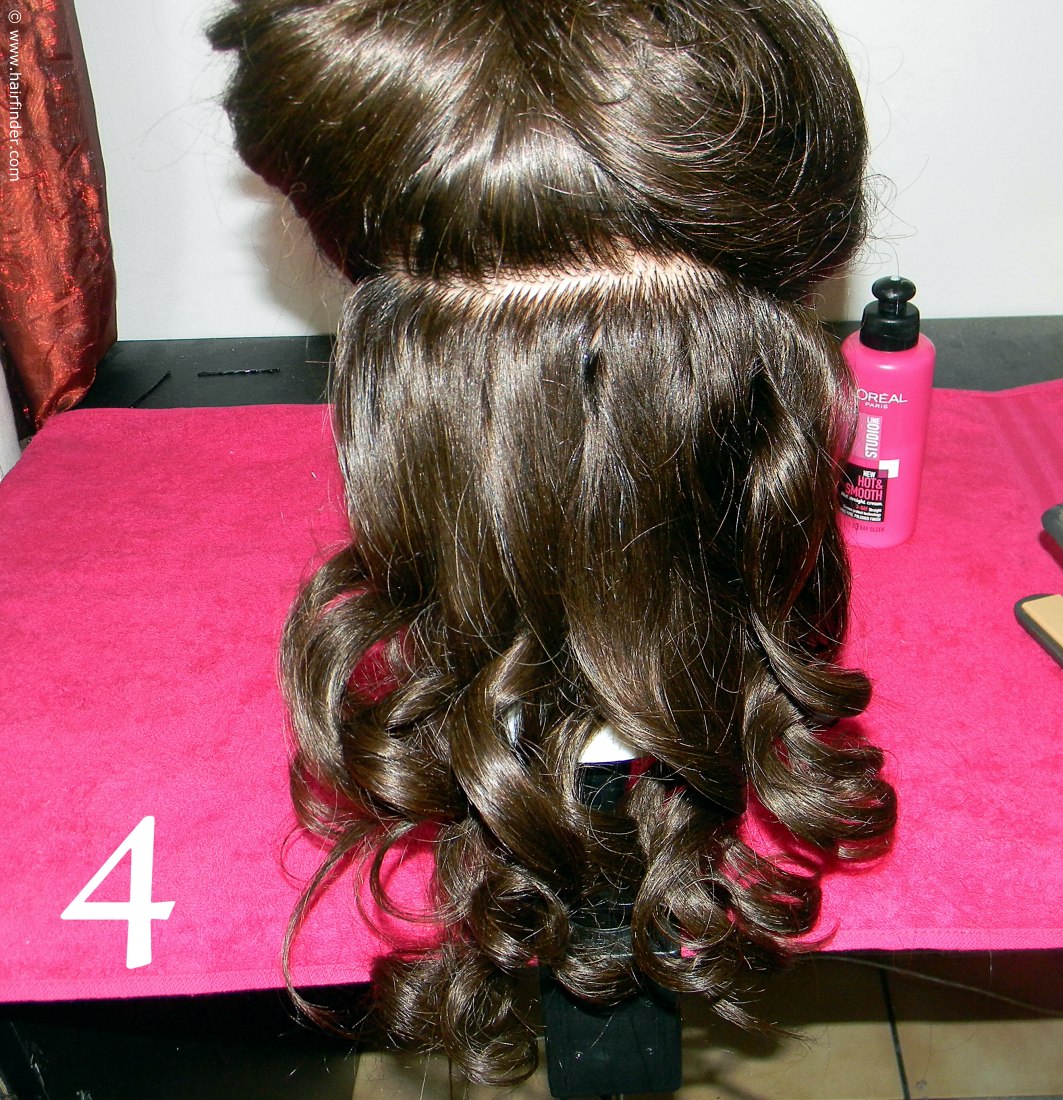

4. Repeat this process with the next section and the next, all the while spraying the styled curls with hairspray.
If your model’s hair is exceptionally long or heavy and you find that the curls relax too much, you can gently bundle the curls up and clip them together at the bottom of the head with a large clip. This will elongate the setting-time of the curls, and prevent the curls from relaxing while you’re busy with the styling. Take care to handle these bundled-up curls gently, as to not ruin their structure or form.
5. Work your way up in this fashion until you reach the top rounded side of the occipital bone. This is where you stop curling. You’ll notice that you still have an ample amount of hair to work with at the front.
You should not be able to see the curls from the front at this stage, as the pin-up rolls will originate from the hair on both sides of the face. Keep the hair on top of the head secured by a clip for now as you move to the front of the head.
Next Page