Modified Vintage French Roll
1. What you will need:a. Combs
b. Bobby pins
d. Hairspray
e. Hair accessories
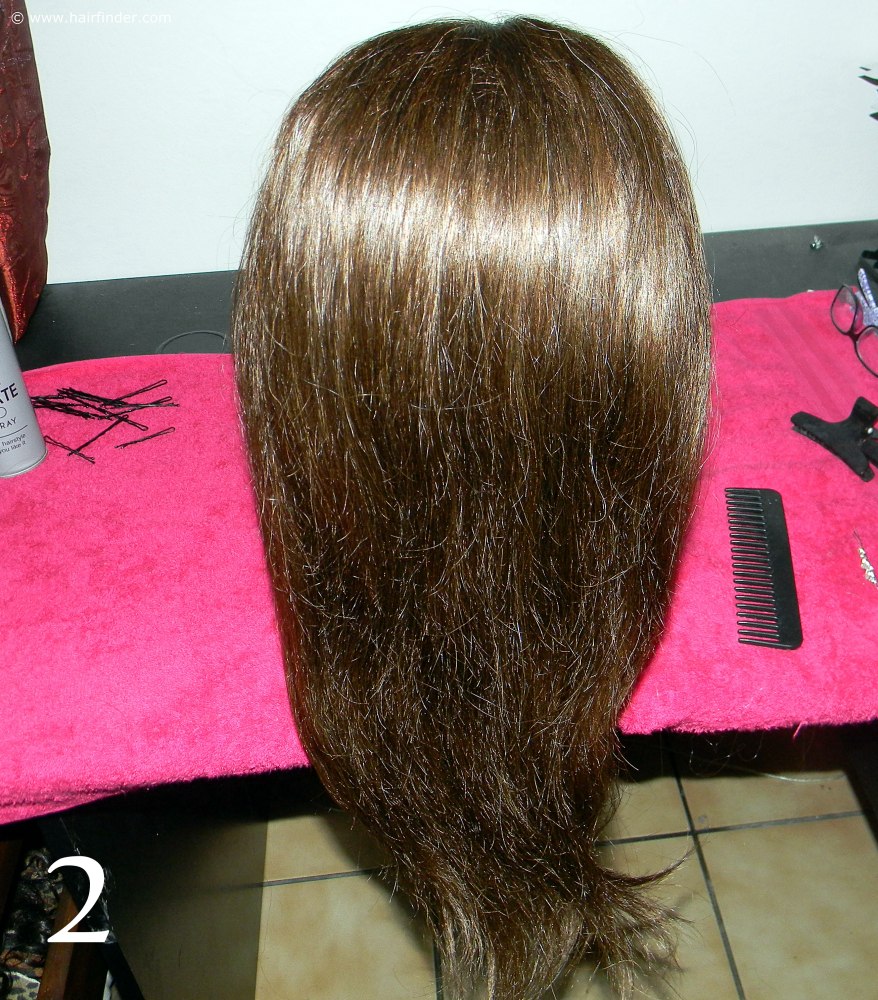
2. Comb all the hair to the back of the head. Note that the hair that we’re working with is dry and clean. You may prefer to work with hair that has been washed the day before; as this means that the surface of the hair follicle will have been coated with a thin layer of sebum.
The thin layer of sebum makes the hair easier to work with in the case of creating up-styles, as the hair cling together slightly, which means that the style doesn’t fall loose while you’re busy constructing it.
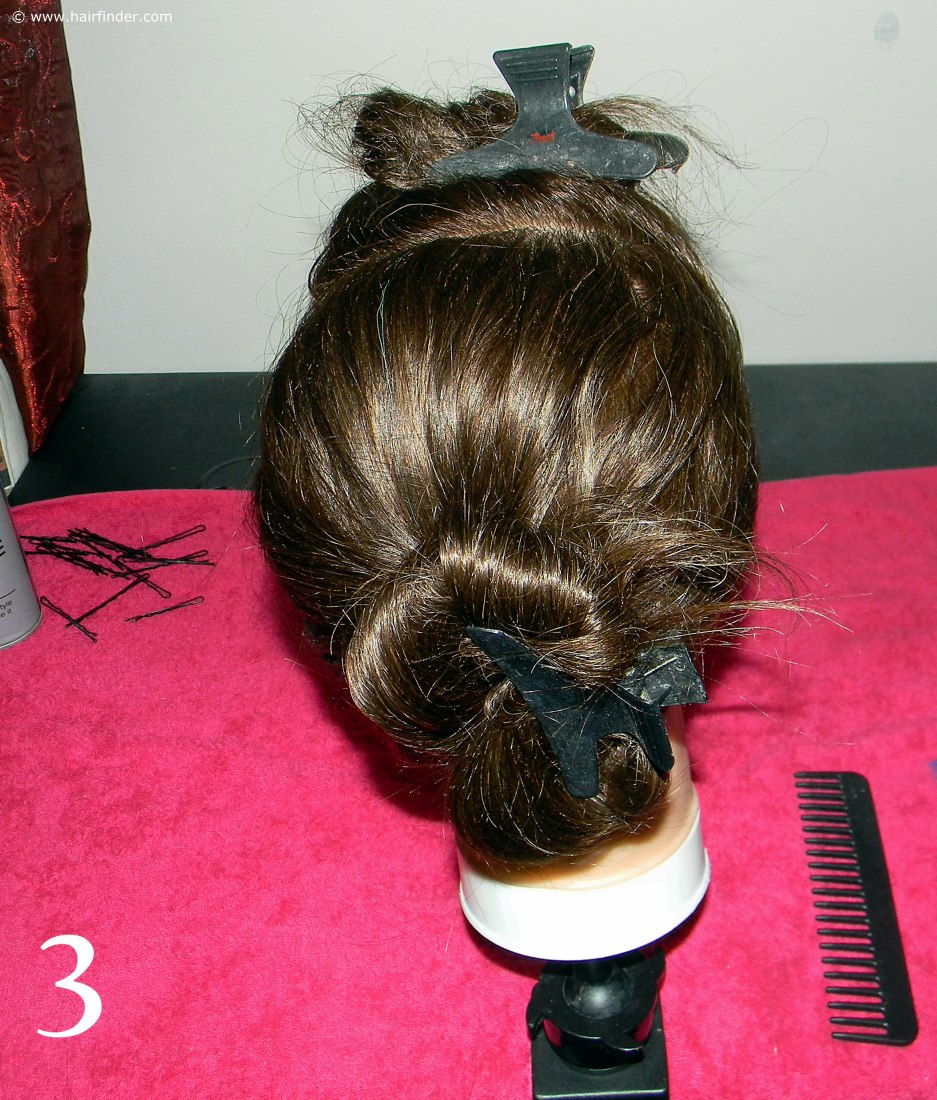
Note that the front section takes up about one third of the head, and the back section takes up two thirds. This is because you’ll need more hair to create the French roll at the back than you will to build the vintage rolled up fringe at the front. Secure both sections with a crocodile-clip.
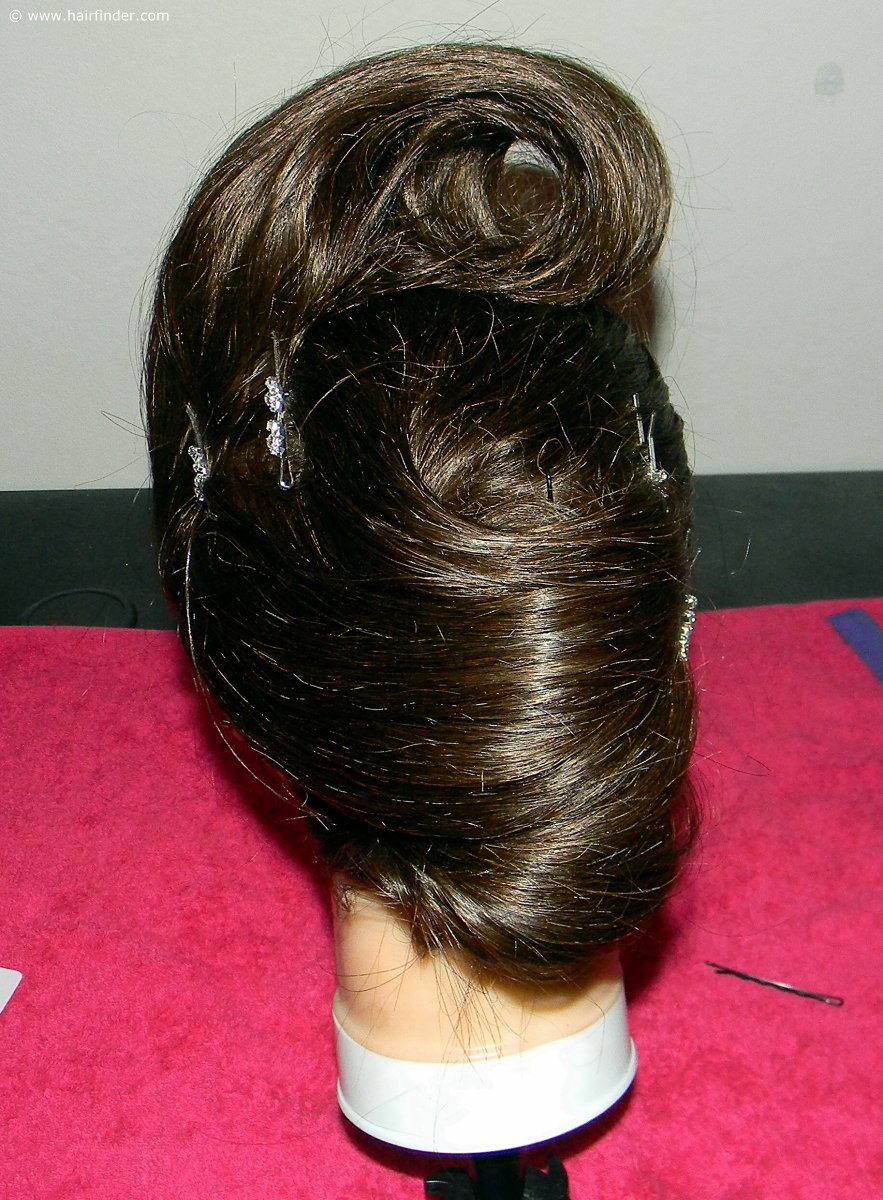
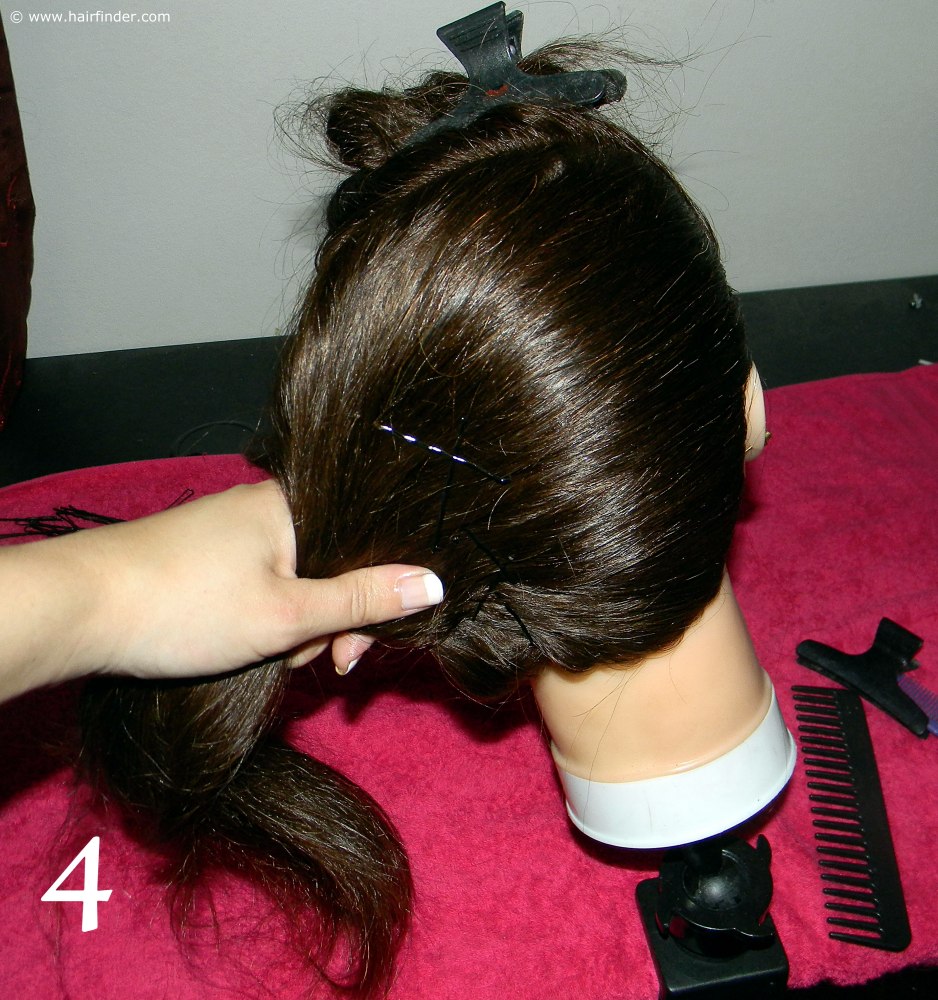
4. Release the bottom section, and comb the hair neatly to the side of the head with a thin-tooth comb. The idea is to get the hair as neat and flat as possible, using a fine comb and hairspray. After completing the side-combing process as neatly as possible, use bobby-pins to create a criss-cross pattern.
Start from the nape of the neck, running in a straight line towards the occipital bone of the scalp. The criss-cross structure will strengthen the structure of your style, as well as ensure that the bobby-pins do not come loose or fall out. Use dark bobby-pins for dark hair and golden bobby-pins for light hair.
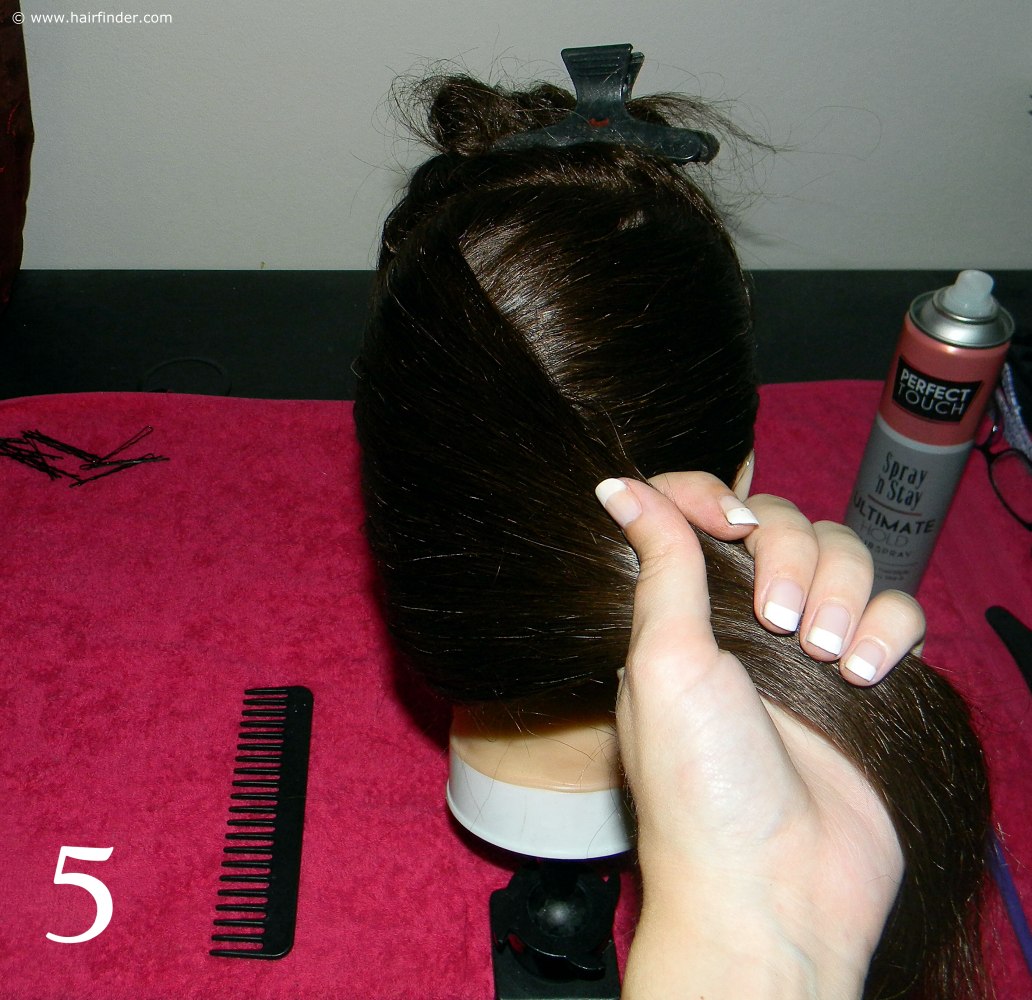

5. When you’ve completed step 4, gently and neatly comb the hair in the opposite direction (over the bobby-pins), with a fine-tooth comb. Be very careful not to disturb the criss-crossed bobby-pins on the neat and flat surface of the hair that you styled in a seamless fashion prior to inserting the pins. Remember to use your hairspray during the whole process to ensure neatness and a stable structure or base for the style.
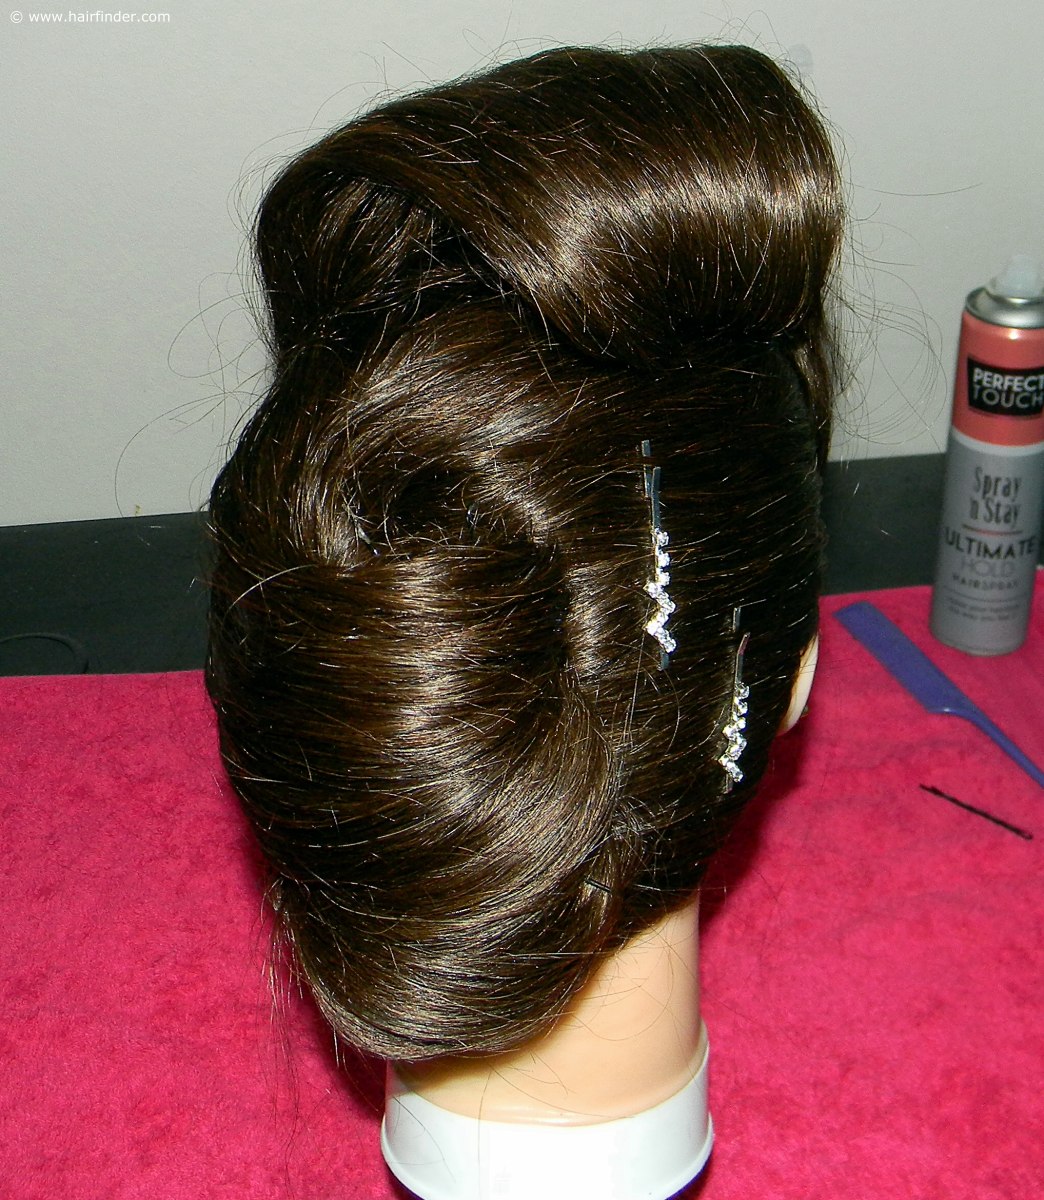
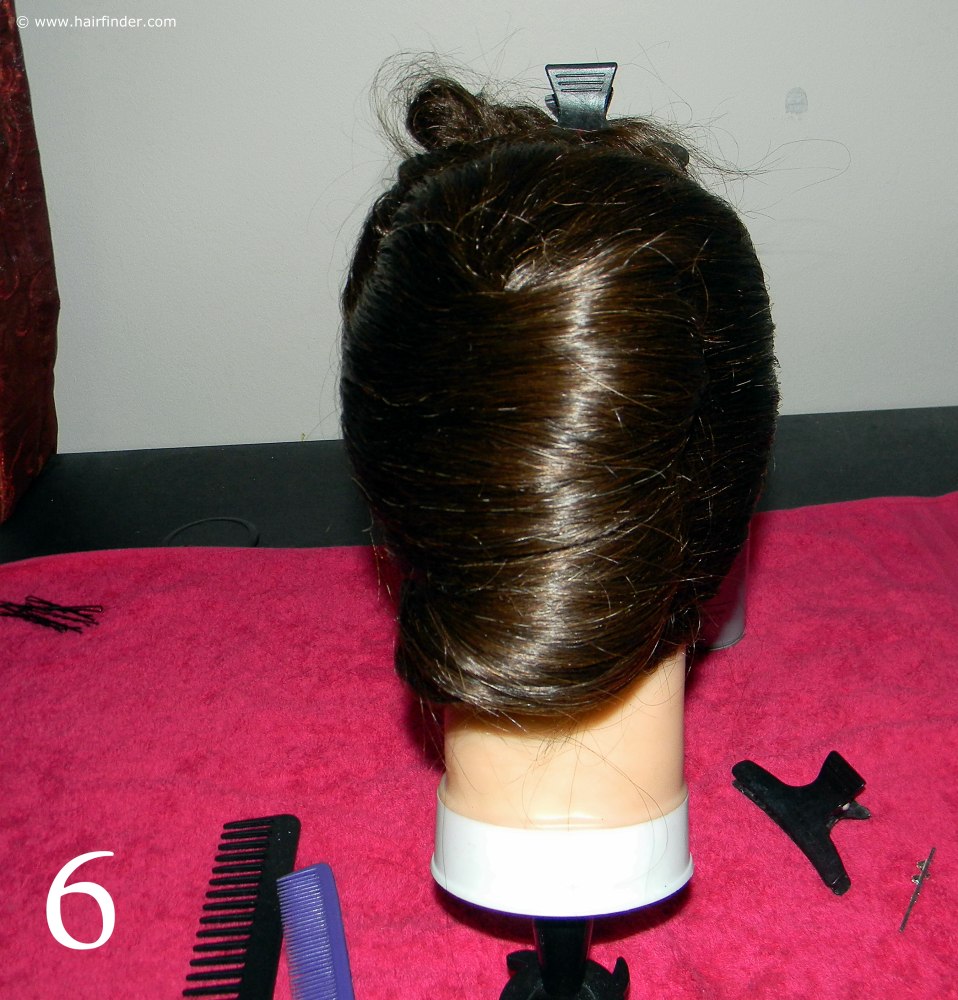
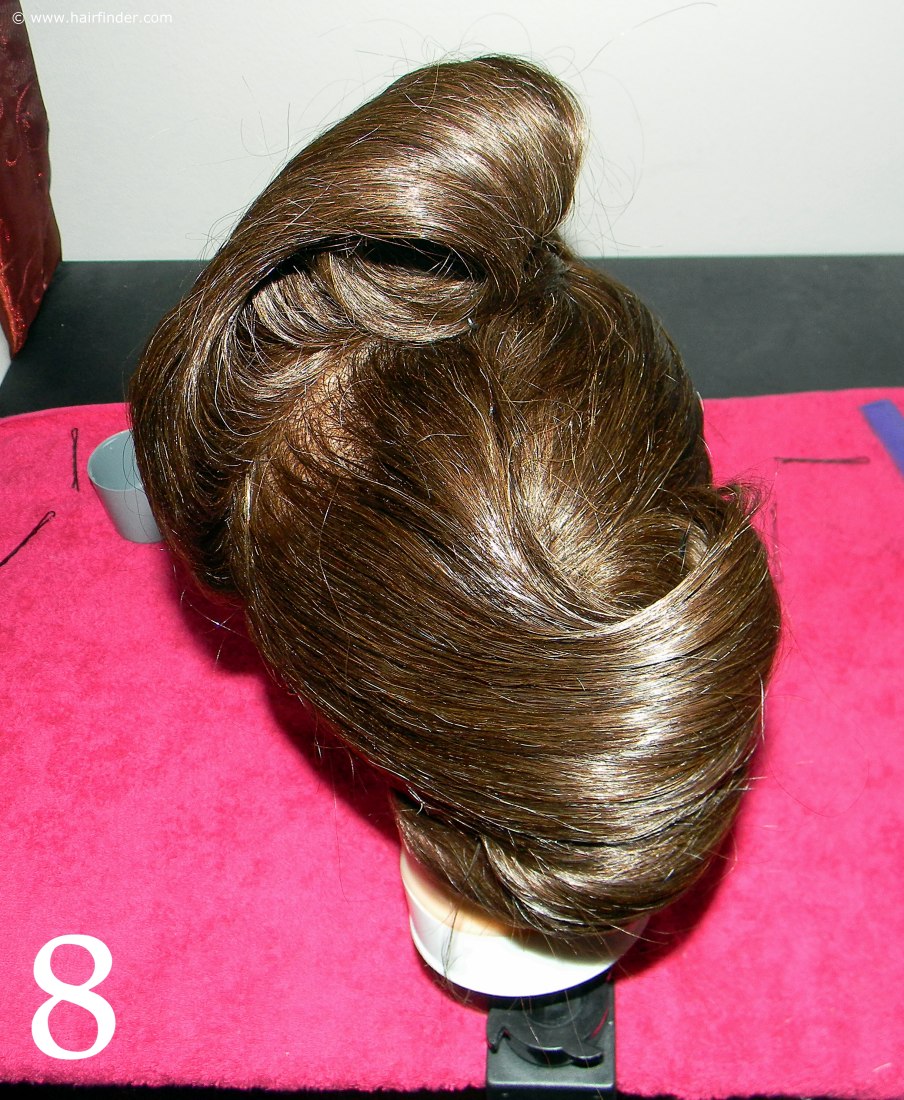
6. Roll the hair around your middle and fore finger to create the body of the French roll. Use the long end of your tease comb to perfect the surface of the roll, while spraying the hair in place once it is perfect. Continually spray and comb, working from the outer border of the French roll towards the inner border, combing in the direction of the hair-strands. This is tedious work, but the end result is worth it.
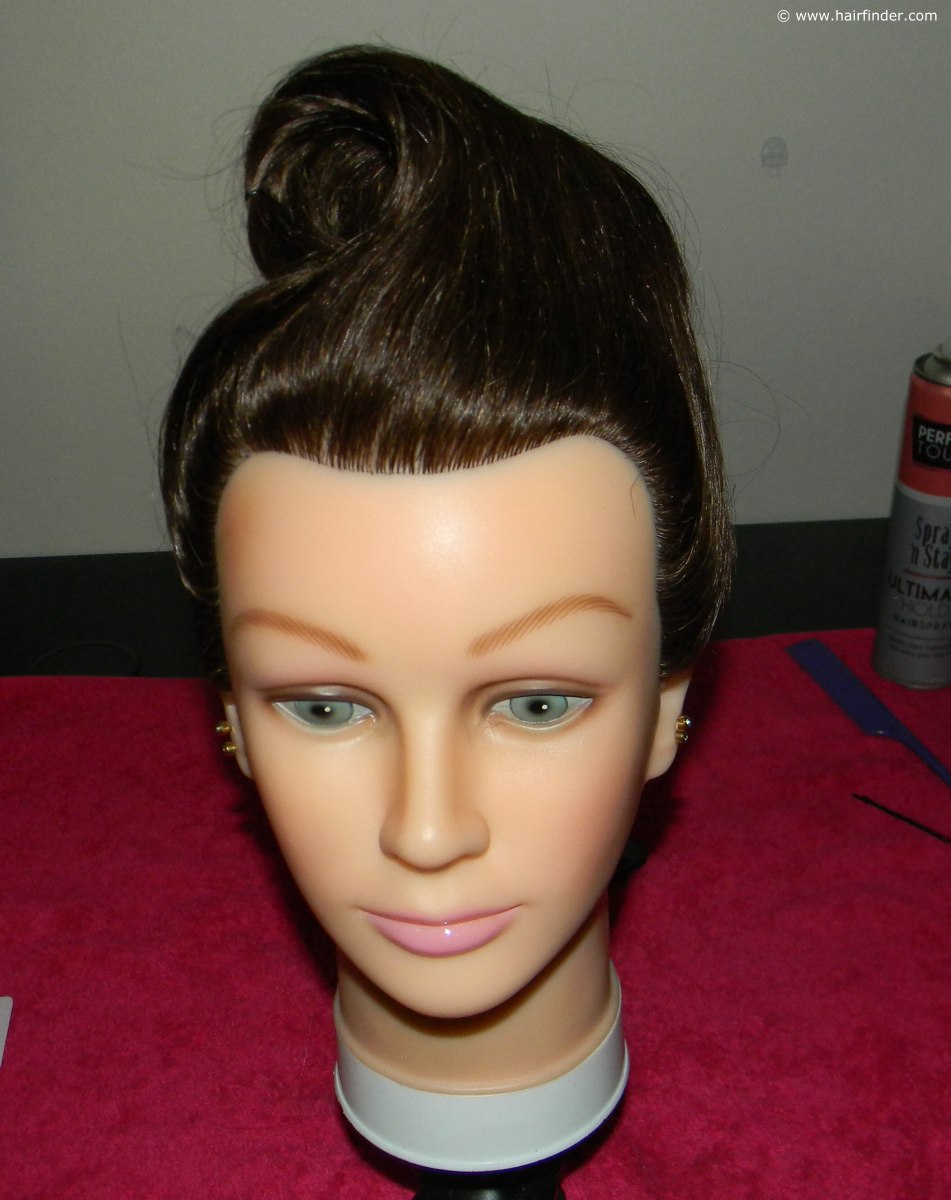
7. Loosen the top section from its clip, and again comb the hair with a fine-tooth comb in the same direction that you originally combed the back French roll before inserting the criss-crossed bobby-pins. Again spray and comb until you get a seamless base for your frontal fringe roll.
When you’re satisfied with the neatness of your front roll, insert bobby-pins in a slightly sideways line. This will from the structural base of your frontal fringe roll. Remember that most people will first observe you from the front view, thus neatness and precision is imperative especially in this section.
Next page