How to do a Faux Pixie (2)
Previous Page9. Comb out the front section of hair that you separated from the rest of the hair in the beginning of the style. Take care not to disturb the rest of the style. Use your tail comb to do your separation work.
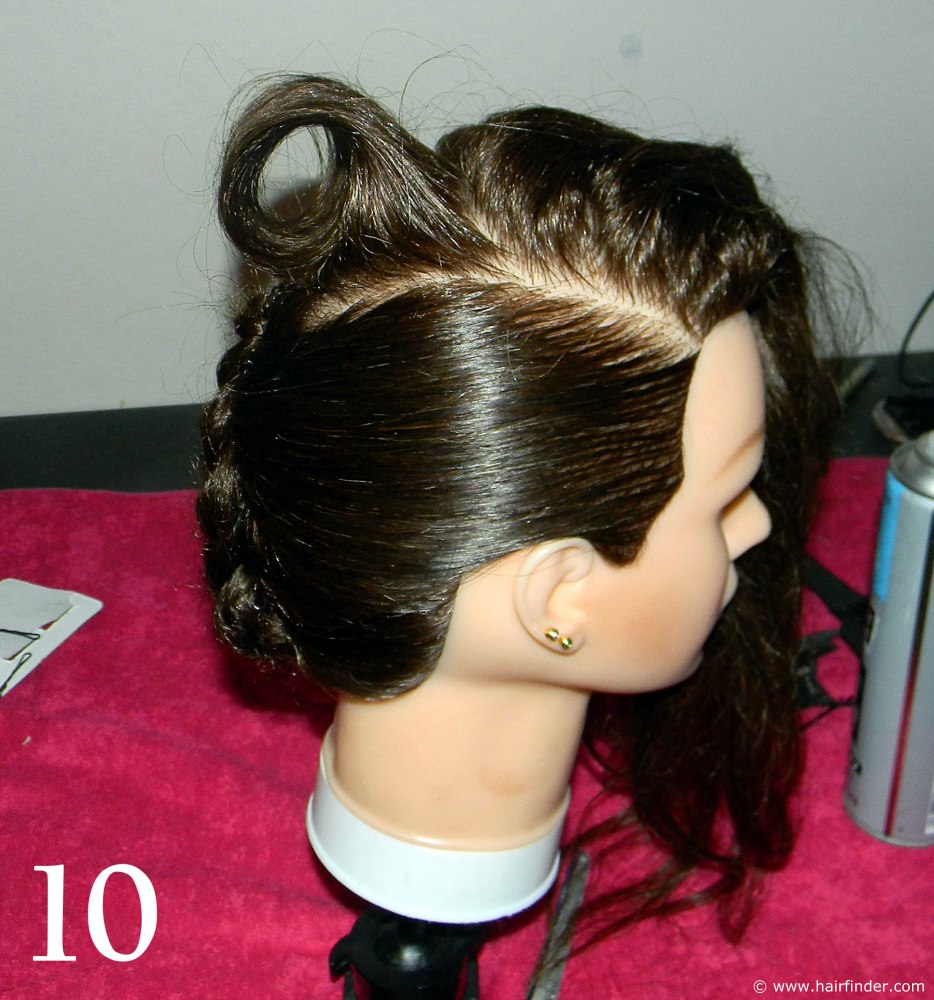 10. Separate a section of about 1 inch in width. Lightly tease this section and comb it out again to the extent that it maintains its volume, while the outside surface is smooth. Roll the hair up from the tips of the
hair towards the base of it.
10. Separate a section of about 1 inch in width. Lightly tease this section and comb it out again to the extent that it maintains its volume, while the outside surface is smooth. Roll the hair up from the tips of the
hair towards the base of it.Try to create the most flawless curl that you can manage. This will take a bit of practice, as control and tension of the hair is paramount in this process. Absolutely perfect curls aren’t necessary in this style, as the curls will ultimately be covered by teased hair, representing the faux fringe.
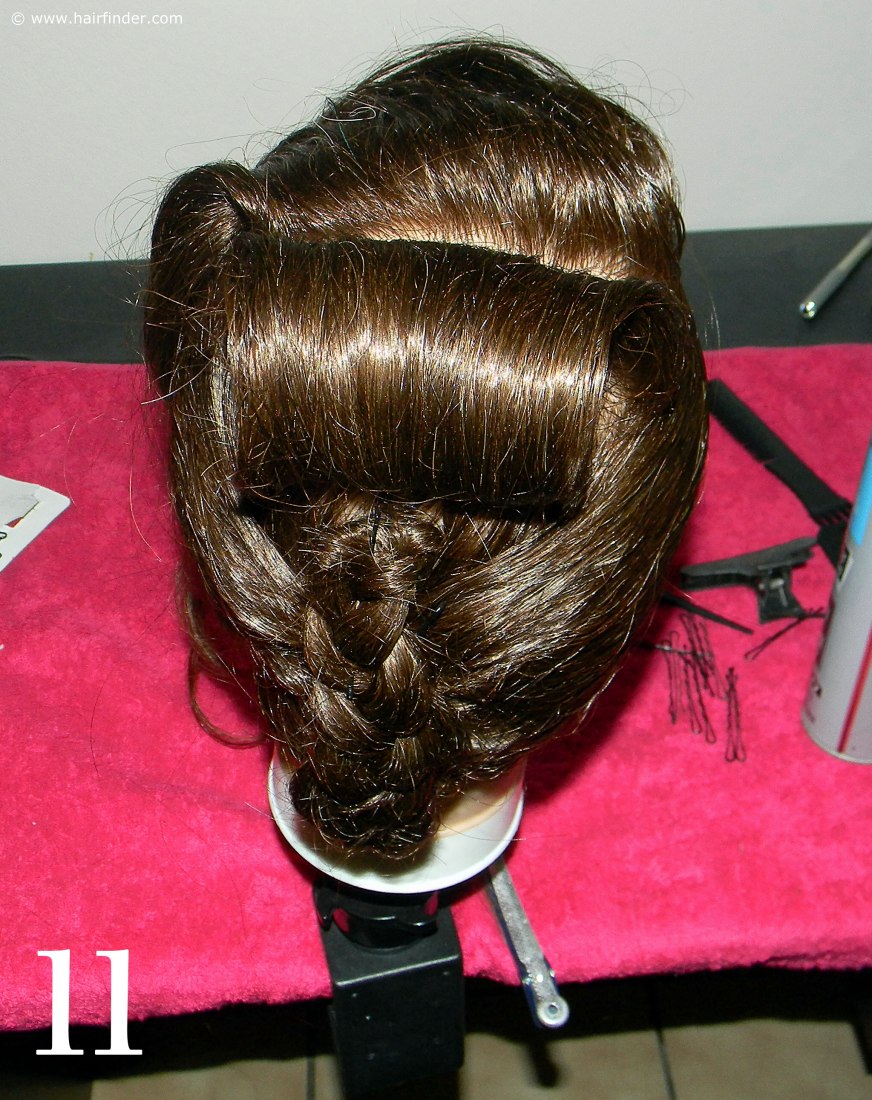 11. Secure the curl at the base, by means of inserting a well placed and disguised bobby pin in the inside of the roll. The bobby pin must be slid from the one opening of the curl, through to the other; effectively
spanning the length of the curl.
Take immense care not to disturb the rest of the hair already styled hair.
11. Secure the curl at the base, by means of inserting a well placed and disguised bobby pin in the inside of the roll. The bobby pin must be slid from the one opening of the curl, through to the other; effectively
spanning the length of the curl.
Take immense care not to disturb the rest of the hair already styled hair.The tighter and neater your curl, the more stable and compact your end result. Note that the outward side of the curl connects with the top part of the braid. Use your tail comb and hair spray to correct fly-away hair and imperfections.
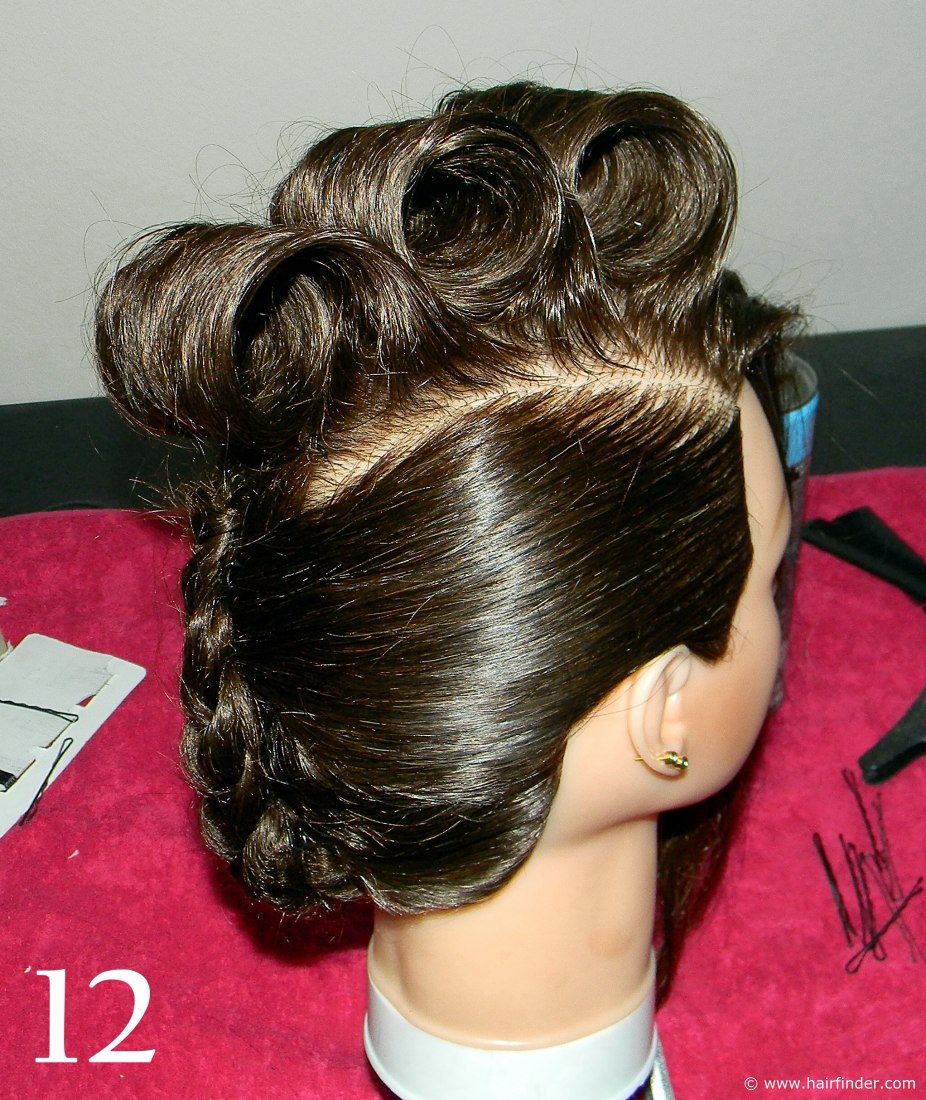
12. Repeat the curls three times in a row, working from the back to the front. Each curl should connect with the next one in a neat and compact manner. These curls will all be covered with the hair of the faux fringe in the end, yet keeping your curls as tight and flawless as possible is good practice for more advanced precision work, as well as keeping the structural support of your style balanced and stable.
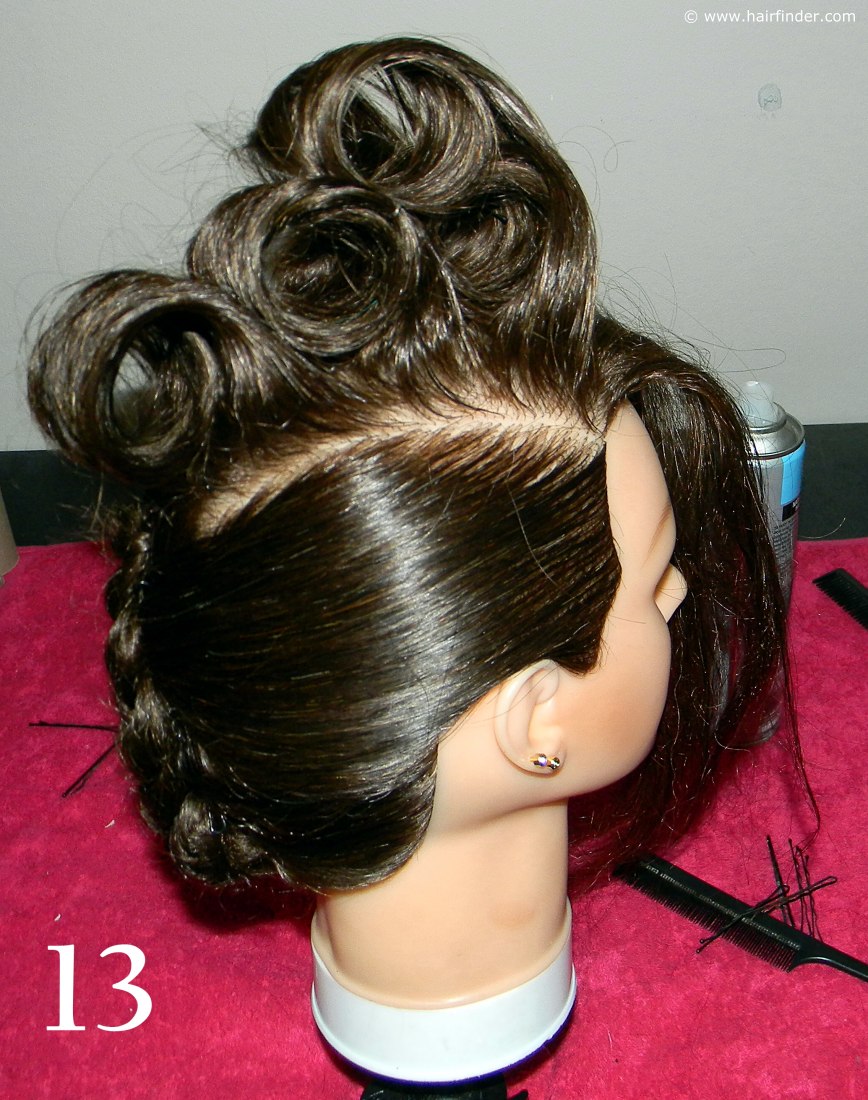
13. Create a fourth curl, situated on top of the last curl that you created. This will form the height of the faux fringe. You must take extra care and concentration to form this front curl with precision, balance and control. If these curls are unbalanced in any manner, it will undoubtedly have a negative influence on your faux fringe from the front.
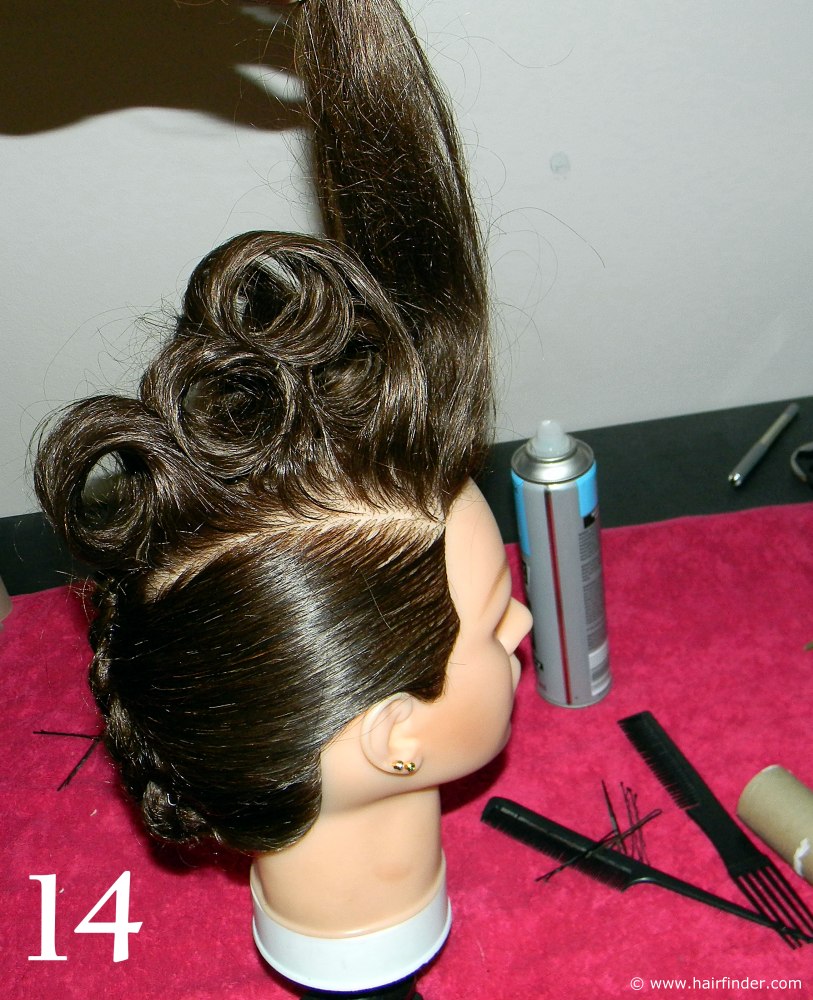
14. Now tease the last section of hair that you have left at the front to produce a sufficient amount of volume. Then comb the teased hair to the back, over the curl that you have created. Take care not to disturb the curls in such a way that the style becomes unstable. Literally tease and comb, tease and comb, until you achieve the effect that you want.
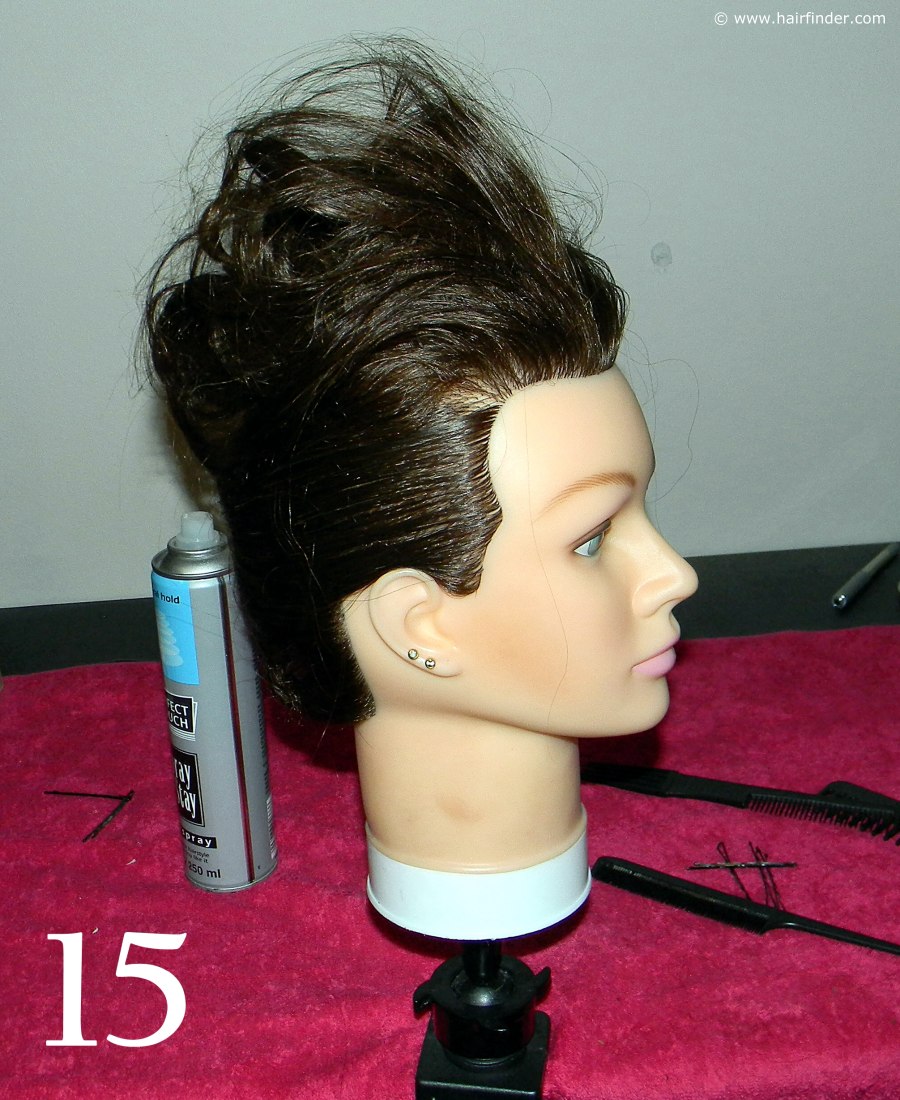
15. At first the faux fringe will seem unstable, but as long as you use enough pins and hairspray, while adding sufficient structural support to the style with the tease technique; the end result will be a stable and impressive faux fringe. Remember that it is paramount in this case that the bobby pins be undetectable.
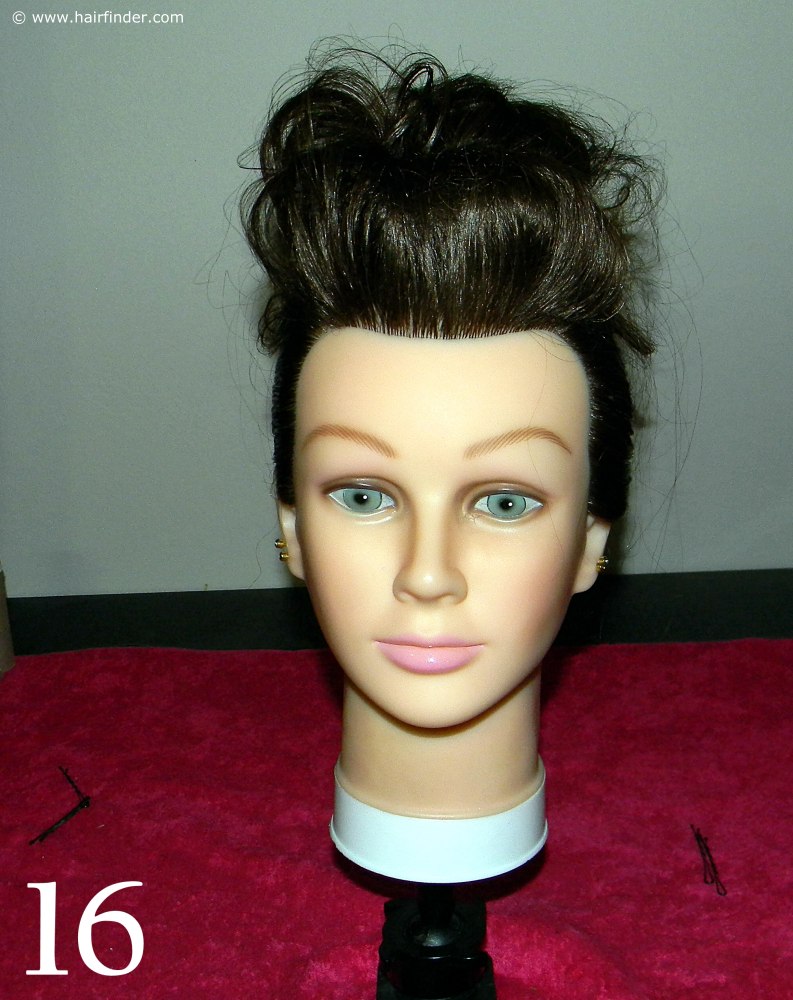 16. In the end, the result should be a prominent, messy and stable faux fringe. You can complete the look with a gloss shine spray with a silicone base, to add glamorous shine as well as blocking out any humidity that
might frizz up the hair.
16. In the end, the result should be a prominent, messy and stable faux fringe. You can complete the look with a gloss shine spray with a silicone base, to add glamorous shine as well as blocking out any humidity that
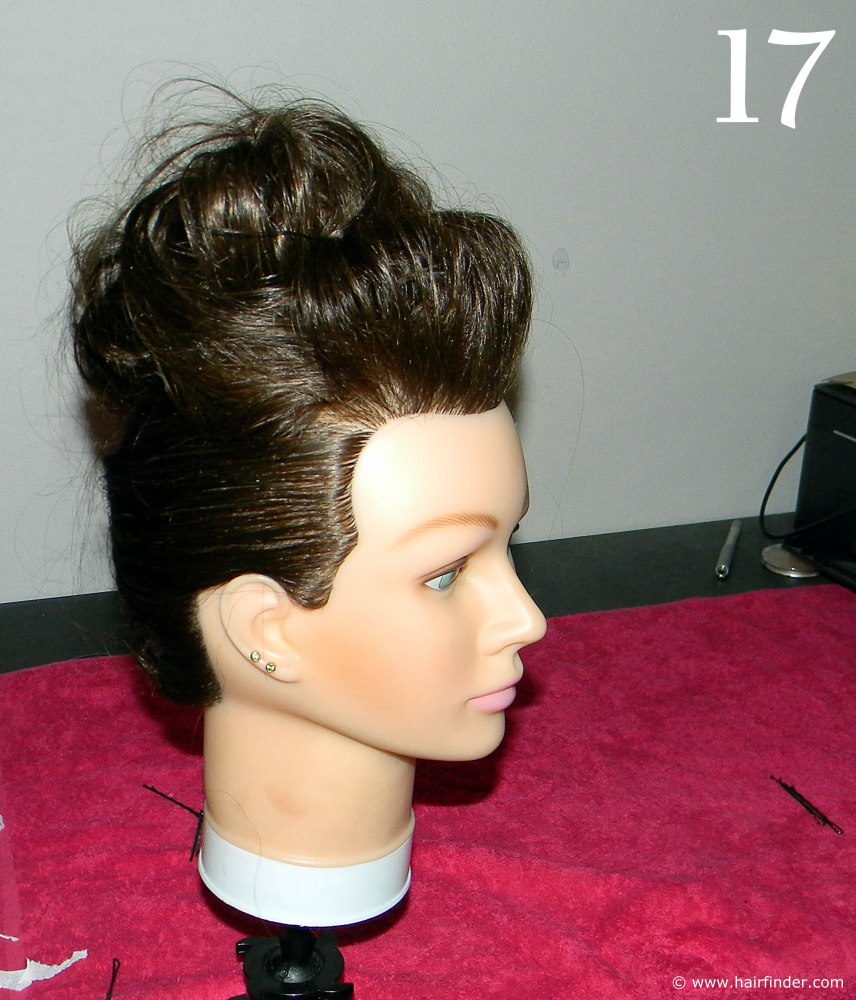
might frizz up the hair.17. Note the different textures between the sides and the faux fringe of the model. This is the main characteristic of this style that creates the illusion of the faux fringe. Most pixie cuts are cut short at the sides and longer on top of the head. The deliberately styled characteristics of this style imitate those main features of the classic pixie cut.
© www.hairfinder.com
See also: Kristen Wiig's fake pixie look