The Channel
Step by step guide on how to cut "The Channel" from Lee Stafford, myhairdressers.com
"The Channel" is an amazing technique for curly hair. Soft, understated and unique. It works equally well on all hair - wavy, straight, thick or fine - breaking the shape beautifully and allowing the hair to be light and free.
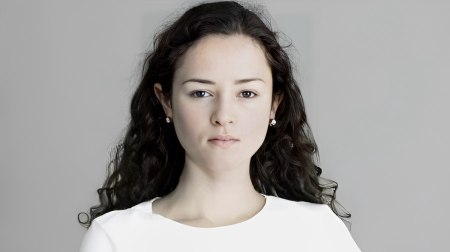
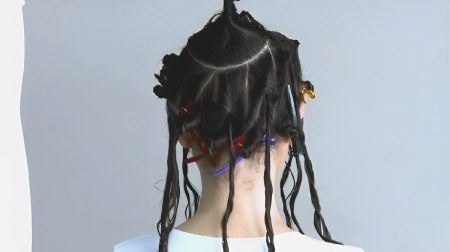
Before: Katie before the cut.
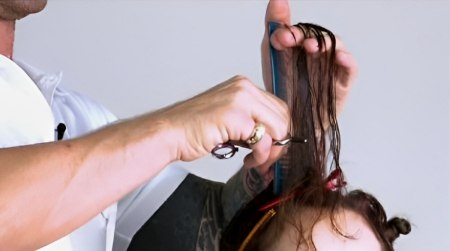
Step 1: The sectioning for the Channel is tricky and time consuming, but worth it as the haircut is very simple. The first section starts from the high point of the head and starts the circle that runs around the crown approximately three inches in diameter with the crown in the middle (approximately).
Step 2: The second section is determined by the side in which the way the hair swings. You go off of the circle and this will make your first section in which up from this you make a rectangle section approximately half an inch depth. Note: There is only one rectangle in this whole sectioning pattern.
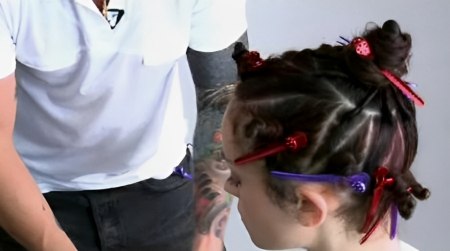
Step 3: The rest are triangular and very similar to that of a Backgammon Board. Back to Back, Top and Tail.
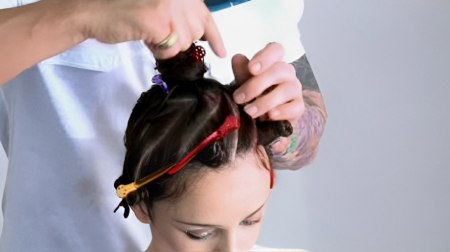
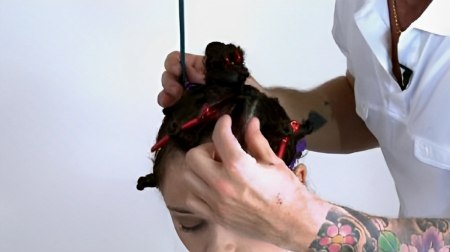
Step 4: The triangles which have the largest width nearest to the circle and the point is on the hairline. Theses pieces of hair you wrap around the bun of your original circle section.
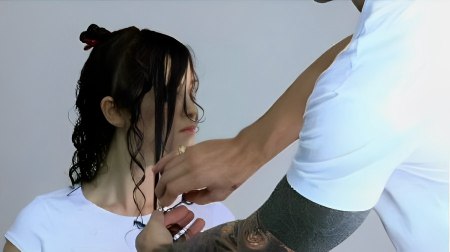
Step 5: The rest of the triangles i.e. the ones with the point nearest to centre circle section, and the biggest width around the hairline, these sections you wrap on itself and on the hairline.
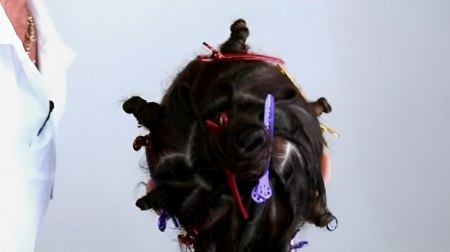
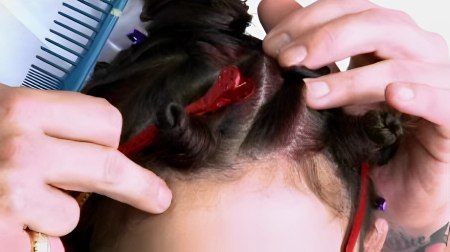
Step 6: Now you will have alternative clips in the haircut around the bottom and the top.
Step 7: Take down alternating sections which consist of the triangle sections that have their wide point at the crown. These will become the shorter areas in the internal shape.
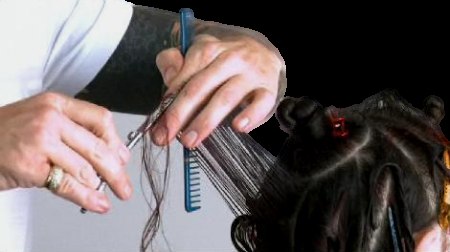
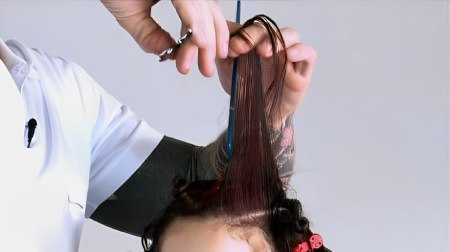
Step 8: Begin the first section in the central back area. Please note: Measure the initial section using the comb, then use this as a guide for subsequent sections to maintain the same length on the internal shape. The section is elevated up with the fingers angled, to create a shorter-to-longer effect through the perimeter.
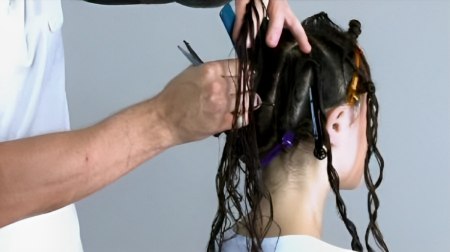
Step 9: Repeat this process, using the comb as a guide with the same elevation and overdirection as you work the alternating sections.
Step 10: Please note to take extra care in the side areas, over-directing a little more to accommodate the weaker area around the hairline behind the ear. Continue with this process until you complete all the alternated sections up to the fringe.
Step 11: Please note, you should reduce the elevation as you work towards the front, with fingers less angled and more square to accommodate the head shape. The internal shape at the front will have a shorter and more defined edge.
Step 12: Next work the same technique working away from the fringe to the back of the head, completing the circle.

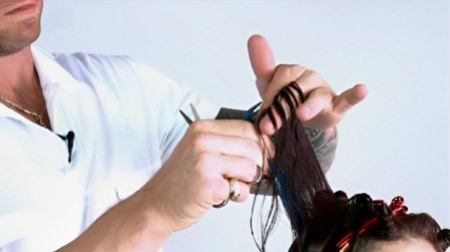
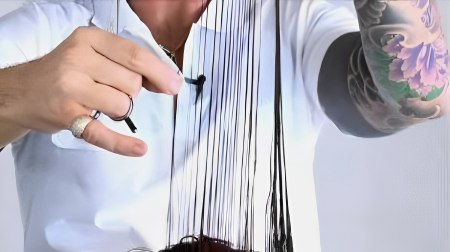
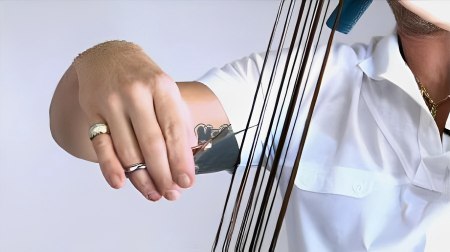
Step 13: Next you will cut the longer lengths, working with the sections that are narrow at the crown. Take your guide from the adjacent previously cut section and make it a little longer. Using a free hand technique, work from short to long to achieve an acute angle. These sections are overhanging and disconnected.
Step 14: Continue with this process around the head. Assess the balance and shape visually.
Step 15: As you work around the head, continually assess your work, paying attention to perimeter outlines and hair density. This is a great way to break up curly hair, adding a short internal shape without the volume.
Step 16: Refine the outline shape through the front, using a parallel section to the perimeter. Create a soft curved line with a free hand technique for maximum shape and length.

Step 17: Repeat this process on the second side, using the fringe area as a guide. Please note the second side is weaker in density as it is the low side of the parting, so take due care.
Step 18: Then work with the final circular section in the crown area. Divide this area into four equal quarters. Using the comb as a guide, add 3 cm to the length and cut from short to long from the central point of the circle.
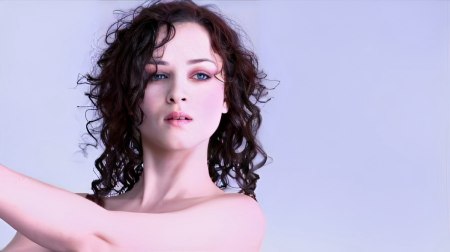
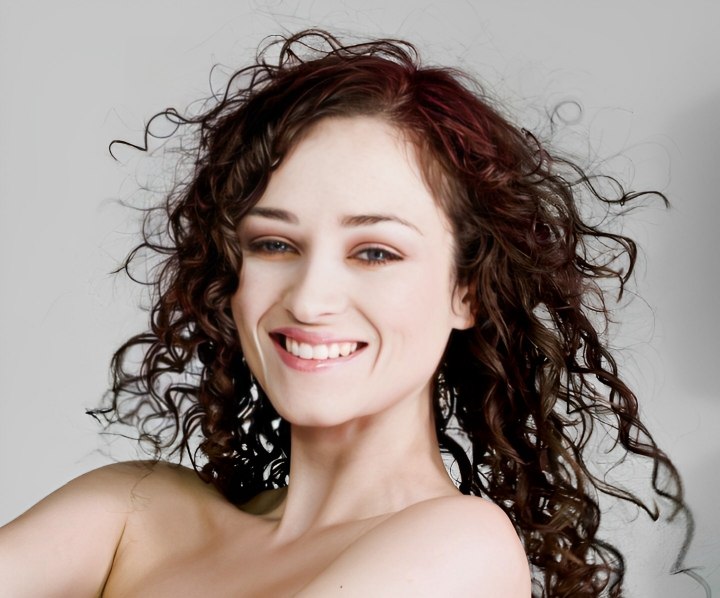
Finish: The Channel magics in the sectioning. An amazing cut for curly hair and working equally well on wavy, straight, thick or fine hair. Breaking the shape beautifully and allowing the hair to be light and free.
Text and photos by MHD. Subscribe to view the training video!
See also: How to cut a one length long haircut