Up-style with Feathers for a Long Bob
1. What you will need:a. Colored feathers
b. Bobby-pins and clips
c. Hairspray and a heat-protection product
d. Flat-iron
e. Brushers
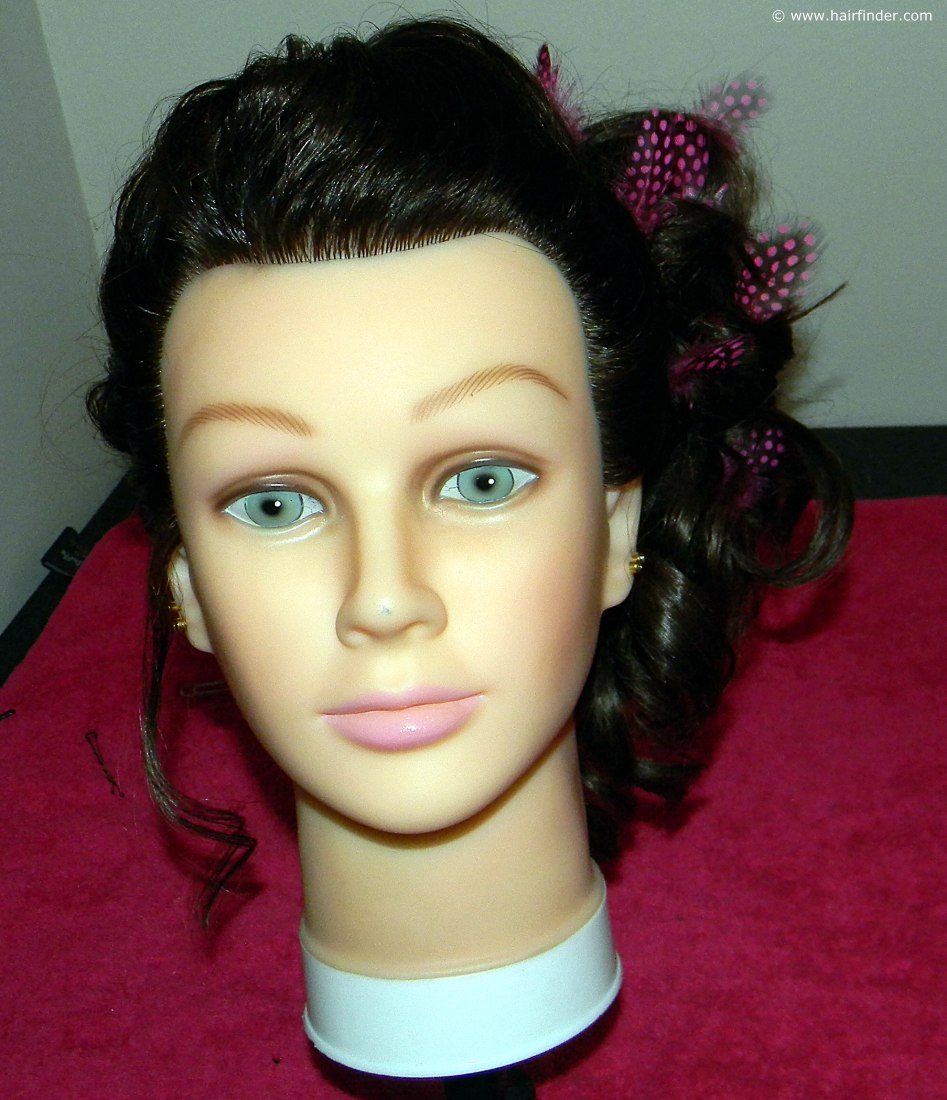

2. Note that we’re working with dry hair in this style. It is usually easier to work with hair that has been washed the day before, when creating up-styles. This is because the sebum layer that is created by the hair follicle makes the hairs cling to each other to a limited extent, resulting in easier styling and stronger hold. Comb the hair all the way to the back of the model’s head, getting rid of any tangles or knots that may be present.
4. Spray the hair with a heat protection spray before you ever apply any form of heat to the hair. Use your flat-iron to create the curls. If you are unfamiliar or uncomfortable using the flat-iron to create curls, you may also use a curling iron to achieve the curls.
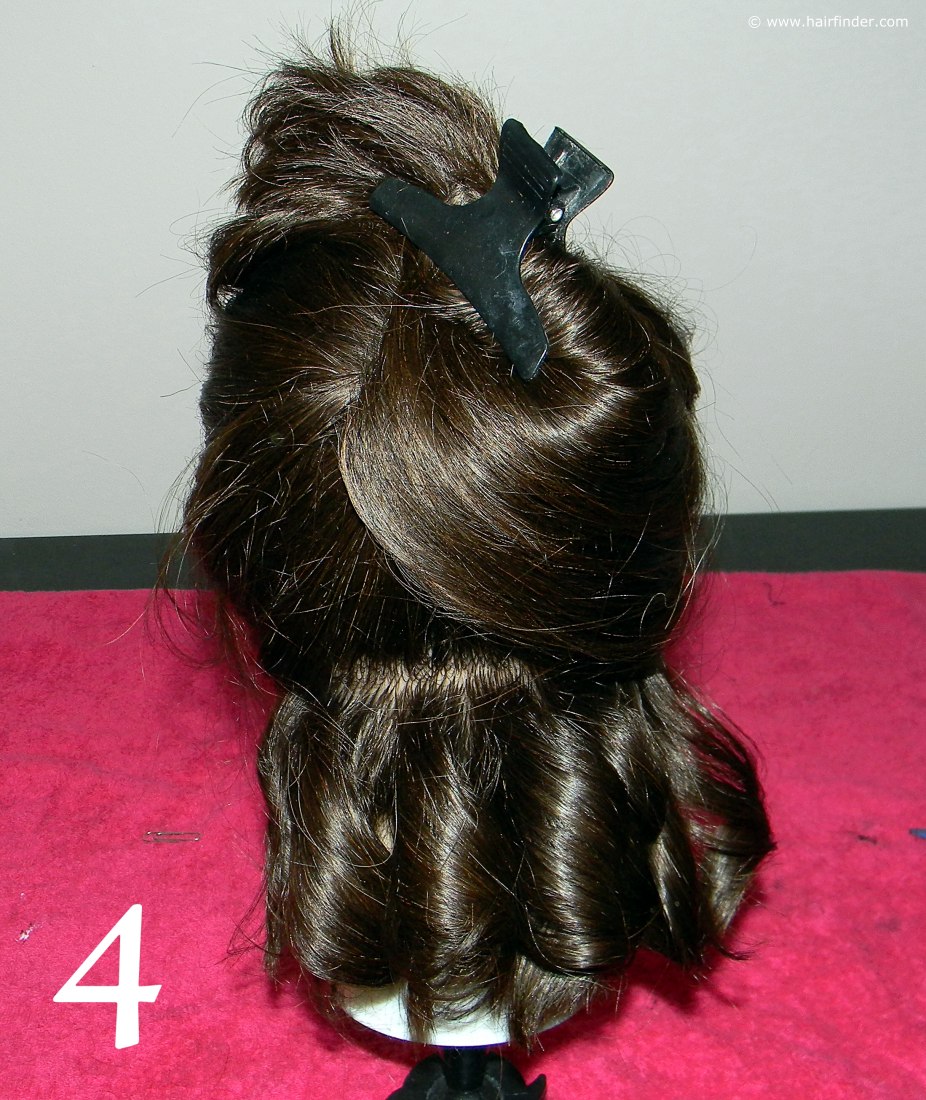
Clamp and twist the flat-iron in a 180 degree manner and gently slide the iron towards the tips of the hair to create the uniform row of curls. Once you have completed this section, spray the curls with a medium- to strong hold hairspray to ensure that the curls retain their form and structure.
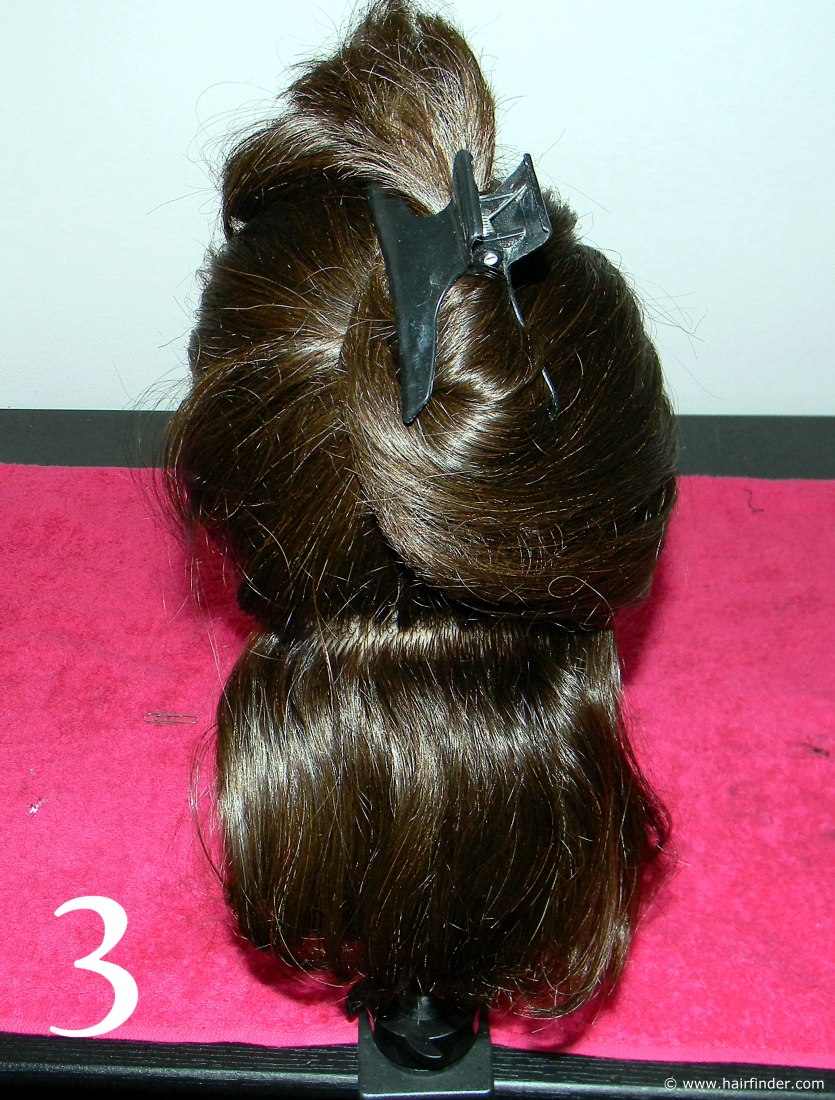
5. Loosen the hair that you have secured on top of the head, and draw out your next two inch section to curl. Again secure the hair that you won’t be working with now by clipping it out of the way. Take care not to disturb the curls that you have already created along the bottom of the model’s head. Gently use your fingertips and separate the first section that you’ll be curling along this row of hair.
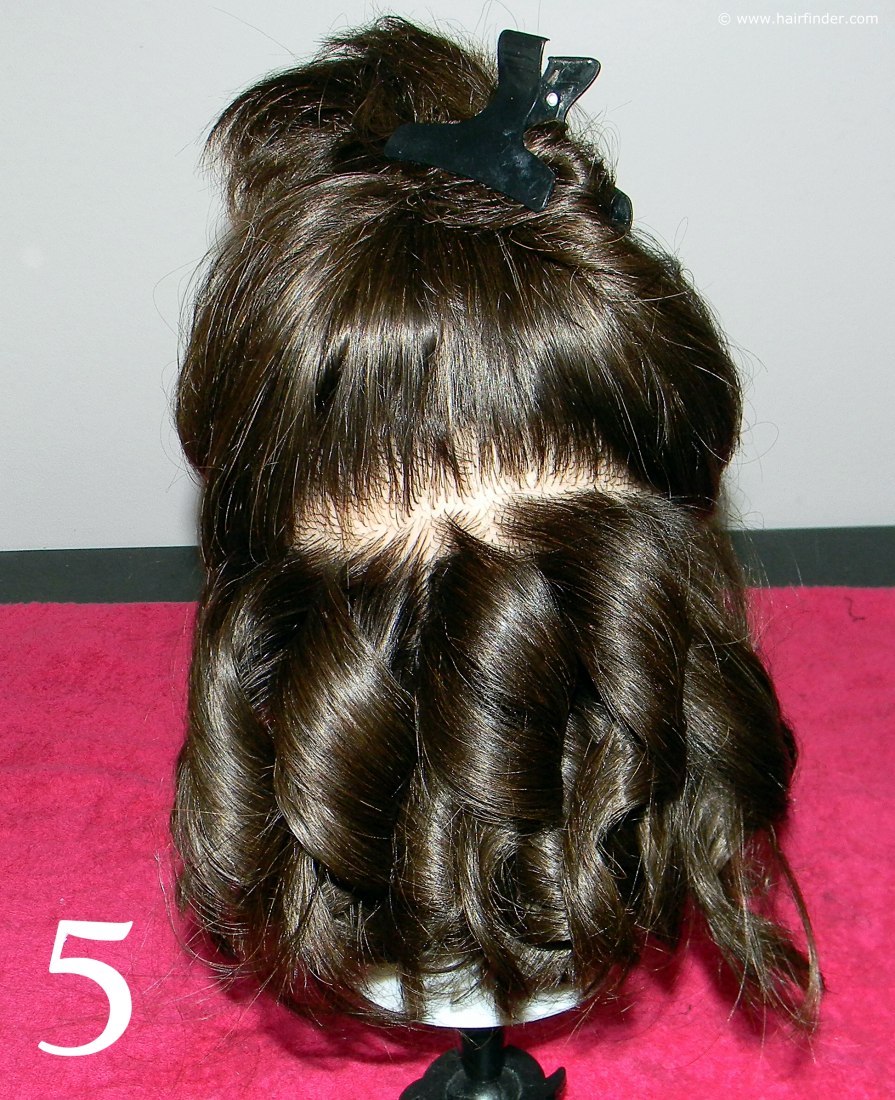
Repeat the method as stipulated above, again taking care not to disturb the already created curls. Spray the curls with a medium- to strong hold hairspray when you’ve completed this new row of curls. Note that we curl the whole row of curls in the same method and in the same direction to create this style.
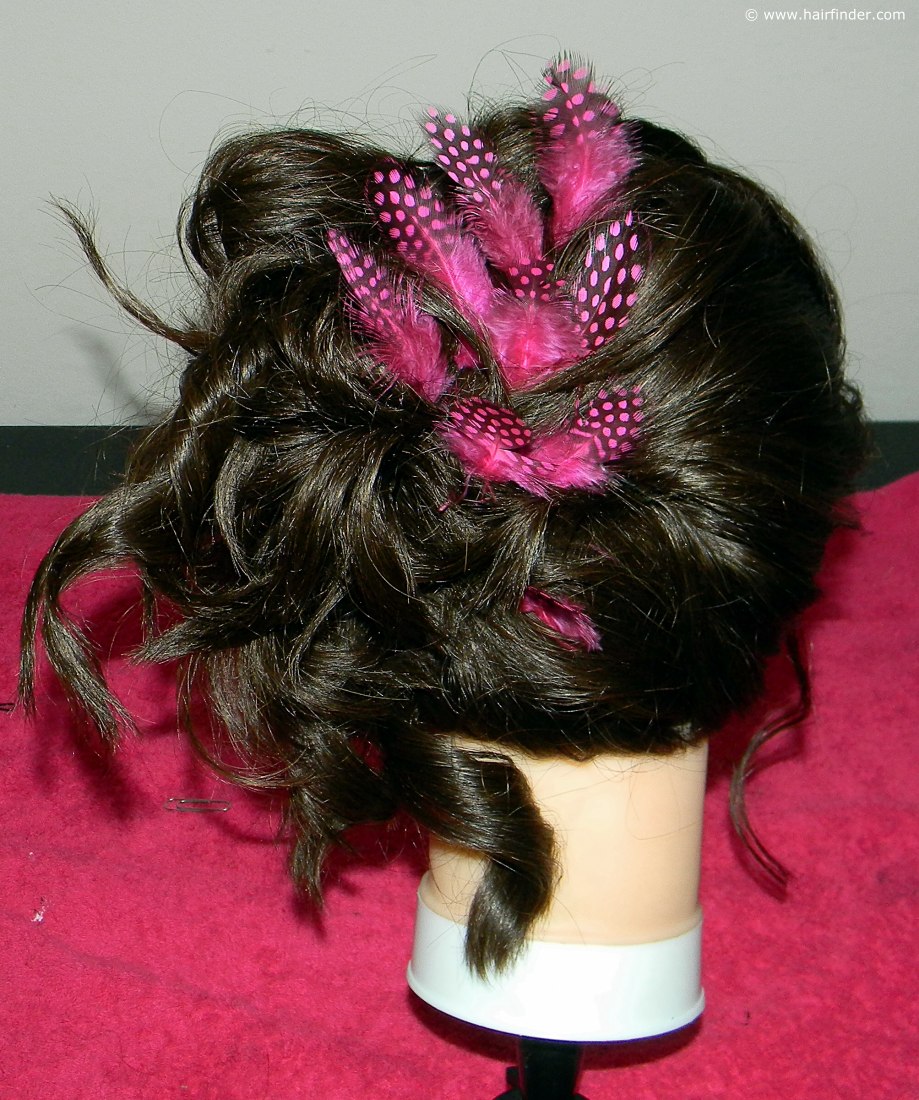
6. By the next row you should reach the area that will be spanning along the back half of the circumference of the model’s head. Draw out your section in a square shaped form, so that you have even solid lines to work with. Clip the rest of the hair on top of the model’s head, to ensure that it does not obstruct your working space.
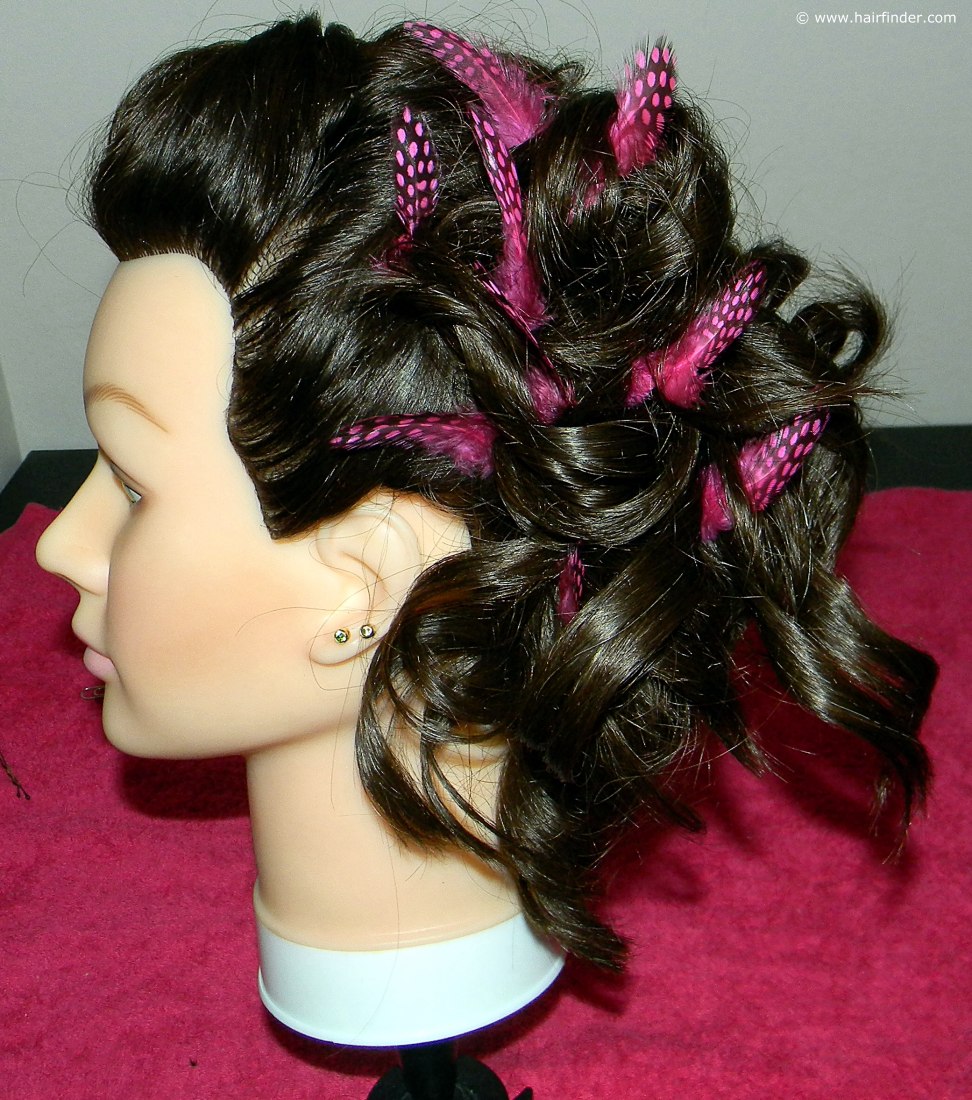
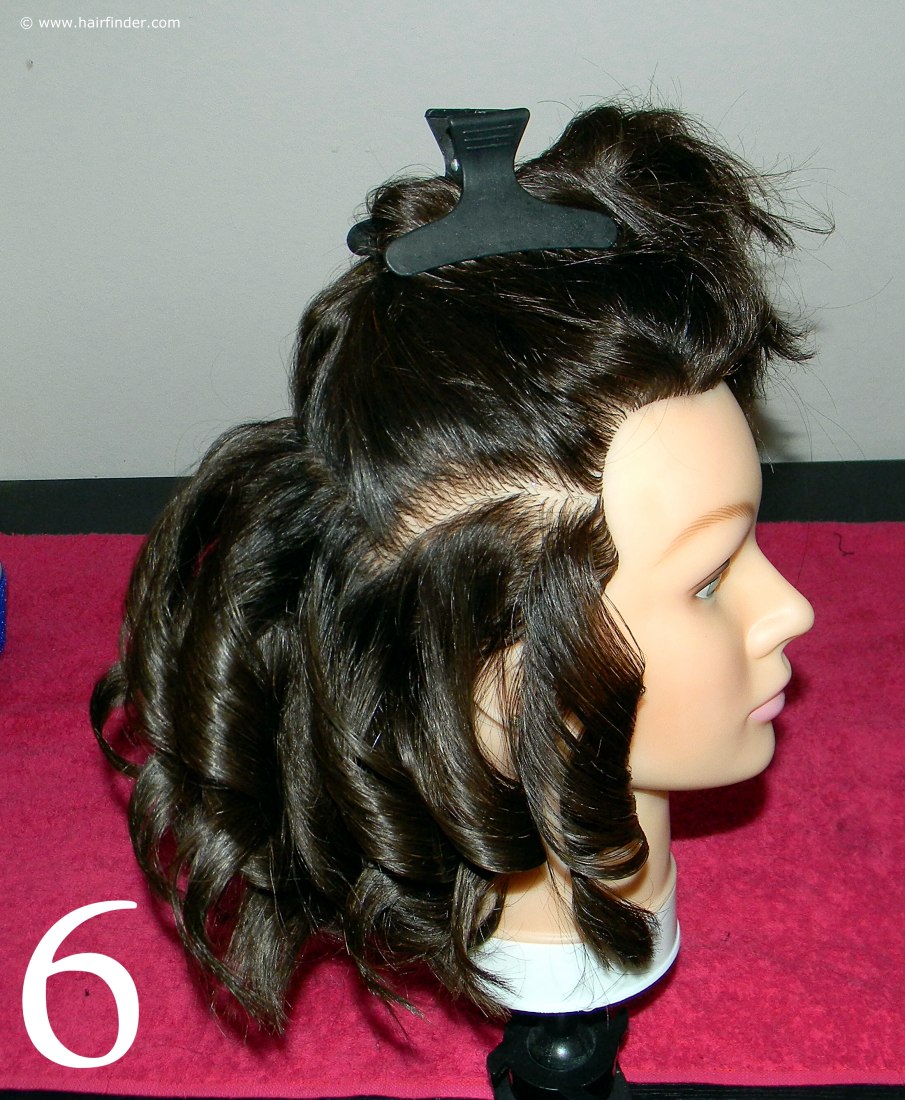
Take special care not to burn the model along the hairline and the ears. The bulk of flat-iron or curling-tong induced injuries are a direct consequence of mishandling the heat-technique apparatus in this area. Start at the back of the model’s head, and complete the row of curls in this section. Then advance towards one of the sides of the model’s head.
Ask her to remove her earrings if she is wearing any, and to fold the top of her ear downwards, and to press it flat with the tips of her fingers while you’re creating curls in this area. Repeat the process on the opposite side of the head, and spray the whole row of curls with hairspray.
Next Page