How to do a Half Mohawk with Braids
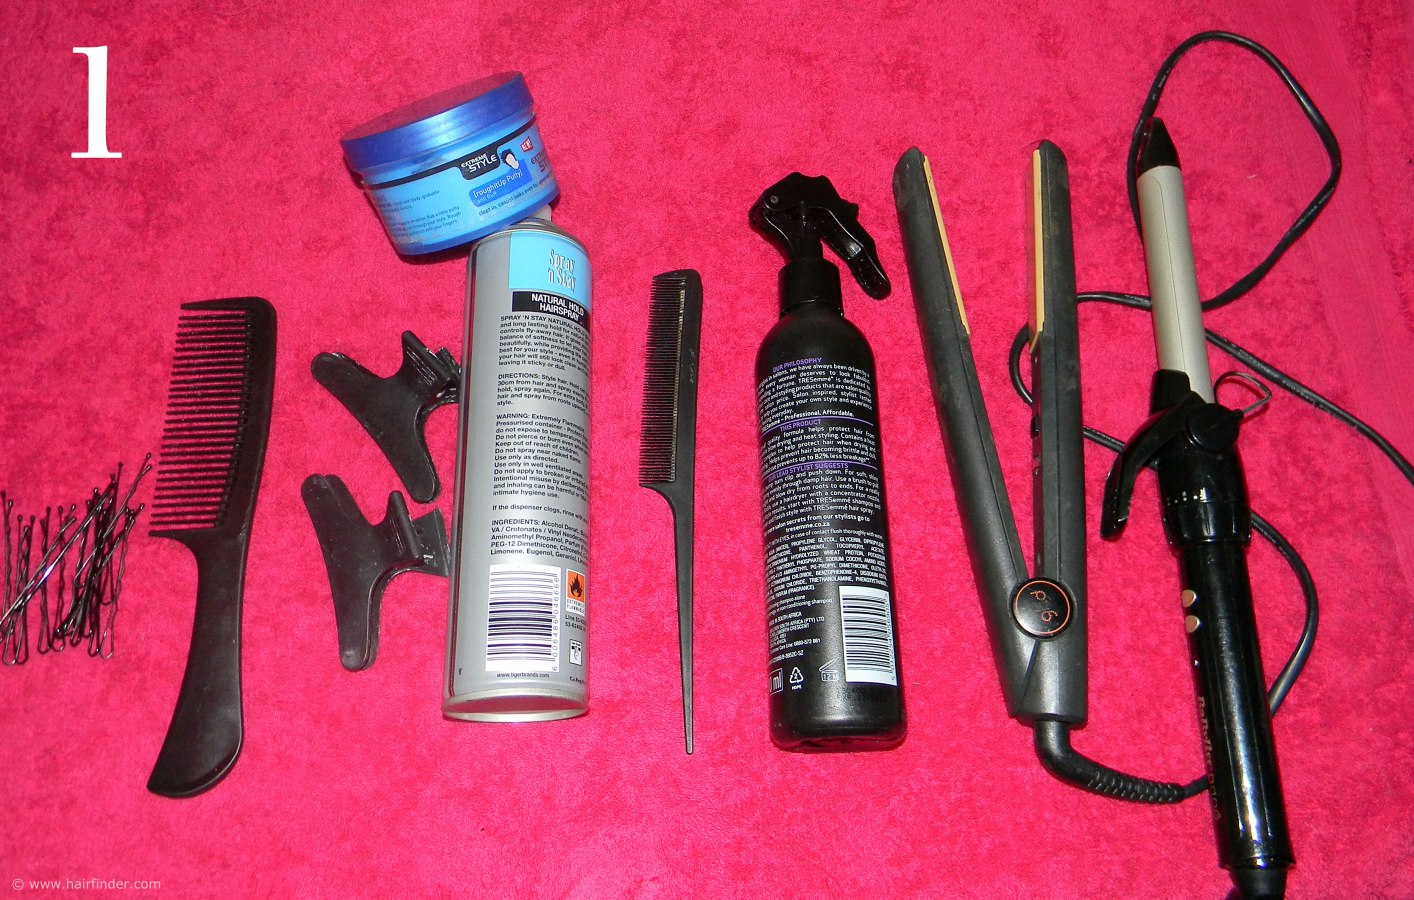
1. What you will need:a. Bobby-pins
b. Hairspray and heat-protection spray
c. Crocodile clips
d. Tail-comb and brush
e. Styling products of choice
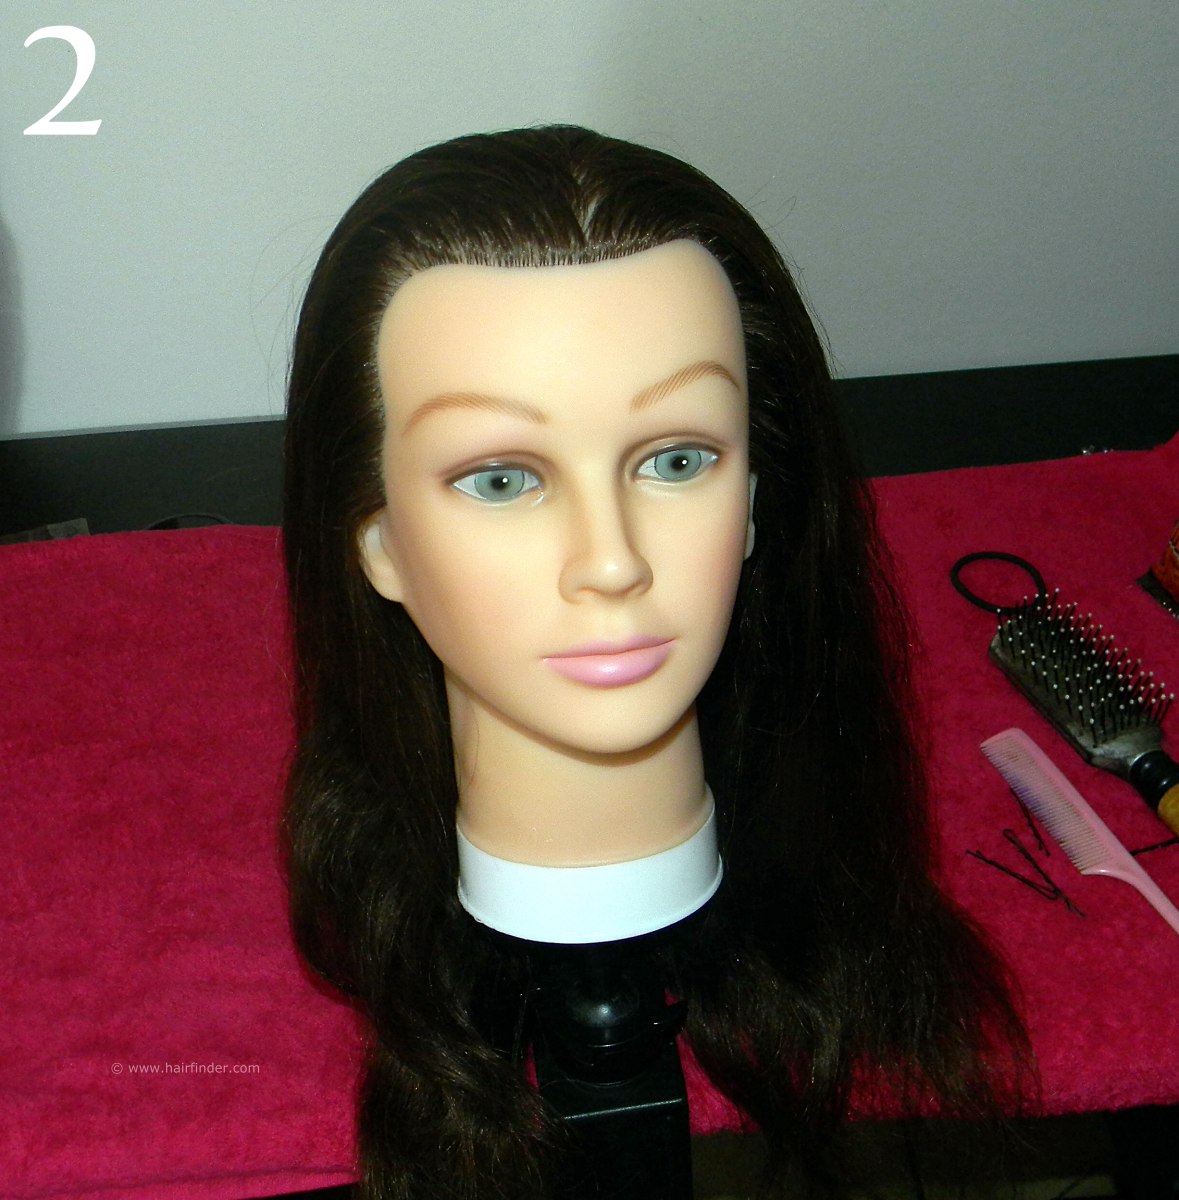
2. Comb the hair in a backwards direction, away from the face.
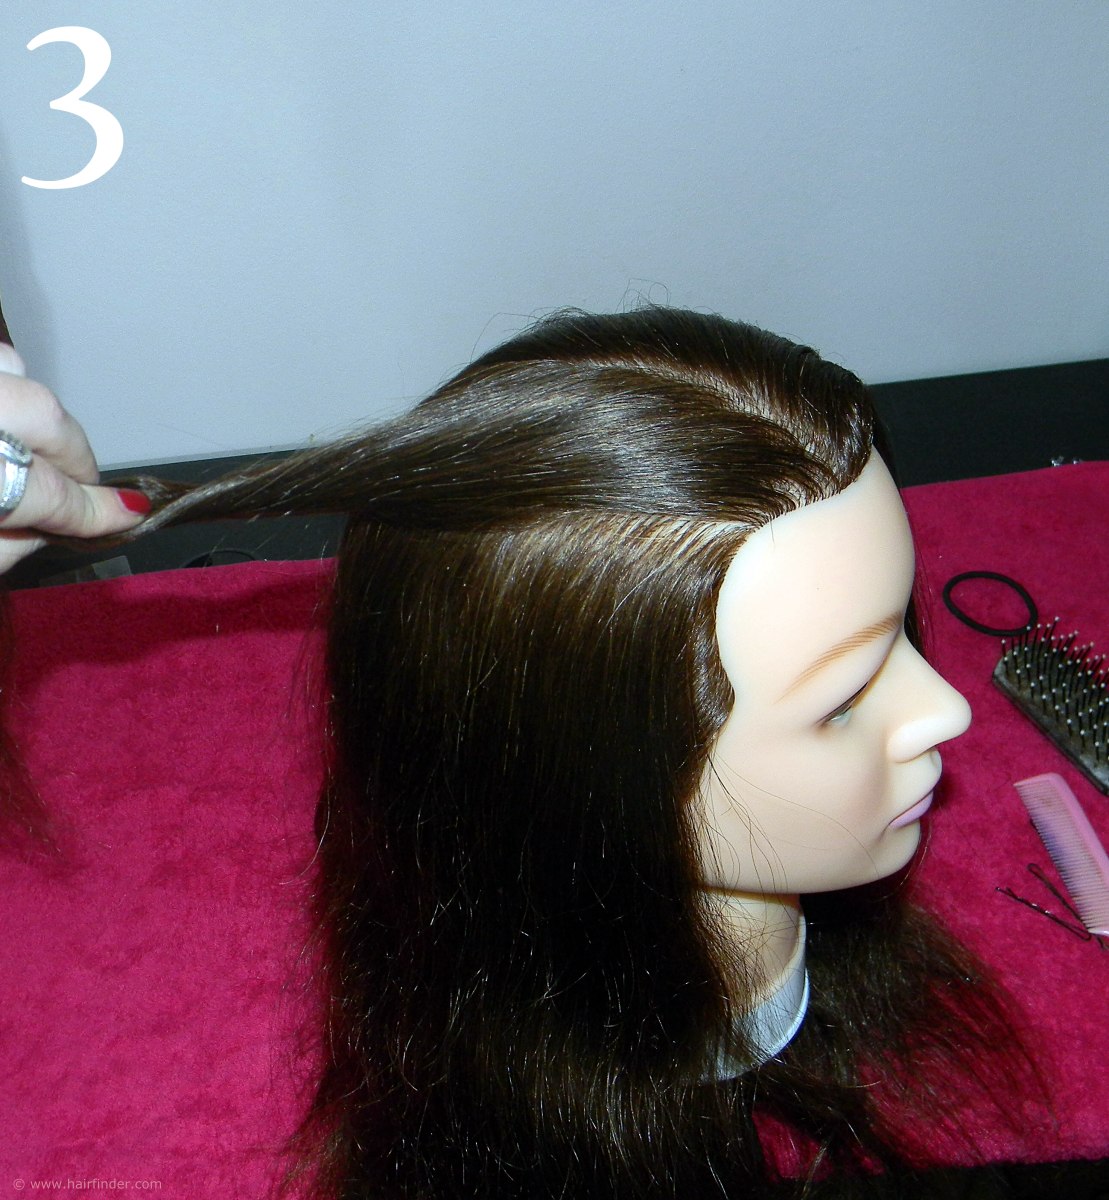
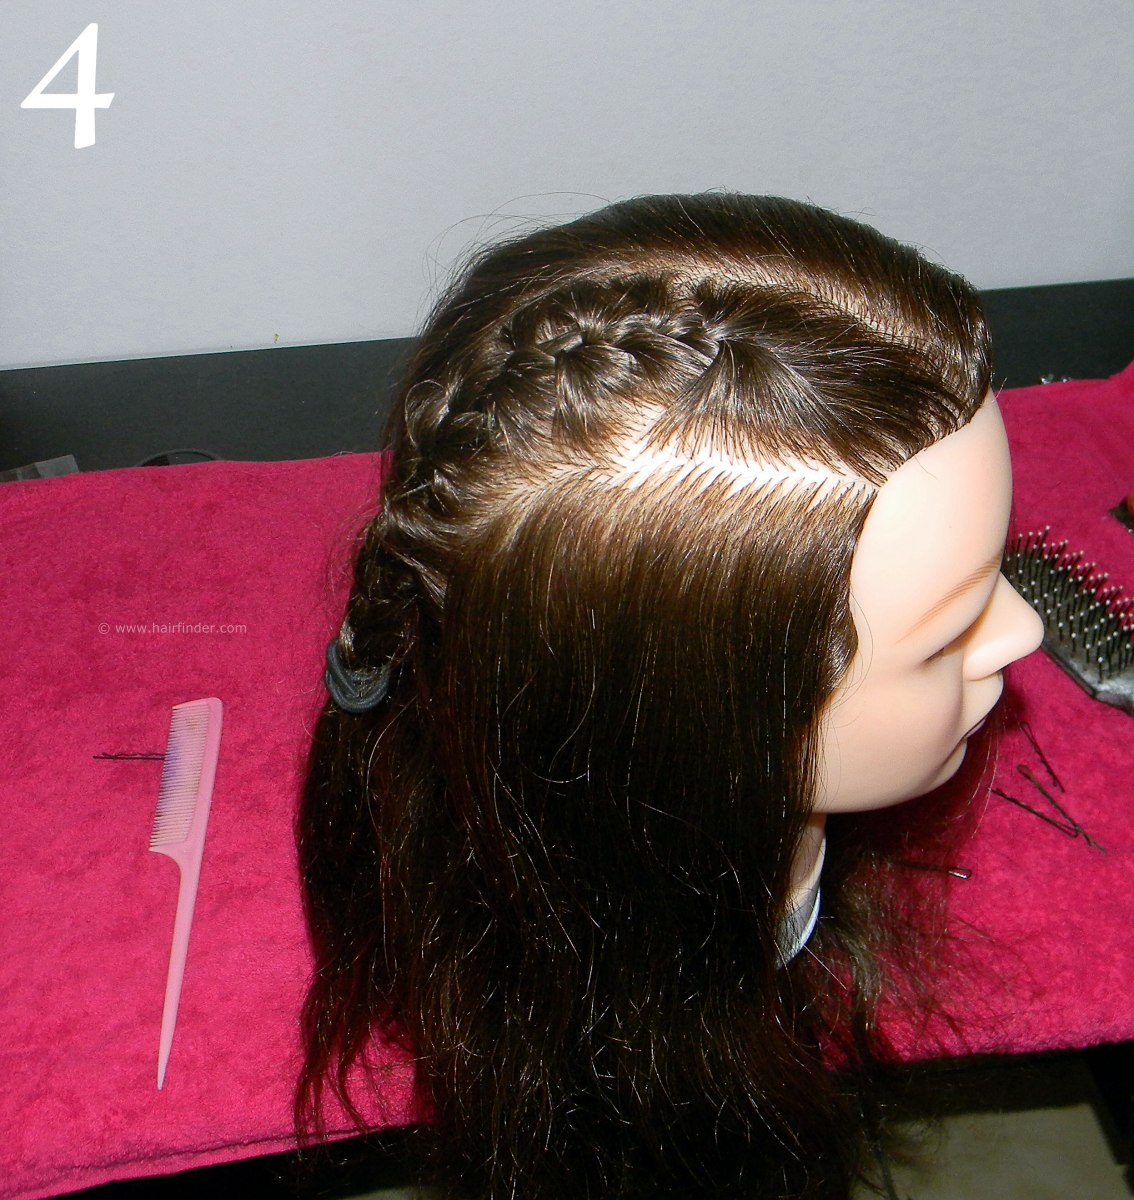
3. Use your tail comb and draw a slightly off-centre side-part. This is where you’ll be braiding the hair. Make sure that your parting line is straight and neat, otherwise your braid will be skew and untidy, which will ultimately ruin the completed look of your style.
If this is not your strong point or if you’re inexperienced with braided styles, practice doing tight braids before attempting this style. Secure the braid at the end of its length with a hairband.
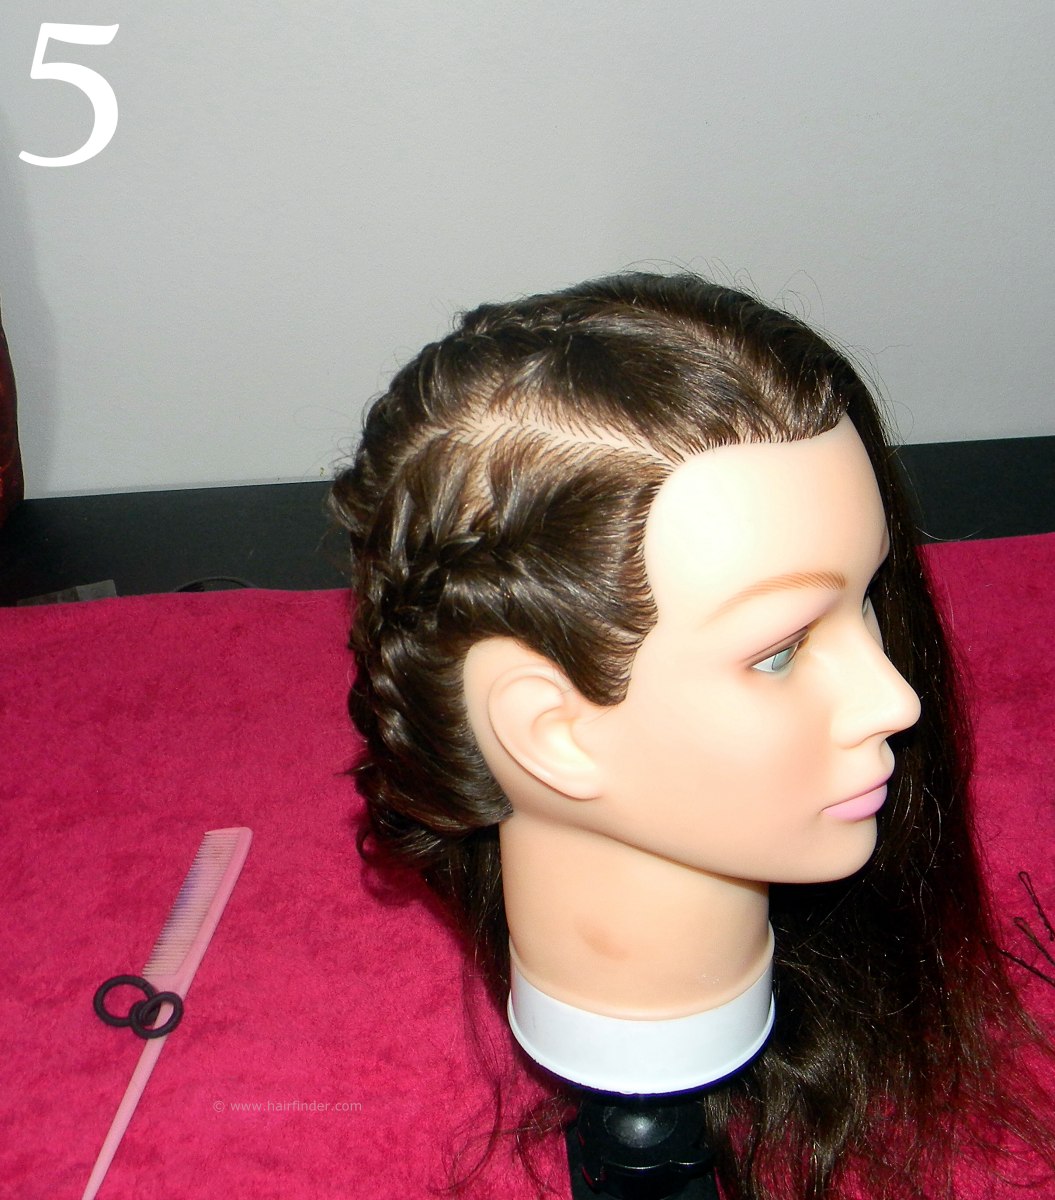
5. Braid the section between your original braid and the tip of the ear in the same method. Again prioritize tension and control of the hair while completing this step. Secure the end of this braid together with that of your first braid.
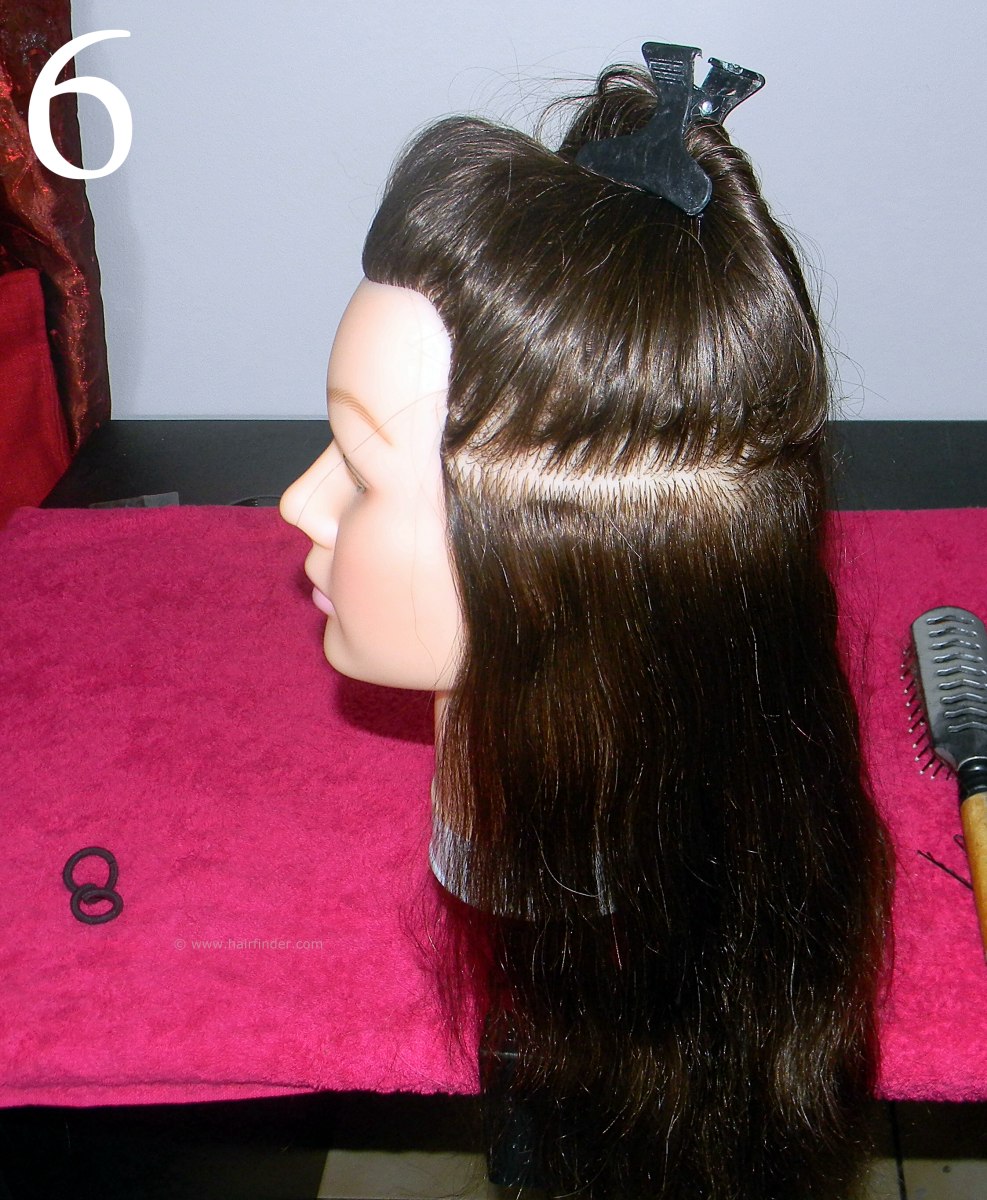
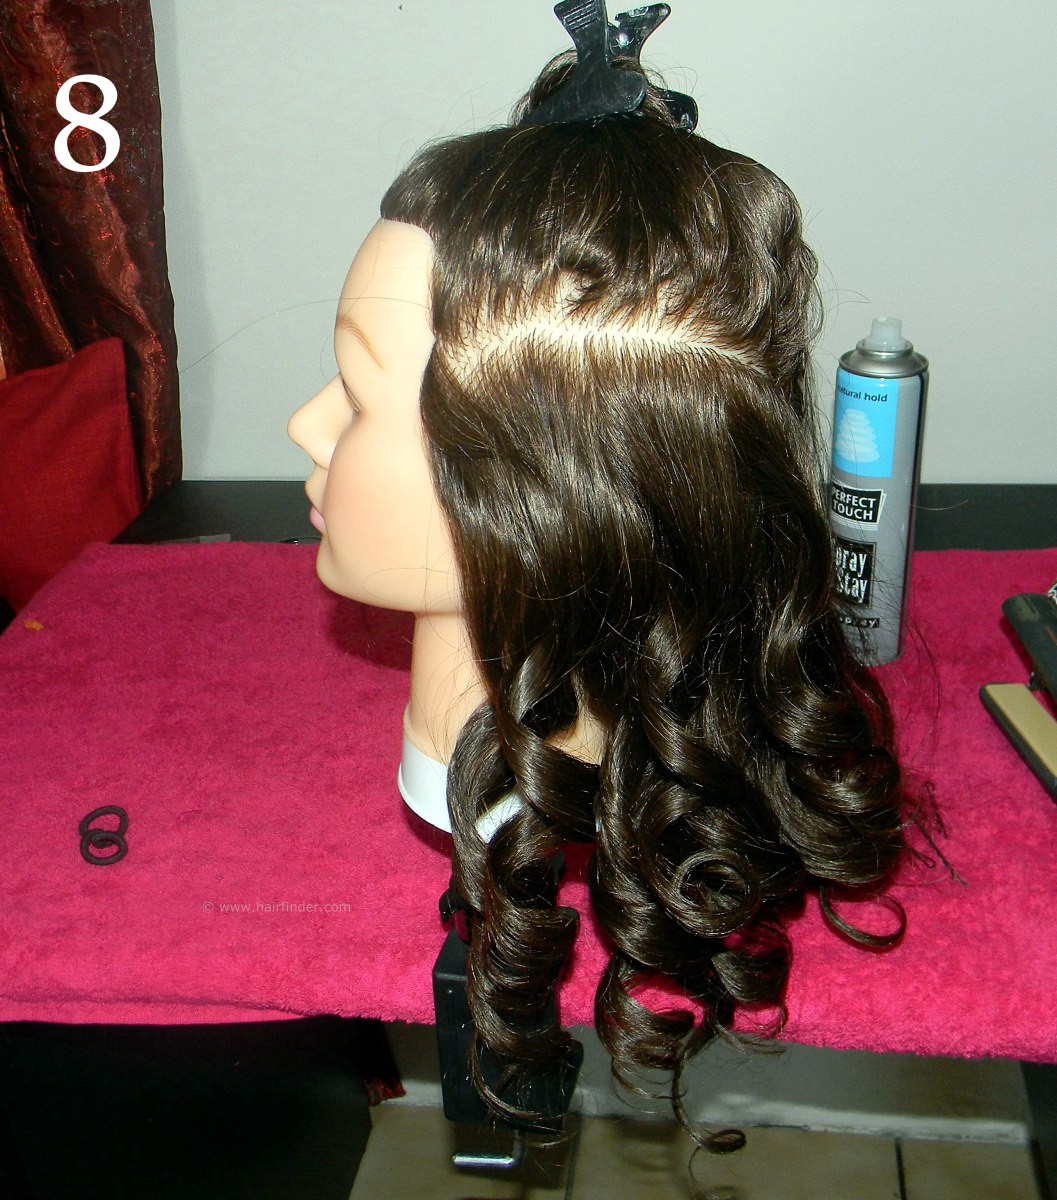
6. Now turn to the opposite side of the model’s head. Use the end of your tail-comb and draw out a section of hair above the tip of the ear. Depending on the thickness of your model’s hair, this should be about one inch in width. Spray the hair with heat-protection spray and comb it through to the ends of the hair. Don’t use more than two sprays, as this will wet the hair and you’ll have to wait for it to dry, or blow it with a hair-dryer.
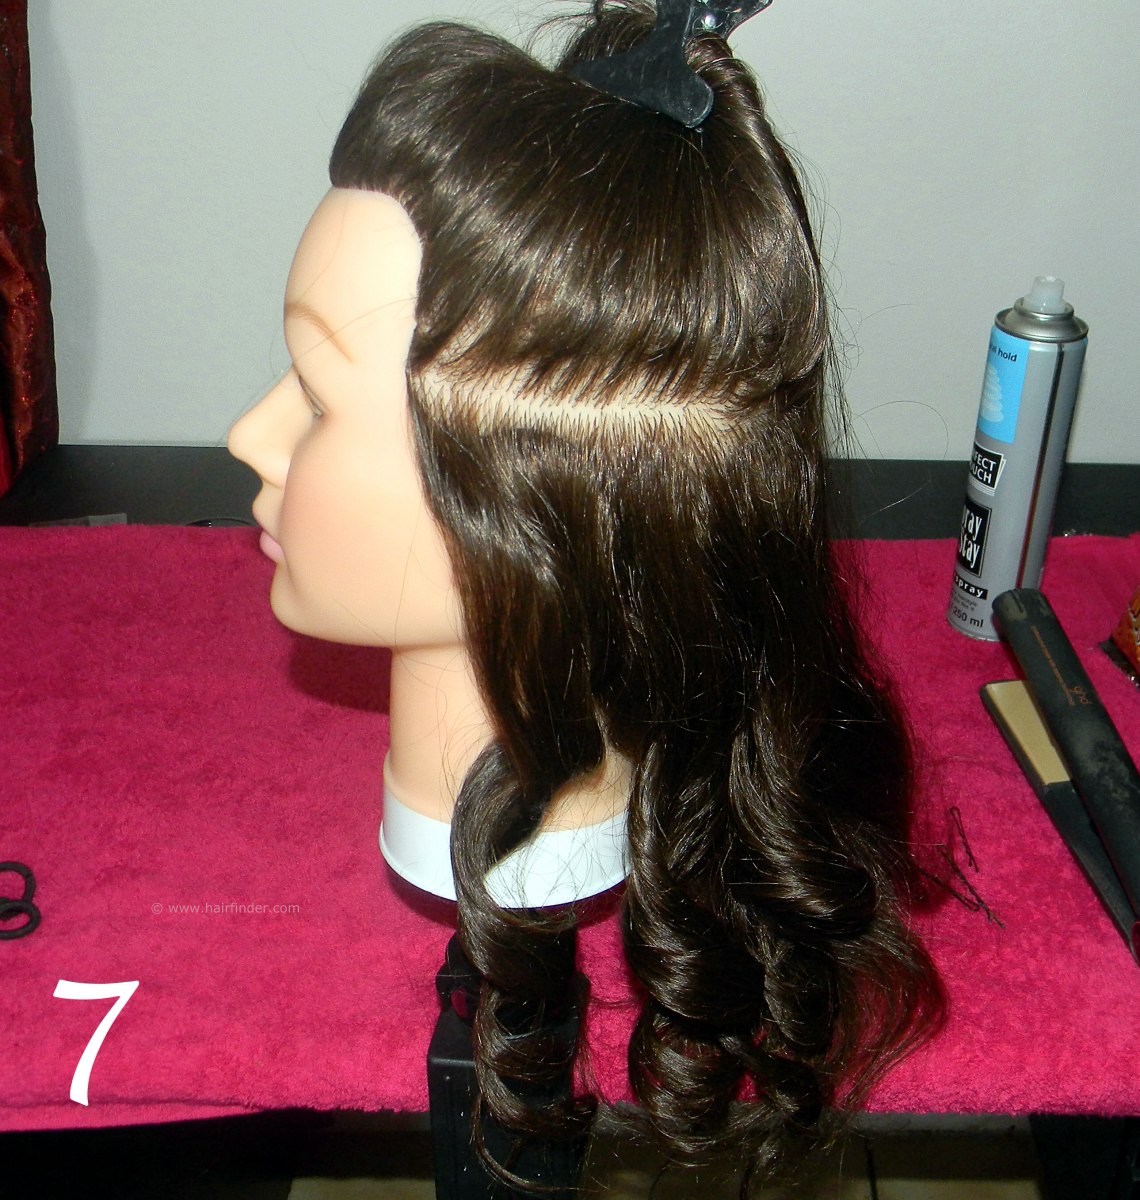
7. Use a large-barrel curling iron or your flat-iron to create curls. If you use your flat-iron, twist the iron in a 180 degree motion to create the curls. If you are inexperienced with this method, rather use the normal curling iron.
Create the curls from about two inches from the root, all the way down to the tips of the hair. As you complete a curl, spray it with hairspray in order to preserve the structure of the curl, as the weight of the hair will inevitably pull down on the curl.
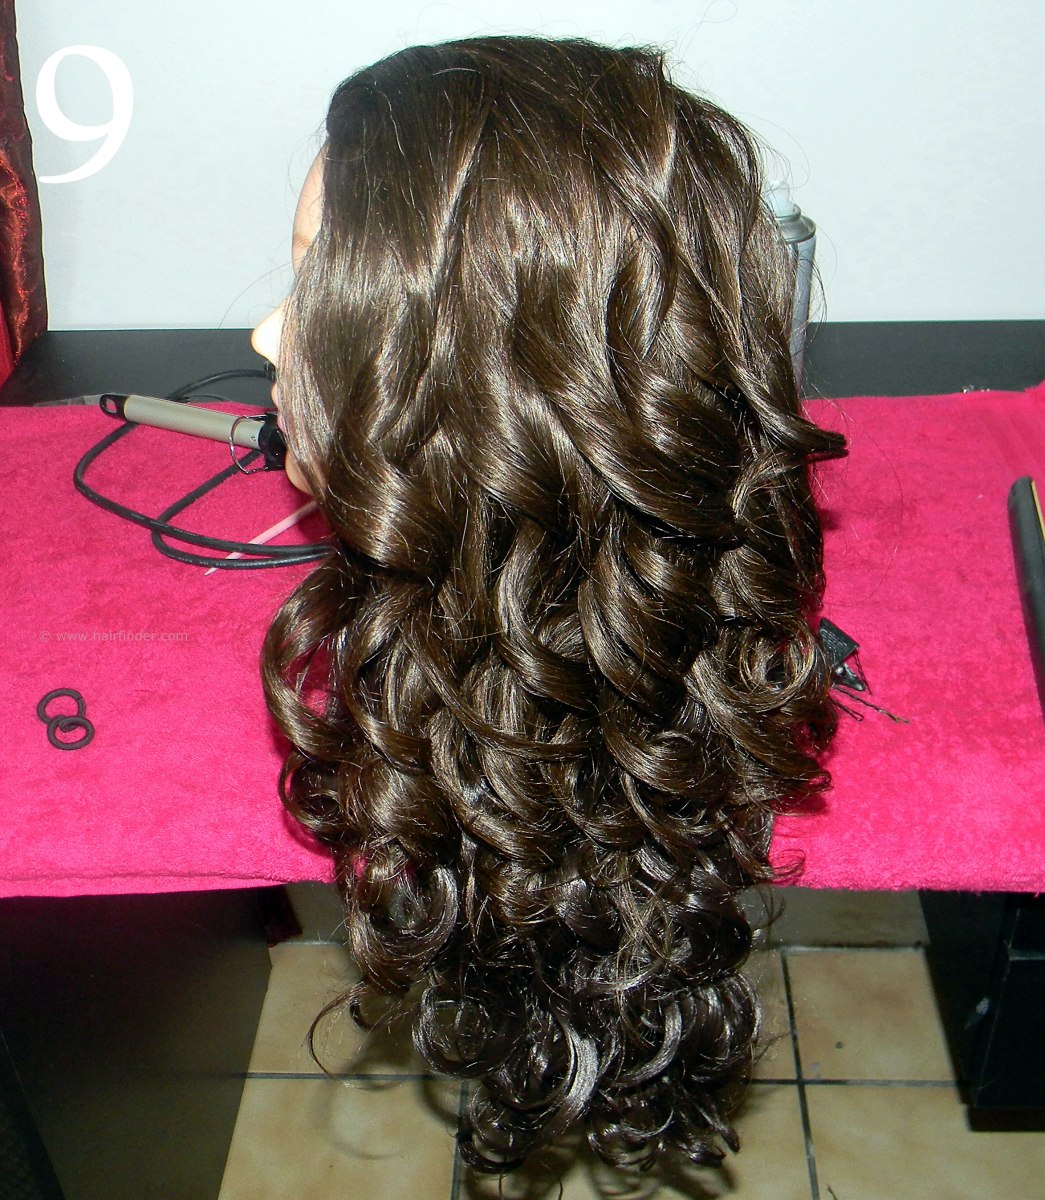
8. When you have finished with the first section, draw out a new subsequent section above your completed section, and curl this region in the same method. Repeat this until you have curled all the hair that is not braided.
Remember to spray every section with heat-protection spray before heat on the hair, in order to prevent heat-damage to your model’s hair. Also remember to keep spraying each curl with hairspray when you have completed the curl, as to preserve the structure of the curl.
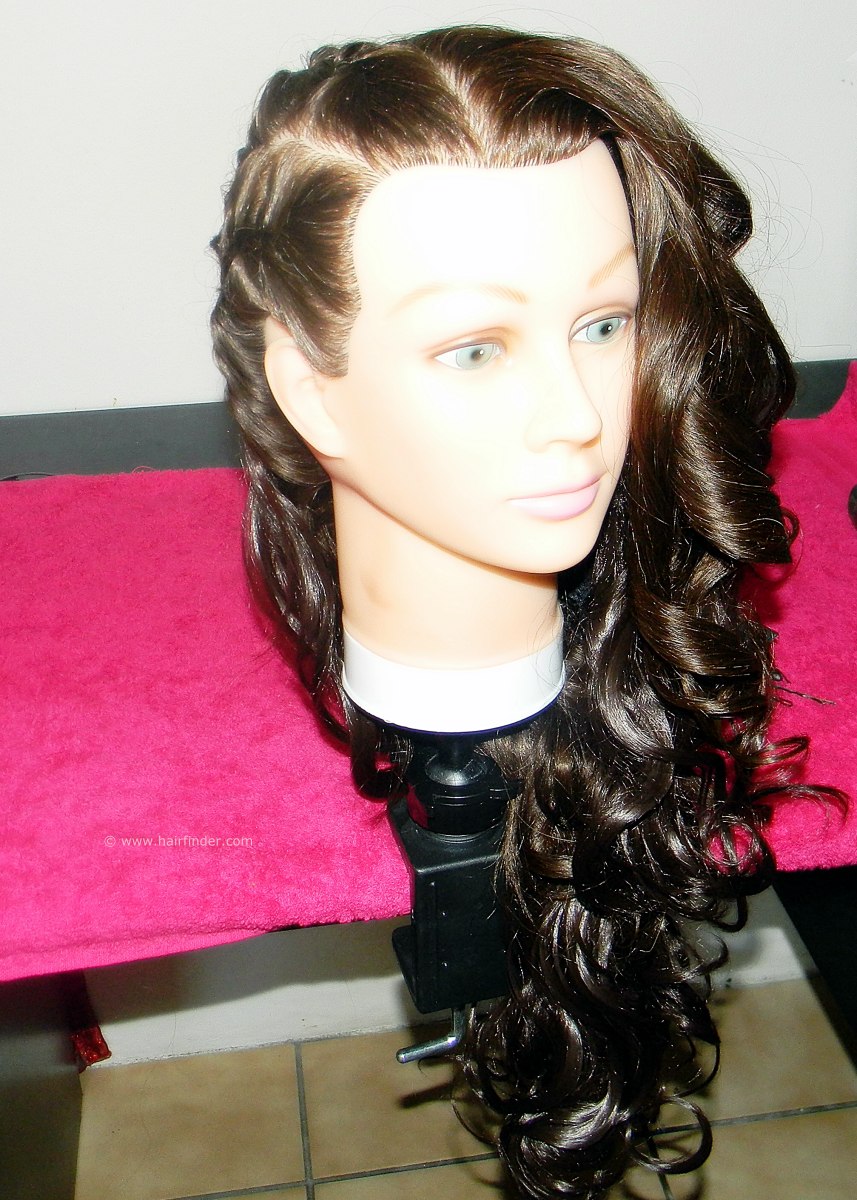
9. Once you have completed the whole head of curls, ask your model to throw her hair back and forth four times. This separates the curls and adds volume and dimension to the curls. Secure the ends of the braids beneath the curled hair with bobby-pins. The curls will fall over the bobby pins, disguising this area effectively.
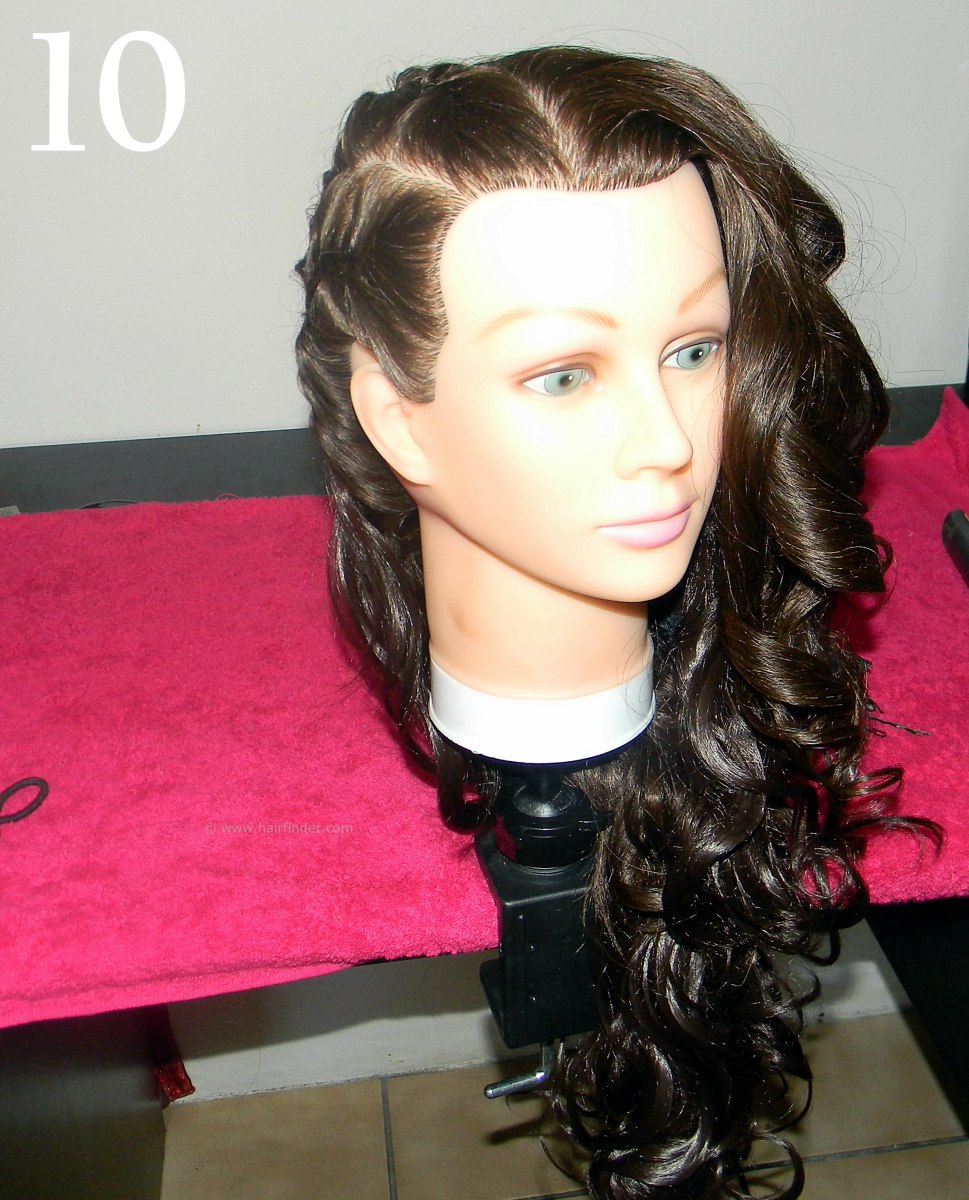
10. Note that the hair is styled in a side-part, with the fringe area also curled, creating that bombshell look with a side-swept fringe, curls cascading down your model’s face. Complete this look with a silicone-based gloss spray to enhance the dimension and movement of the curls.
©hairfinder.com
See also:
How to braid hair
Long hair roller set