Reverse Long Graduation
Step by step guide on how to cut a reverse long graduation from Mark Smith, myhairdressers.com. A simple layered look. Commercial, accessible and youthful in essence.

Before: Jessica before the haircut.
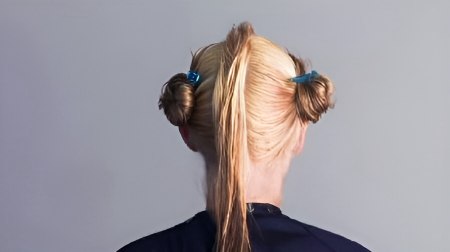
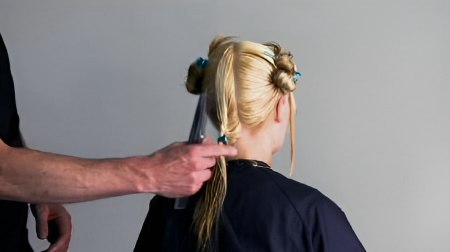
Step 1: Create a central section from the front hairline, down over the crown into the nape, approximately 2 cm thick. The section size will be dependent on hair quality and density. This section will be the guide for the total internal shape.
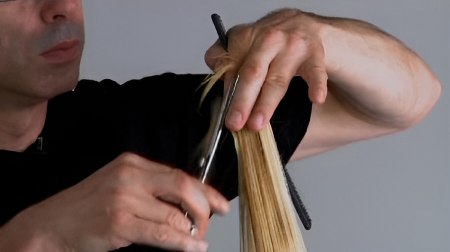
Step 2: This section is divided in front of the crown for practicality. Work with the back portion to start. Elevate and over-direct the hair and cut a line from shorter to longer towards the crown.
Step 3: Using the same elevation and angle, cut the front portion from shorter to longer towards the front hairline.
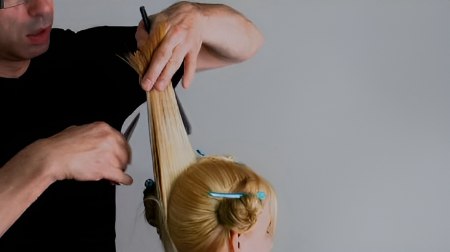
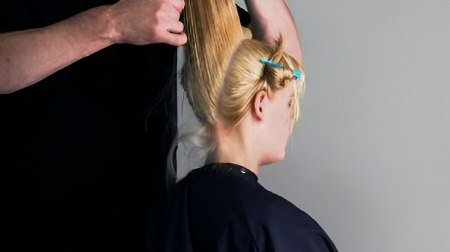
Step 4: From this central section starting at the crown, use pivoting pie sections. Use the previous section as a guide and again the same elevation and over-direction.
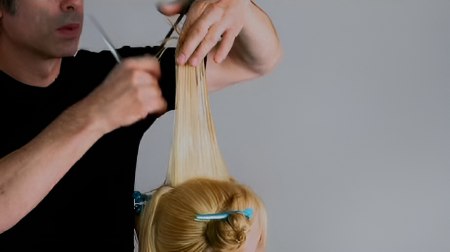
Step 5: Continue with this technique, moving up the central section and pivoting towards the front, again using the same elevation and over-direction.
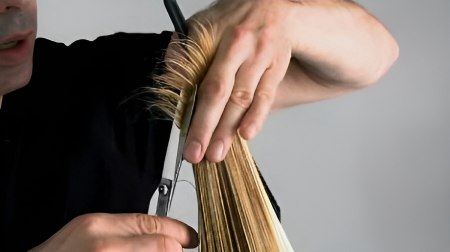
Step 6: Be careful to follow your guide from the previous section. Note that the internal shape can be varied by the degrees of overdirection and elevation.
Step 7: Repeat this process on the second side. Please note to be aware of your finger and body position on the second side. On the first side your fingers are angled down...

Step 8: While on the second side they are angled up for accuracy.
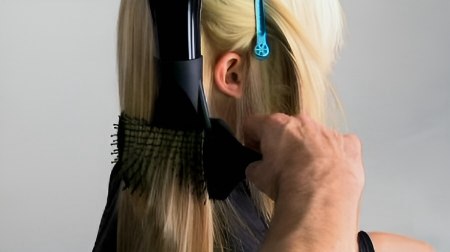
Step 9: Blow dry using a paddle brush, from roots to ends to smooth the cuticle.
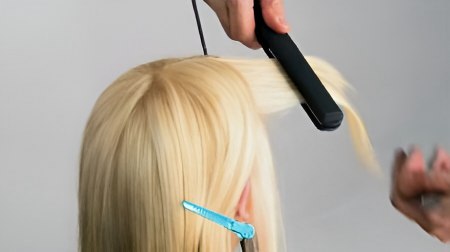
Step 10: Now refine the finish with a set of straightening irons.
Step 11: Next use a free hand technique to loosen the internal shape.
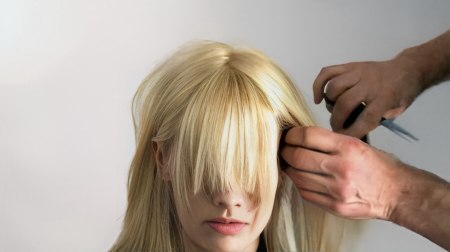
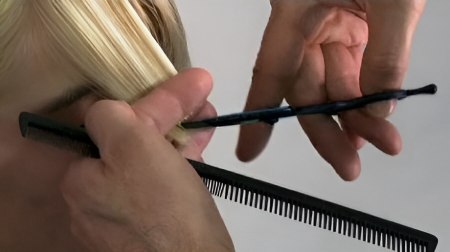
Step 12: Section the fringe area, working with a triangle section from the round of the top of the head to the temples.
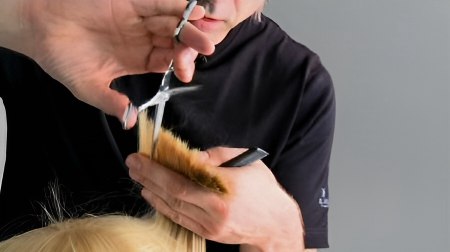
Step 13: Use a pointing technique to cut one side of the fringe.
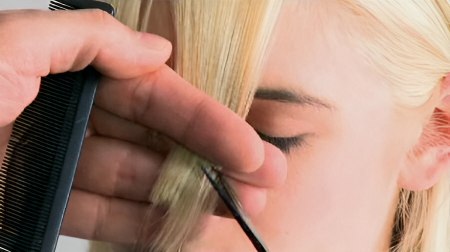
Step 14: Repeat this process on the second side.
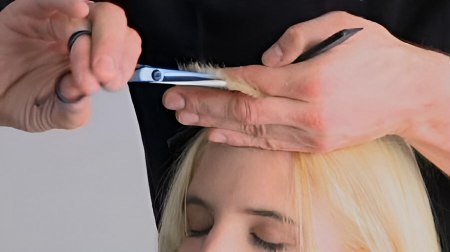
Step 15: Now refine the fringe, using elevation and a pointing technique.
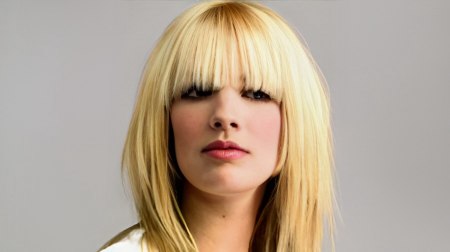
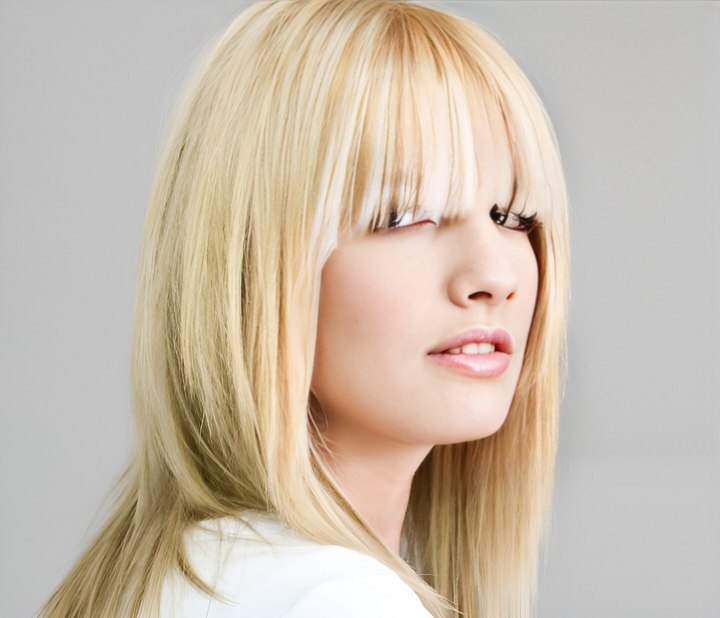
Finish: The result a simple layered look. Commercial, accessible and youthful in essence.
Text and photos by MHD. Subscribe to view the training video!
See also:
How to cut hair with the long graduation technique
How to cut a long haircut
How to cut a long salon friendly hairstyle