The Metta
Step by step guide on how to cut a salon-friendly hairstyle with creative twists and a perfectly tailored shape, from Stacey Broughton, myhairdressers.com
The Metta, salon-friendly yet infused with creative twists, shiny and fresh... A perfectly tailored shape, demonstrating method, accuracy and excellence.

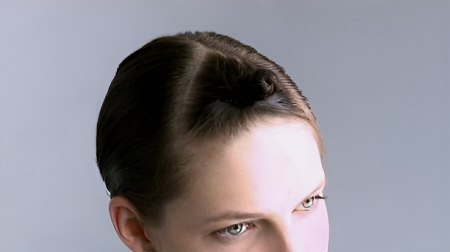
Before: Metta, before the cut and color.
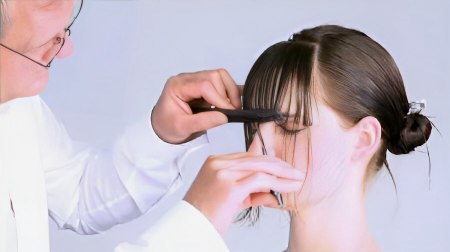
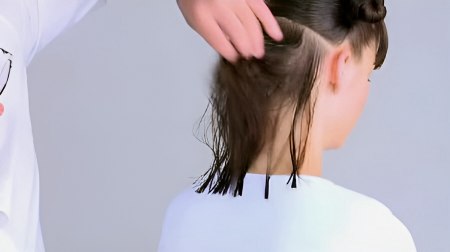
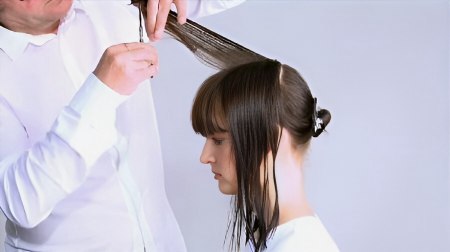
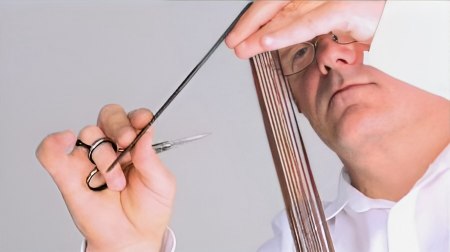
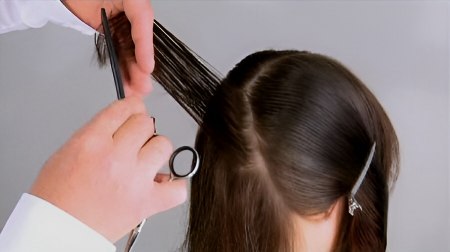
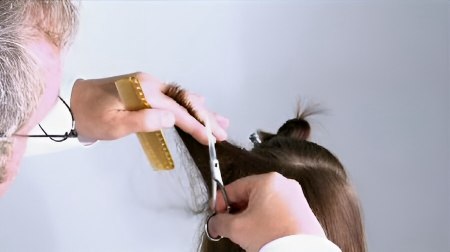
Step 1: Sectioning. Separate a triangular fringe section, taken from the top of the curve of the head to above the temples. This section will vary according to head shape.
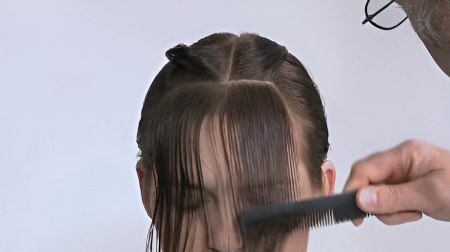
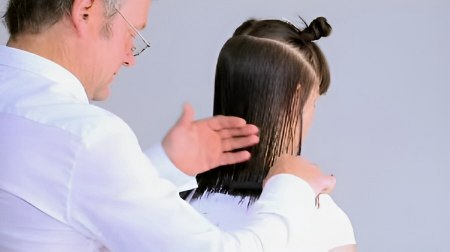
Step 2: Begin with the fringe section. First create a vertical section from the centre to the front hairline, then a horizontal section following the outline fringe shape.
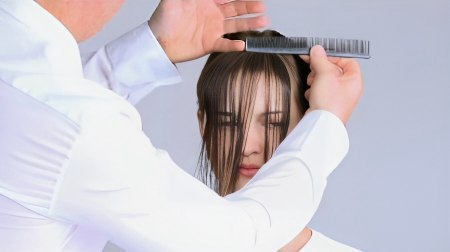
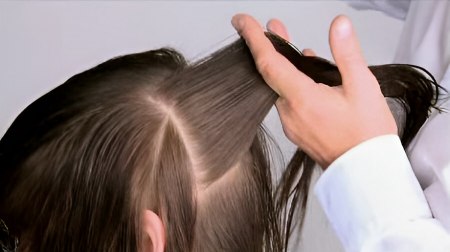
Step 3: Assess the fringe section with a small degree of tension. Note: the horizontal sections are directed very slightly back, creating a curved fringe from the centre to the temple.
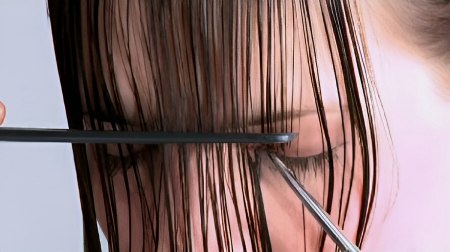
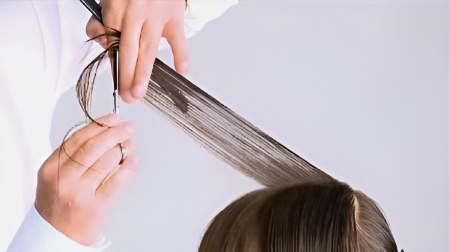
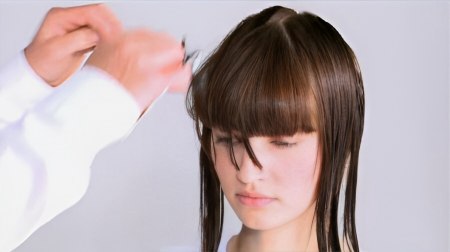
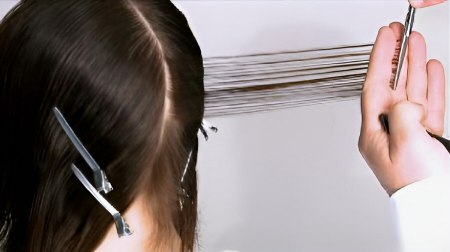
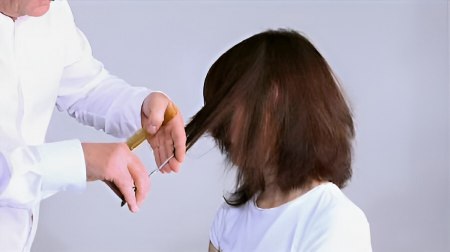
Step 4: Use a pointing technique and the narrow end of the comb to achieve the outline fringe area, cutting from the centre and working outwards.
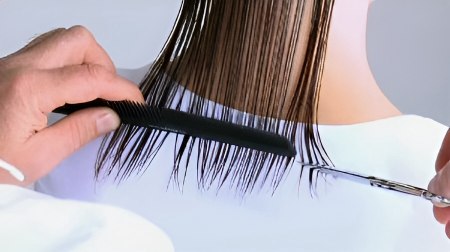
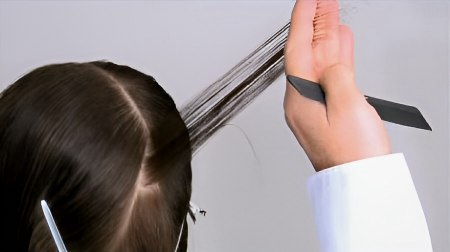
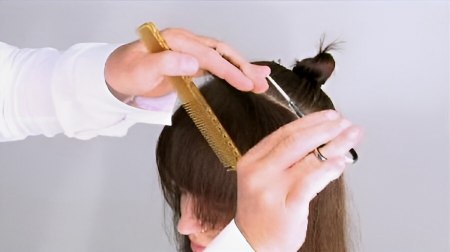
Step 5: Continue with parallel sections throughout the entire triangle section, using the initial section as a guide.
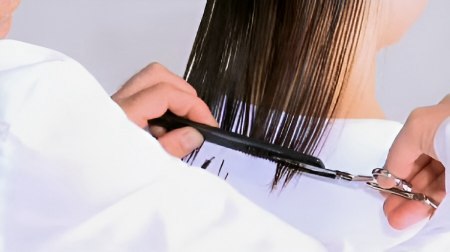
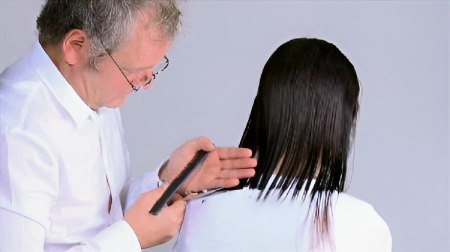
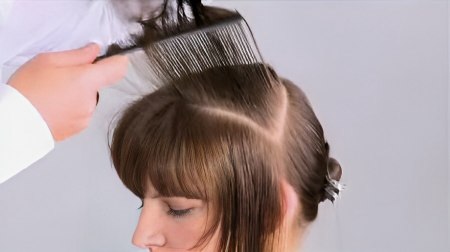
Step 6: Take a section in the centre back. Then working horizontal sections, cut a square guide with little tension, using the comb as a guide. Notice that Stacey adjusts the head position forwards for accuracy.
Step 7: Continue with parallel sections.
Step 8: Assess the shape and balance.
Step 9: Now continue the horizontal sections, following the curve of the head into the side and temple area. This area is worked back and square onto the back guideline.
Note that some hair through the side may not reach the guide, depending on the previous haircut. This will be corrected when these lengths are balanced with the front sections.
Step 10: Continue with parallel sections up to the parting.
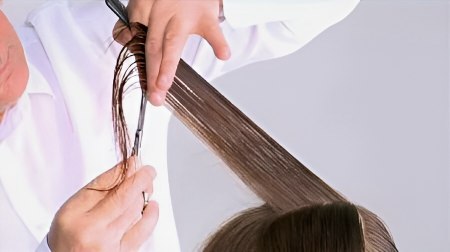
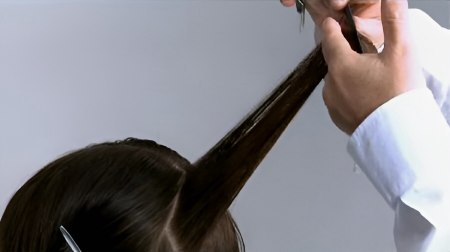
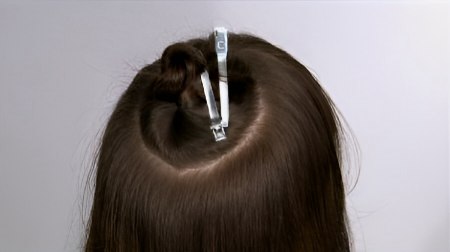
Step 11: Begin the internal shape, taking a vertical section running from the crown to the point of the fringe section. Cut the first two sections parallel.
With the first section, elevate and over-direct forwards with an acute finger angle. Cut from short to long. The shorter area near the fringe, the longer area towards the back of the head.
Step 12: Be careful to assess and adjust the initial guide as this is the guide for the whole process.
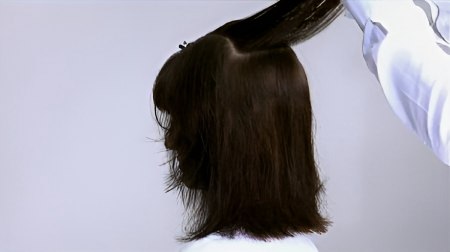
Step 13: Assess the shape visually.
Step 14: Work the opposite side, again cutting the first two panels parallel using the opposite side as a guide.

Step 15: Return to the initial side and pivot the remaining sections from the point of the fringe to the back of the ear.
Step 16: Repeat this pivoting process on the second side.

Step 17: Assess the shape.
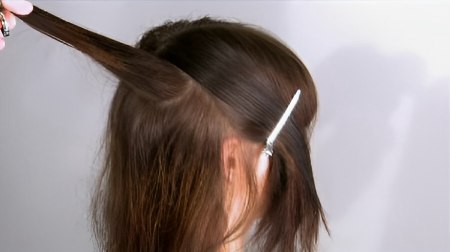
Step 18: Now work in the back area, taking a vertical section from the crown down the centre back to the nape. Elevate the hair up and connect to the previous front section, cutting from short to long, the shorter point nearest the crown.
Step 19: Pivot from the top of the section round to the back of the ear, using the same elevation and over-direction. Repeat this process on the opposite side.
Step 20: Next, work in the centre back, taking a small pivoted section from the round of the head to the nape. This removes the corner from the outline to the internal shape.
Step 21: Continue with this pivoting process up the centre back, using his previous section as a guide.
Step 22: Repeat this process on the opposite side.
Step 23: Return to the first side and continue with this process up to the crown and then through into the front hairline, using appropriate elevation.
Step 24: As you reach the top sections, over-direct back to maintain your initial guide through the front sections.
Step 25: Repeat the same process on the opposite side.
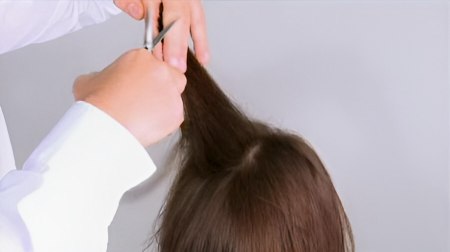
Step 26: Now, take a curved section, approximately 4 to 5cm thick, around the whole of the head and leaving out the perimeter. Elevate this section, using the interior shape as a guide and connect from the front to the back refining corners.
Step 27: Repeat this process on the other side.
Step 28: Continue to work this process with parallel circular sections, which refines the shape. Cut only very small amounts of hair to refine.
Step 29: Crosscheck the crown area.
Step 30: Refine the outline shape through the sides with a pointing technique.

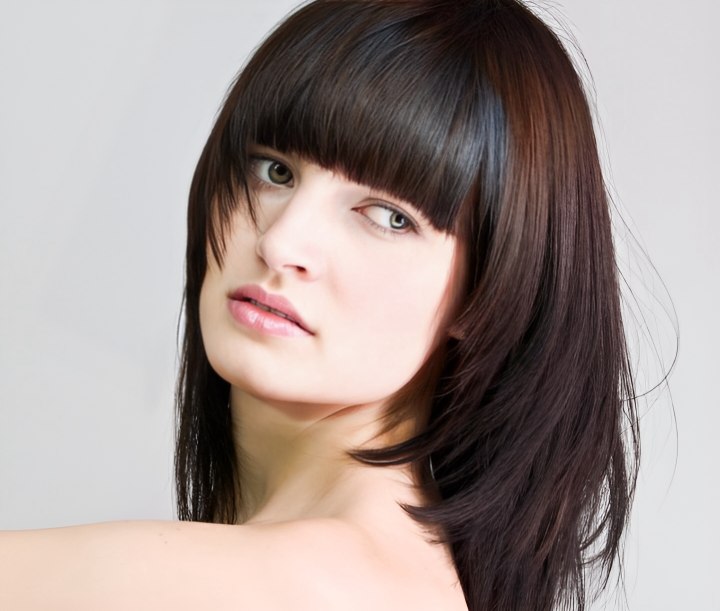
Finish: Stacey's result. A perfectly tailored shape demonstrative of method, accuracy and excellence.
Text and photos by MHD. Subscribe to view the training video!
