Very Short Pixie Haircut
How to cut this flattering short pixie hairstyle
You're a woman with a strong sense of self-confidence, with delicate, angular features, and who loves short hairstyles. But you want something a little more playful and a little more fun. A short pixie haircut may be just what the doctor ordered. Short pixie styles offer a great deal of styling convenience for the busy woman and can be truly versatile.
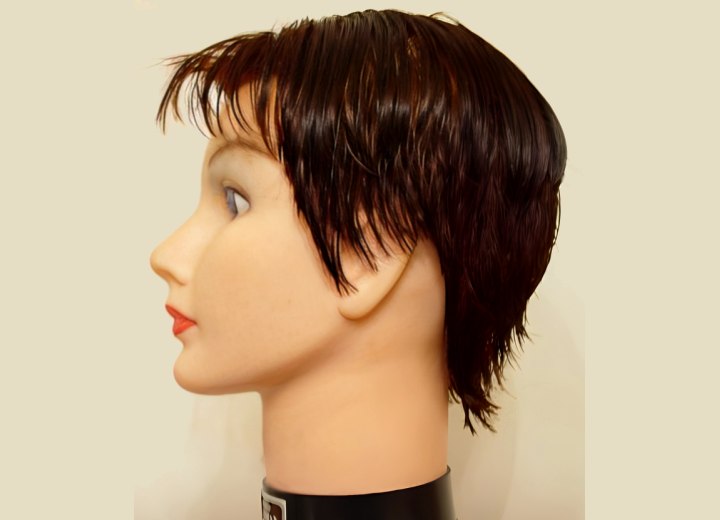
This haircut is especially flattering on fine-boned faces and really serves to draw attention to the eyes. Add some highlights or a bold color, and the short pixie style can really make a statement. In our demonstration, we start with an already short haircut (shorter with a weight line).
As always, shampoo and condition the hair as needed. Towel-dry the hair until just damp and comb out any tangles. Cut the perimeter of the hair starting in the front center, angled down at the temples (in front of the ears), and angled back up to just below the tops of the ears. Repeat this on the other side of the head.
Now, working from the back of the head at the center nape area, cut the perimeter in a gentle curve at the neckline, to a soft slope behind the ear and meet where the front perimeter cut ended. Repeat this for the opposite side, working from the center back to the opposing ear.
Step Two:
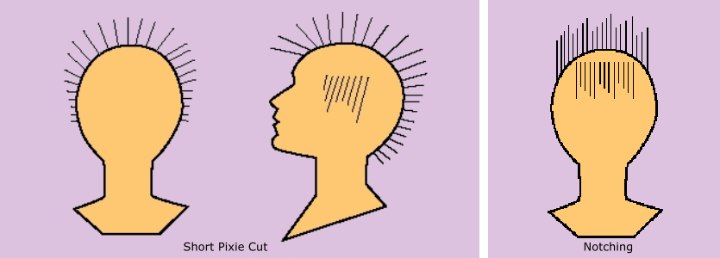
Create layers using nearly vertical cutting lines on the sides and back of the head. Always remember to work from back to front and pay close attention to the lengths you are working with.
On super-short hairstyles, often the stylist uses his/her fingers, pressed close to the scalp, as the length-guide to good effect. Along the parietal ridge, the area of the head where the skull begins to curve inward toward the top of the head, slowly increase the length of the cut.
Next, from a side position, use the front (fringe area) perimeter cut to cut a top traveling guide (the longest section of hair for this cut). Be sure to comb the hair at the top of the head from both directions to the center before cutting to ensure evenness. Follow the traveling guide back toward the crown area, then blend the top section to the parietal ridge.
Step Three:
In some cases, you may choose to stop here, but if you want some additional interest in the style, especially if your hair is very dense on top, you should consider texturizing. This can be done with thinning shears, notching shears, or a number of other techniques. In our demonstration, we used a notching technique using normal shears.
Starting from the front of the head at the fringe area, we comb out slices that are about half an inch (1.25cm) deep, moving from left to right and smoothing them out between the fingers of the non-cutting hand. In the fringe area, these slices are held straight forward on a horizontal plane. Using the tips of our shears, we cut notches in the ends of the hair, creating points.
As you work back from the fringe area, raise the hair to an increasingly vertical position and continue the notching procedure. Notching removes bulk from the areas of the hair where less bulk is desired and can soften the hairstyle. It can also serve to "jazz-up" a haircut by adding interest and detail to the finished style.
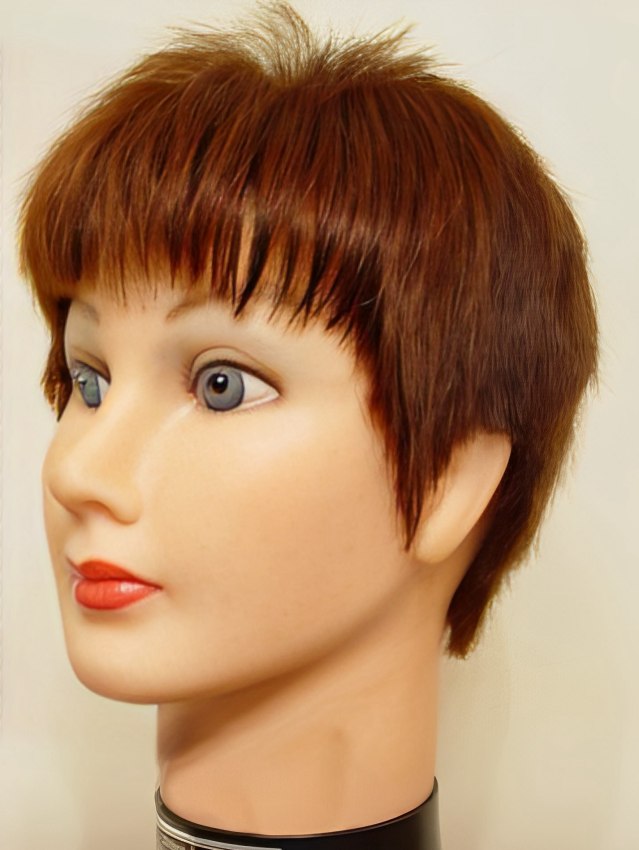
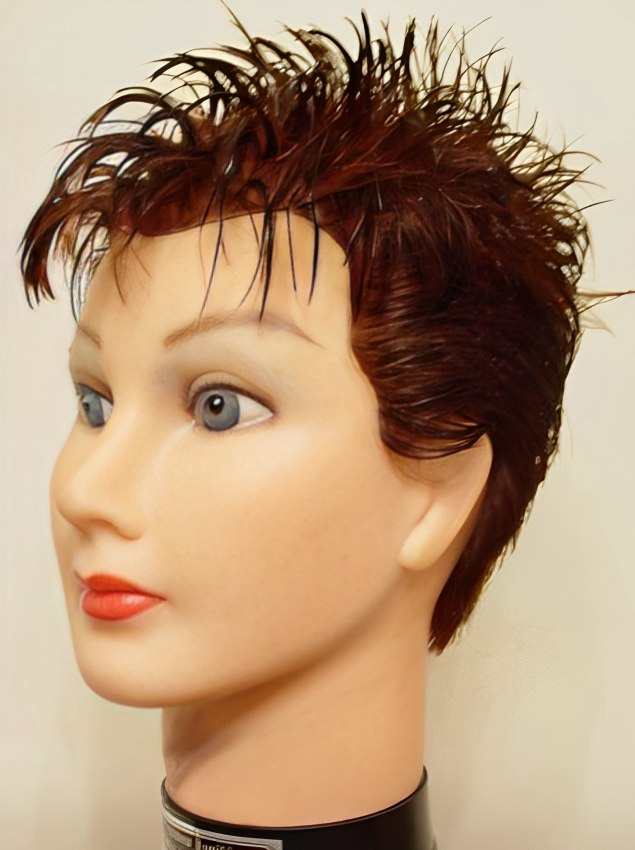
We styled our demonstration using three methods: blow-dry styled into a soft cap, using mousse and a bristled styling brush; gel-styling using a comb and the fingers to spike up the top and fringe areas of the style; and a sleek, combed-down gel style.
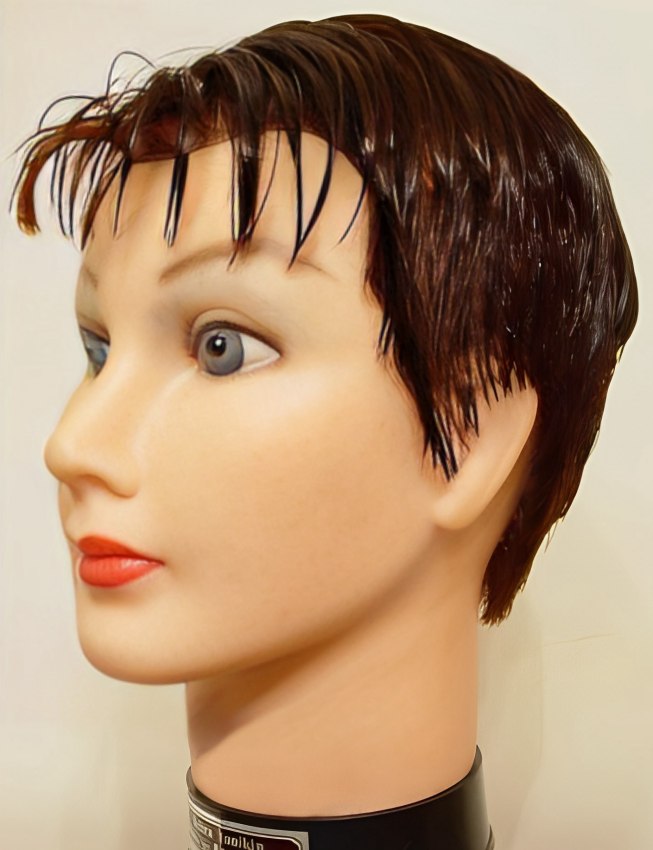
Advice: Practice this haircut on a mannequin before trying it out on a real person.
©Hairfinder.com
See also:
Question about this Cutting Technique
More Hair Cutting How To