Foil Highlighting
Because there have been so many questions about highlighting the hair with multiple colors or adding both highlights and a base color that would be challenging to accomplish without being able to isolate the highlights, I've decided to show you the basics of applying foils for highlighting.
The benefits of using foils for highlighting hair are:
• It gives better control of highlight placement.
• It allows for the application of multiple colors in the same procedure.
• It gives easier management of the amount of highlighting you get.
• It provides more even coverage in the highlights all over the scalp.
• It allows the preservation of targeted areas of the hair when wanting to apply a general color and use the natural or original color as a "highlight".
Getting a foil highlighting procedure done can be costly. Some salons charge an additional amount per foil applied over the base charge for a color service, while others charge a flat rate for foils that is generally twice the cost of a standard highlighting service. Multi-color – also called dimensional color – procedures are even more costly.
Depending on your location, foil coloring services can range from $85.00 and up for single color foil highlights, to $200.00 and up for dimensional color services or special coloring services.
The benefits of getting the service done by a professional are that you know your professional is practiced in performing the service, and you can be reasonably assured of good-looking results, particularly if you have access to references or the stylist has a portfolio of previous clients. However, for the addition of simple highlights, you might want to try using foils yourself (though you will need a friend's assistance).
Demonstration:
A good friend and client of mine wanted a double-color highlighting process recently and agreed to let me photograph her before, during, and after the procedure. This allows me to show you what the foils look like in the hair, and the difference in her hair color from before to after. "L" wanted to add some lighter highlights to her already blonde hair, as well as adding in a reddish color to "spice things up" a bit.
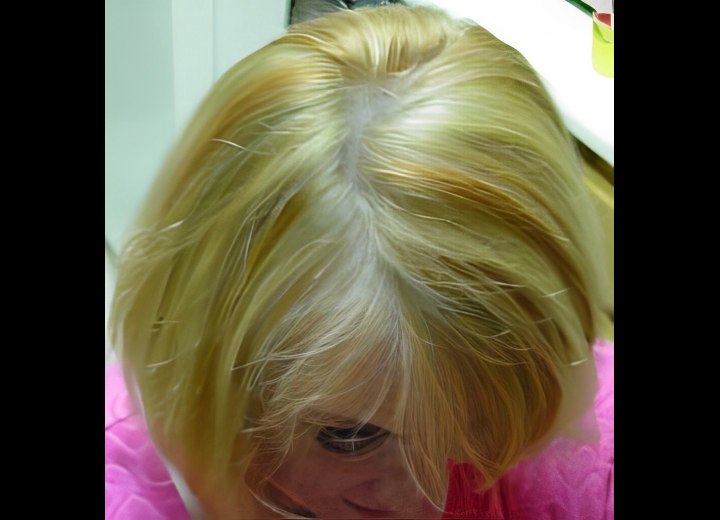
We chose a level 6 coppery red color for the "spice" and used standard hair bleaching powder with developer to give her some additional lightening. Note: Using bleaching powder to lighten the hair is only acceptable when performing off-the-scalp processes like foils or cap highlighting. The bleaching powder is very strong and can cause chemical burns if it comes into contact with your skin. As with any chemical service, always wear gloves.
We began our color service with clean, dry hair. I sectioned L's hair to separate the sides, top, and back and decided to begin with the top section of hair. It is necessary to work quickly because once it has been mixed, the hair color will only be active for about 30 minutes before going inert.
This also makes it important to start in a section where the highlights will be most visible. This ensures that these highlights have plenty of time to take the color applied.
Continue reading ...
