Back-Angled Bob
How to cut this modern bob hairstyle
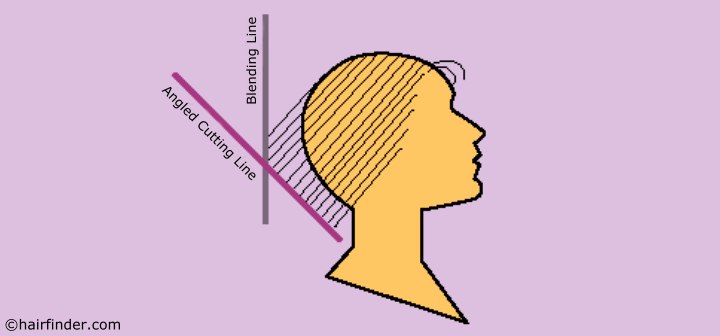
A contemporary variation of the classic bob haircut involves using an angled cutting line to add layers along the bottom edge of the haircut. This modification results in a more "fitted" appearance for the style, with a softer, rounder look.
Step One:
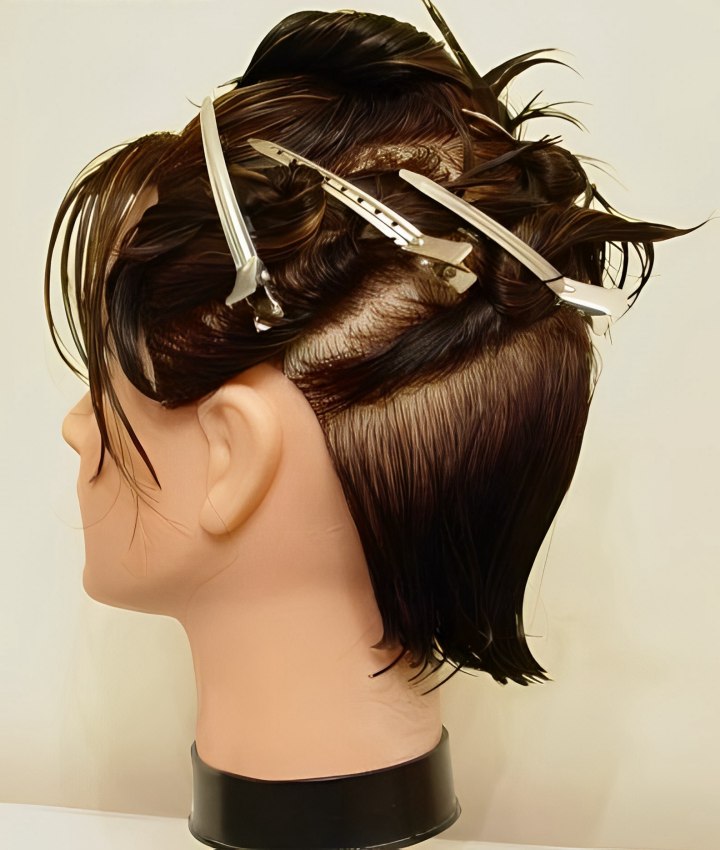
Shampoo and condition the hair as necessary, then towel dry and comb it out. After combing to remove tangles, separate the fringe area of the hair. Next, divide the hair on the crown into sections, twist each section up, and secure it in place with a clip.
Comb the hair down and cut a guideline to the desired length. Then, start at the center of the neck area by combing a vertical section and holding it at approximately a 45-degree elevation (following the angle created by placing the comb against the back of the head over the occipital bone). Cut the hair along that 45-degree angle, moving to one side, then the other, working outward from the center.
Step Two:
Once the nape section is cut, release the next two sections (one from each side of the head) and comb them back toward the cutting angle. Always work outward from the center back, take slices of hair and cut them at a 45-degree angle, using the previously cut sections as a guide.
Repeat this process with the remaining clipped sections until you've worked your way completely forward to the face. Then comb the hair down along the sides and trim the bottom edge to even it out and create a clean line.
Step Three:
Beginning again at the back of the head, comb thin vertical sections of hair and hold them out at the previous 45-degree angle, then cut the corners of the sections to blend away the weight line. Work your way around the head in this manner, from back to front on each side.
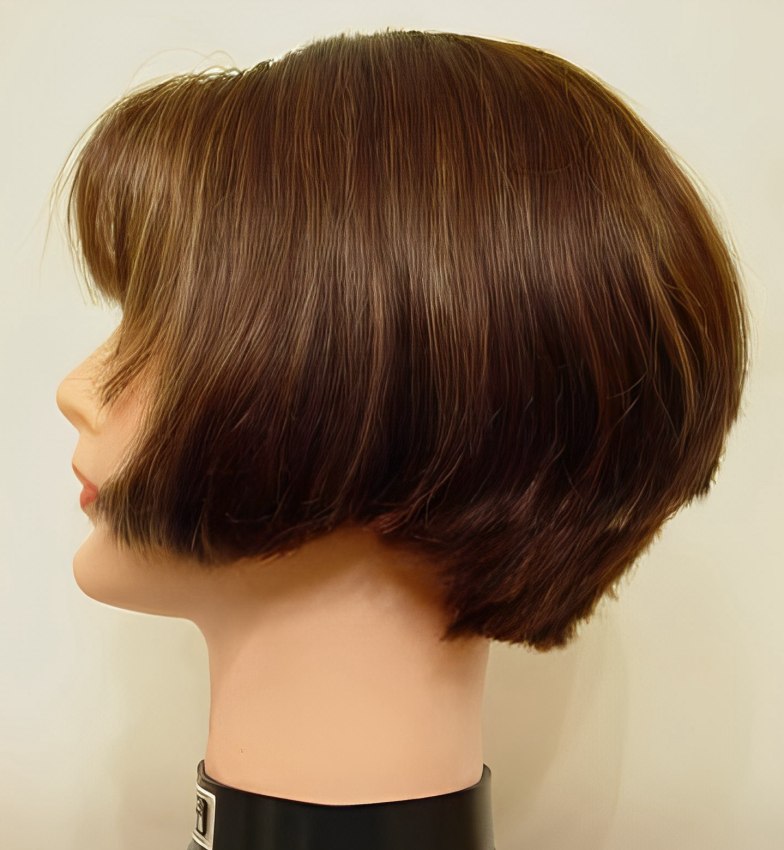
The fringe area of the hair was then trimmed in a curved line to blend into the front sides of the cut. For our demonstration, the hair was first blow-dried and styled using a bristled brush and a generous amount of styling mousse. The resulting style was soft and full along the bottom edge.
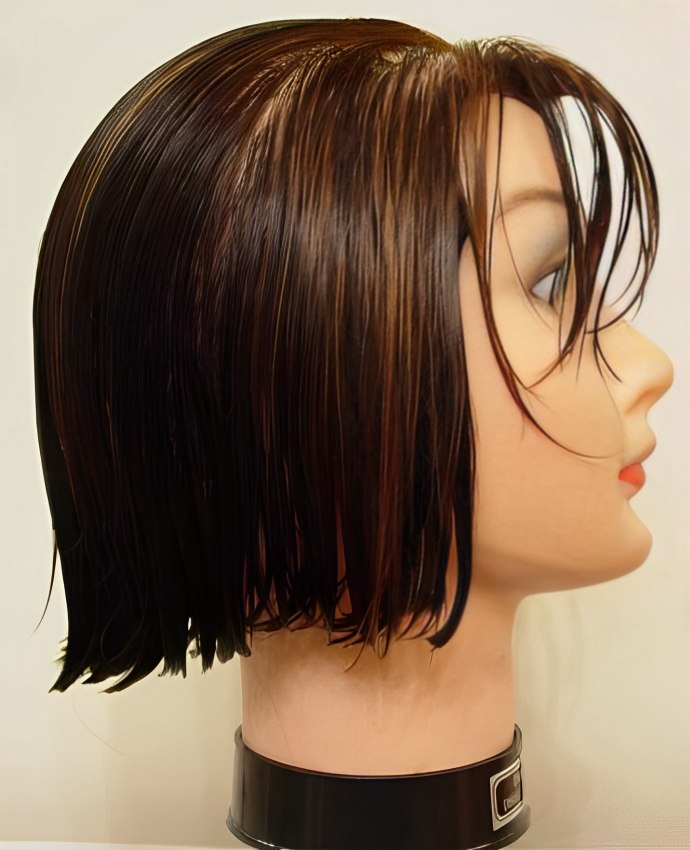
As an alternative styling method, we re-shampooed the hair, and combed the style flat to the head, following the cutting angle. We then secured the hair with a wrapping strip and clipped it at the fringe area. Next, we placed the wrapped hair under a bonnet dryer on medium heat until dry and then on cool for an additional 10 minutes. No styling product was used. The finished result of this method was a form-fitting style that is sleek and silky-looking.
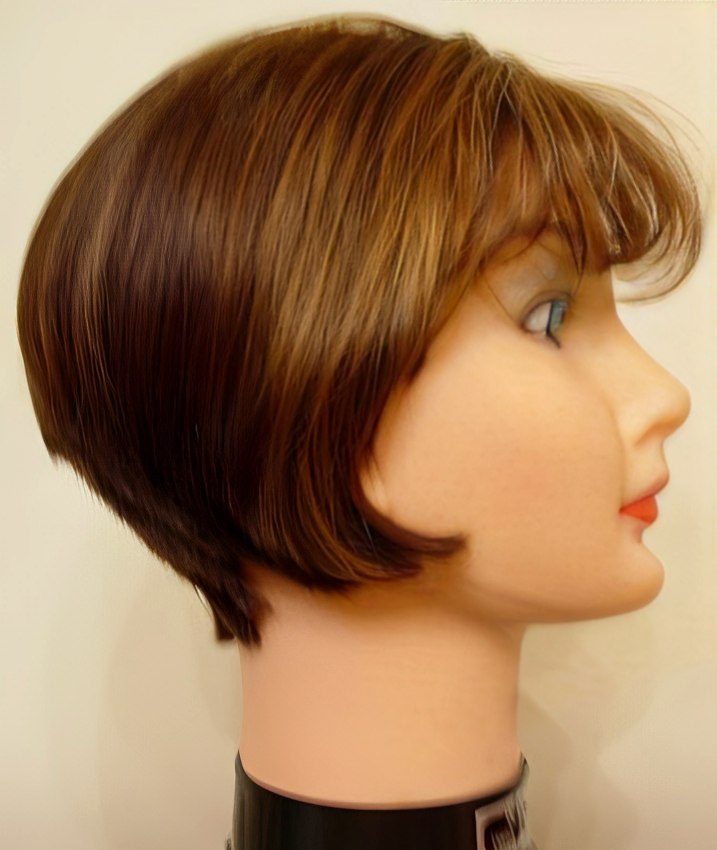
Tip: We recommend practicing this haircut on a manikin before attempting it on a real person.
©Hairfinder.com
See also:
More hair cutting instructions
How to cut a blunt bob
How to cut a bob with longer length at the front