Graduated Bob with Halo
Step by step guide on how to cut a graduated bob with halo, from Stacey Broughton, myhairdressers.com.
This Salon Classics cut is a mix of angles that result in unique shapes. This cut requires you to use classic graduation techniques to create a totally modern asymmetric feel.
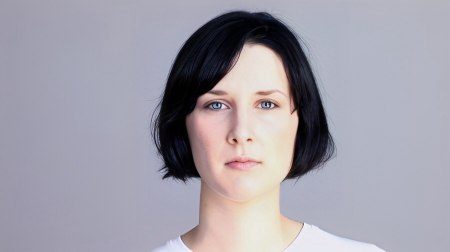
Before: Model Jessica before the cut.
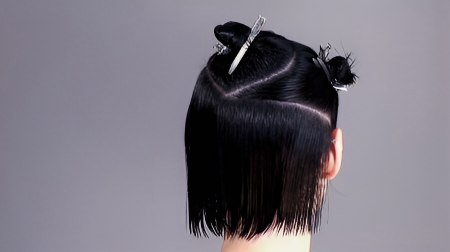
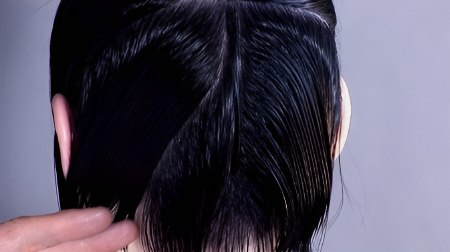
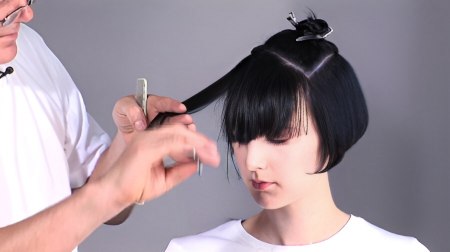
Step 1: Partition the hair into three sections. Remember: clean sections.
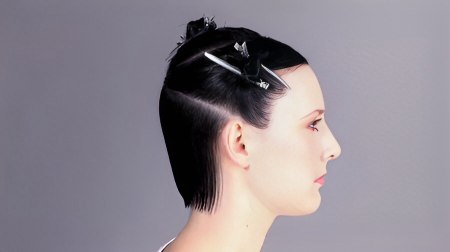
Step 2: First the nape area. From the top of the left ear, to the top of the opposite temple. This will allow for the square clean outline on the left hand side.
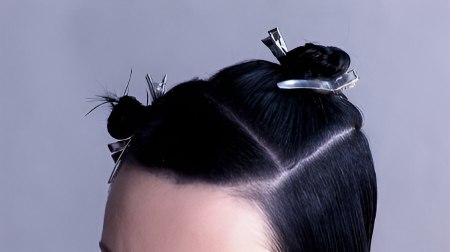
Step 3: Secondly, the crown area. This area starts an inch in from the parting, runs round the contour of the head, and down below the crown area in a circular fashion. This area incorporates the curved round outline from the fringe to the back graduation.
Step 4: This leaves a circular section, which is disconnected in the crown area to facilitate movement.
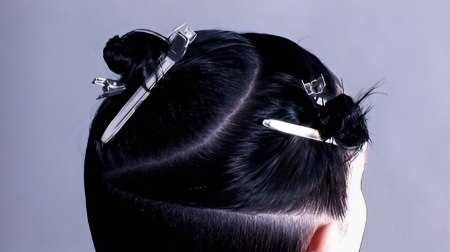
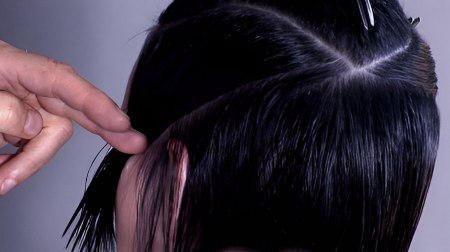
Step 5: Divide the first section from the crown to the back of the left ear. This allows you to concentrate on the graduation from the nape to the occipital bone.
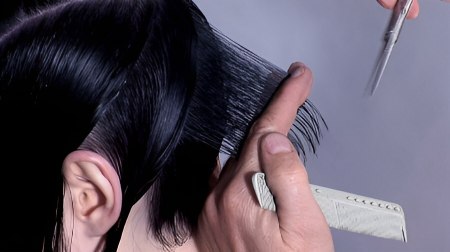
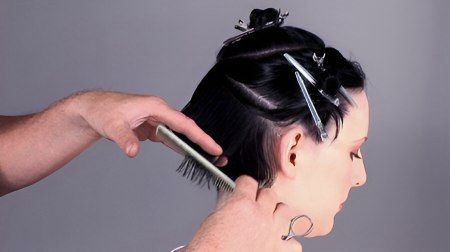
Step 6: Next, take a vertical section in the centre back, divide the hair and take a narrow section from nape to crown.
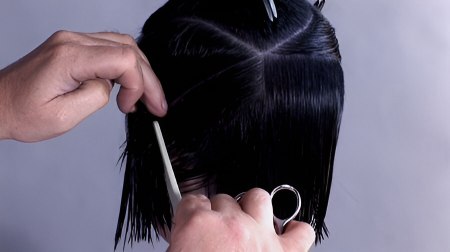
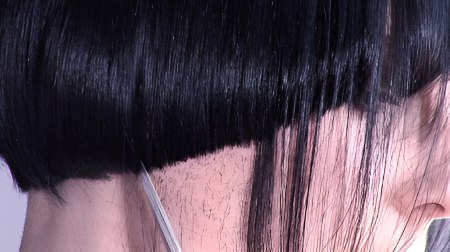
Step 7: Work your graduation in a classic form, moving up and pivoting around your initial section. Angle the fingers toward the chin to create a graduated effect. Do not cut the hair in the hairline too short to avoid an aggressive result.
Step 8: Slowly pivot sections around to achieve the desired angle. Continue your sections towards the back of the ear.
Step 9: Take diagonal sections that run down towards the front of the hairline and connect with underneath graduation. Now the internal shape extends to the front hairline. Remember that the outline is worked after all the internal graduation is complete. This allows for softness and movement when the hair is dry and sitting naturally. Remember to elevate the hair very slightly to round off (soften) the graduation.
Step 10: Gently check through your existing shape, this process is to clean and not to alter the internal shape.
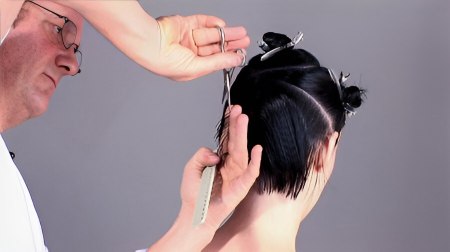
Step 11: Begin the second side in the same manner and repeat the process with diagonal sections, moving up the centre section and pivoting around to the top of the ear. After every three or four sections it is a good idea to cross check to ensure that balance and graduation are on track.
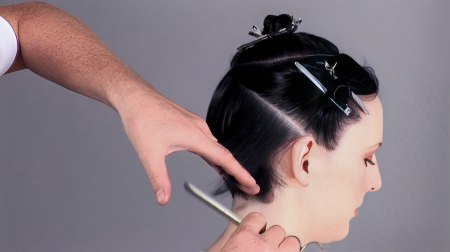
Step 12: An important area are the sections leading up to the back of the ear. These have to be pulled down slightly and again the fingers pointed towards the chin. This will still create a slight amount of graduation, but will allow for the weakness around the ear area.
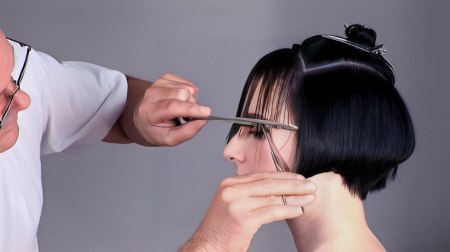
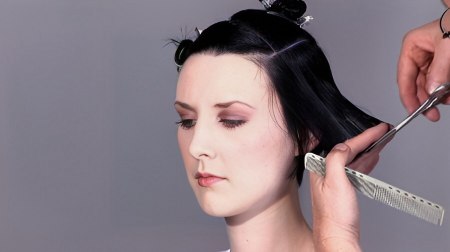
Step 13: Now work from the parting with a diagonal section around into the back behind the ear. This follows the outline shape in the fringe. Next, with very little tension and using the comb as a guide, cut a line from the temple down towards your back guideline behind the ear, creating a corner.
Step 14: Apply a pointing technique to soften the edge, creating a graduated outline.
Step 15: Continue with parallel sections over the head towards the disconnected crown area, allowing the shape to be graduated depending on the quality of the hair. The amount of elevation will vary, pending head shape and texture. Following the same pattern, connect in the back area using the appropriate elevation.

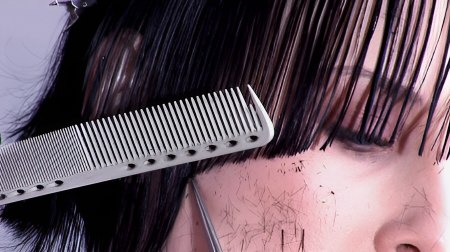
Step 16: Once the hair is dry, refine and define the outline shape. Refine the outline on the other side according to shape.
Step 17: Work with the crown area dry in order to maximise the natural movement of the hair. Use a pointing technique to give a softer and natural feel to the overall look.
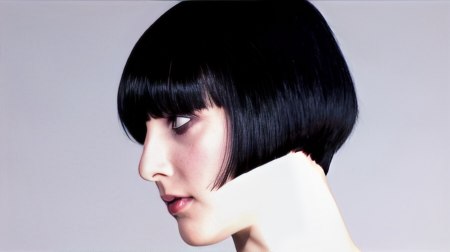
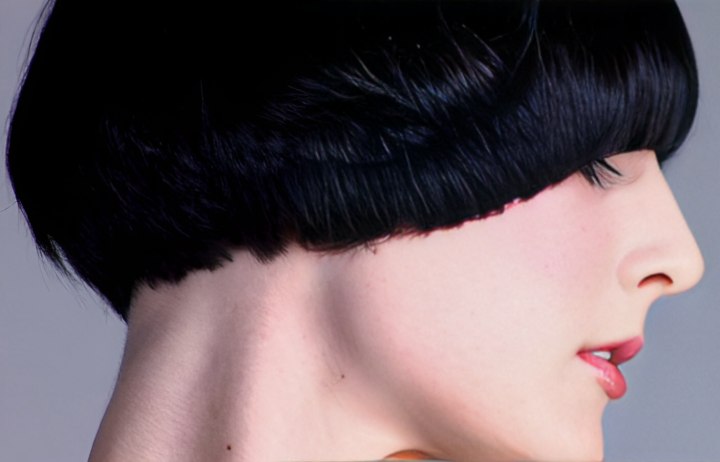
Finish: The final result. A beautiful defined form with graceful internal movement. A pure fundamental technique with a playful angle on the balance between shapes.
Text and photos by MHD. Subscribe to view the training video!
See also:
How to cut a short graduated bob
How to cut a one length box bob
How to cut an A-line bob