Home Hair Coloring: Tips and Tools (2)
Previous page
If your hair is excessively damaged, you may just want to use a gloss or a demi/semi-permanent color so you can spruce up your look without all of the extra unnecessary and unwanted chemicals. If you have waited some time between coloring, you may have three tones in your hair: the roots, the mid, which could be a blended shade, and the ends. Try to find a color that works with the middle shade for a perfect all-over color that will blend extremely well.
If you do go the demi/semi permanent route, wait some time until your hair has healed before you choose a permanent color to avoid damage, as darker hair colors tend to be a little harsher. Lighter colors come in volumes, which is really just a fancier phrase for peroxide.
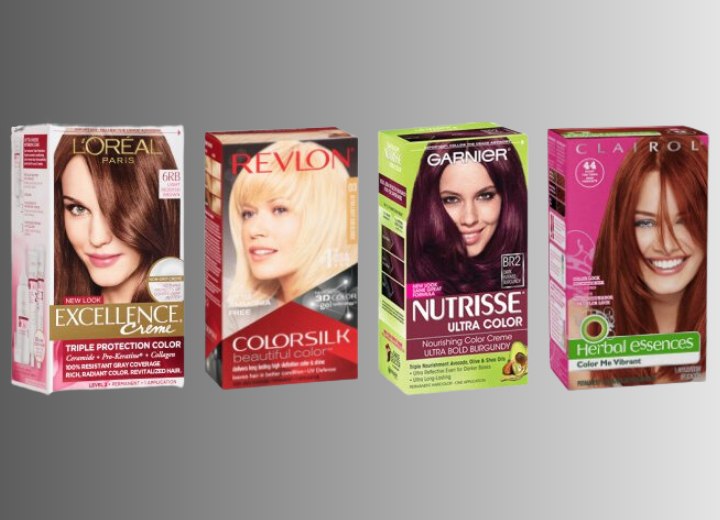
Always make sure that you have more than one box of hair dye because you never want to come up short. Plus, you should always want to do an at-home allergy test forty-eight hours prior to coloring to make sure that your hair can tolerate the color. If you have used this brand and color before, this may not be necessary but always have two boxes on hand in case of spills and such, no matter the length of your hair. You might also miss a spot, so at least you will have a backup plan, and we always need one of those in the beauty world.
Along with that, if you are using a new color, a shade test is always a great idea. Trim a piece of hair underneath or take a small, hidden patch of hair so that you can be sure that this is the color that you want because you will be stuck with it for several weeks. Never attempt to dye your eyebrows on your own. This is a professional's job!
Be Wary of Stains!
Before mixing the dye, make sure that you have some sort of smock and old shirt on in case you get a stain on yourself. This is why you get a black cape the moment you arrive at the salon. You can purchase this along with some thick clips at a local hair store for a small amount of money and they are reusable. Also, pick up a shower cap for processing! Just make a quick checklist on your phone so you know exactly what you need, and to add to that list, a small bowl and a brush. Yes, hair color comes in bottles, and that is typically the way that we have always dyed our hair, but for all-around even coverage, you will want to use a mixing bowl to paint on the dye.

Processing
Once you have mixed the dye, do not let it sit too long, especially lighter colors as they can lose potency over time. Make sure you are in a well-ventilated area as well. Some people say to use a shower cap for processing while others say to comb the color through and leave your hair down for even color. I think it is a matter of personal preference. I always use a cap at the end of the processing to seal in the color. So, you may want to try that.
Once you have waited out the allotted time, rinse the color out in a metal sink to avoid staining your shower and do not use shampoo, just conditioner. Now, you are ready to style and go, but remember to avoid shampoo for a few days and focus on conditioning. If you get excess color on your skin, use laundry detergent, dish soap, baby oil, or olive oil for removal. Good luck and happy coloring!
©Hairfinder.com