How to Crimp Hair

Throughout the decades since the first heat-styling appliance for at-home use was invented, we have seen the steady evolution of styling trends. Blow dryers gave us high lift, full volume styles. Hot rollers gave soft cascading curls. Curling irons allowed the creation of precise, crisp ringlets, and flat irons smoothed otherwise unruly curls. Each look has had its heyday and has resurged at different points in the intervening years.
In the 1980s, we saw a different texture to the mass of curls that was the trend. Pop/Rock stars were sporting kinks in their hair. This was possible thanks to the invention of a specialized heated tool – the crimping iron. Credit for the creation of the crimping iron is given to Geri Cusenza who invented the crimping iron in 1972, reportedly for use with Barbra Streisand’s hair.
Using the Crimping Iron
If you want to crimp your hair, you should make sure you have the following tools and supplies at your disposal:
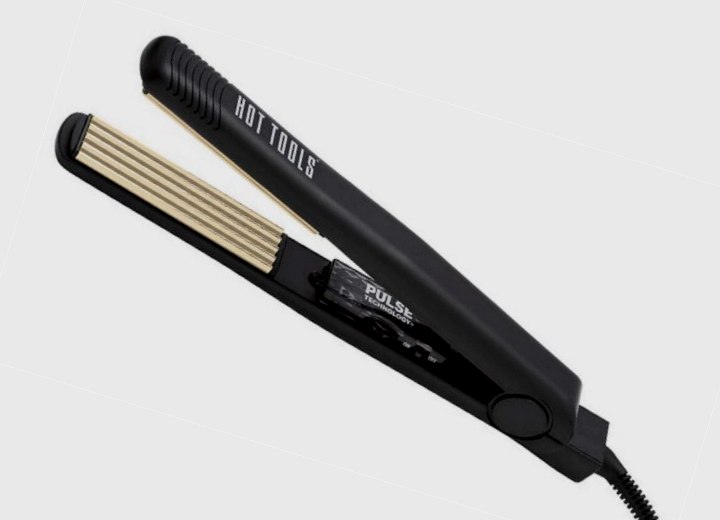
• A Crimping Iron with adjustable heat setting.
• A Tail Comb for sectioning and smoothing slices.
• A quality Hair Spray in Ultra Fine Mist formula (preferred).
• Tissue Paper and a Spray Bottle with water or damp sponge.
• Hair Clips for sectioning and keeping the hair out of your way.
As with any heat styling procedure, you want to start with clean, dry hair. The hair should be treated with a heat-protection product and fully dried before using any heated appliance on it. Remember, the high heat of the iron will flash boil any water left in and on the hair, so if your hair isn’t completely dry when you iron it, you can end up with poached hair.
When the hair is ready to begin, separate it into sections and securely clip the sections out of the way. You should have an idea of how you want the finished style to look, and you should feel free to form the sections to suit your plan. The only rule of thumb is to make sure that the sections are narrower than the length of the heating plates, as that will make it easier to work through a section.
As we've mentioned before with other heat styling techniques, it's important that the heating plates of the tool used are clean and at the appropriate temperature. To test the temperature of the heating plates and ensure they aren't too hot, dampen a piece of tissue paper (end papers for perming the hair are perfect for this purpose) with your spray bottle of water or a damp sponge, and press it between the plates of the iron for five seconds.
The tissue should come out clean, dry, crisply pressed, and without any scorch marks or browning of the paper. If the paper is discolored, then your iron is too hot, and you should adjust the heat until the test paper comes out clean and undamaged. If there are any residues on the paper or the heating plates themselves, use a damp cloth to clean the plates. Remember that residue can cause the hair to stick to the plates, leading to overheating, burning, and damage.
Continue reading ...