Circle Haircut Technique
It's a staple of the stylist's arsenal, and probably the most versatile and basic haircut in history. When you master the circle cut you realize how easily it can be modified to a wide variety of possibilities and looks. A short circle cut is sassy and bouncy, while a long circle cut gives volume to the style.
Step One:
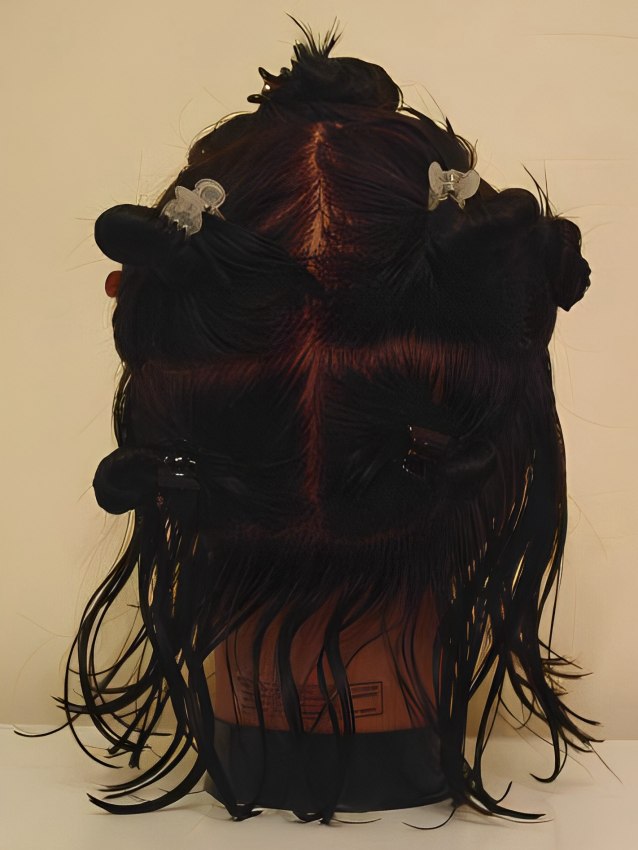
Wet the hair and section it into the standard seven sections: left side, top, right side, left crown, right crown, left nape, and right nape. Leave about 1/4 to 1/2 inch (1-1.5 cm) free along the perimeter of the hairline. See photo.
Starting at the nose, decide how long to cut the hair. Remember that wet hair will shorten as it dries - as much as 1 inch to 1.5 inches (4 cm) for straight hair, and as much as 4 inches (10 cm) with very curly hair. Cut a guide approximately 1 inch (2.5 cm) wide.
Work your way around the head following the perimeter. Hold the hair with light tension as you go and make sure to follow the hairline. Work from the front to one side, stopping at the ear, and repeat this process on the other side.
Next, move to the back center of the head and decide how long you want the hair to be. Start cutting the hair along the perimeter of the hair using light tension to hold the hair down with no elevation.
Work from the center back to the ear on one side, then return to the back and do the same on the opposite side. As you meet with the front side at the ears, blend the two lines together to form a single continuous line.
Step Three:
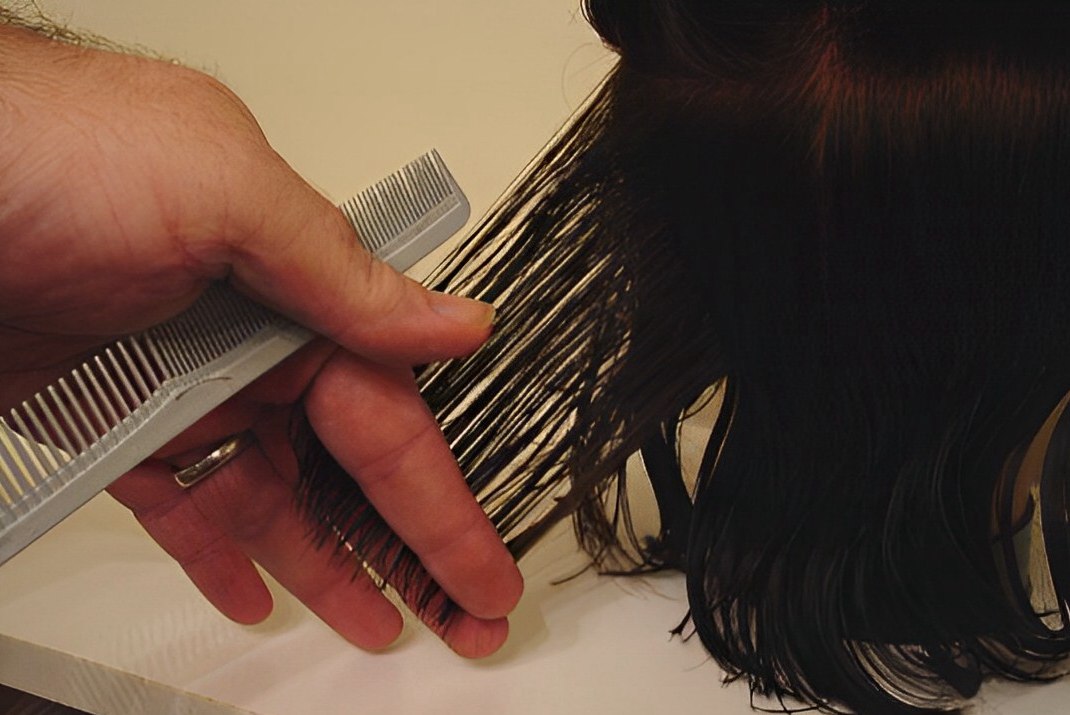
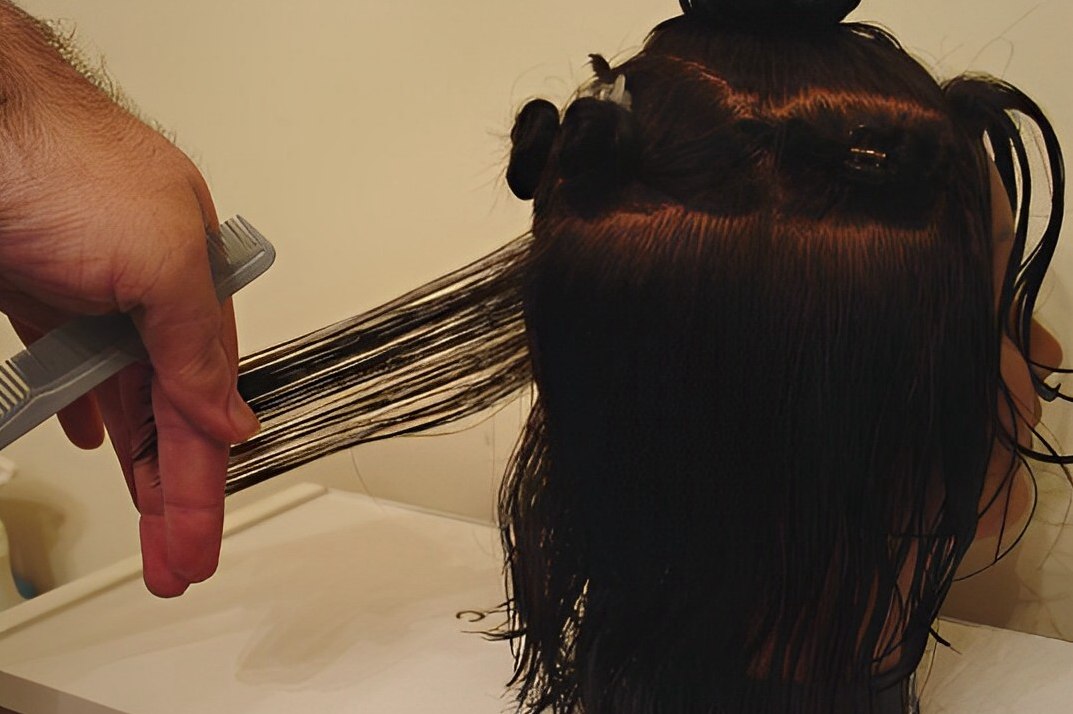
Let down the left and right nape sections. Comb these sections down and once more starting in the center back, slice a section of the hair vertically and comb it outward at a downward angle. You should clearly see the guideline you cut at the bottom of the section when you cut the perimeter.
Hold the slice at an angle with your fingers and cut it. Re-comb and take a new slice of hair that includes part of the section you've already cut. Hold the slice at the same angle and cut, using the already cut hair as a guide. With this method, work your way in one direction and then the other.
Step Four:
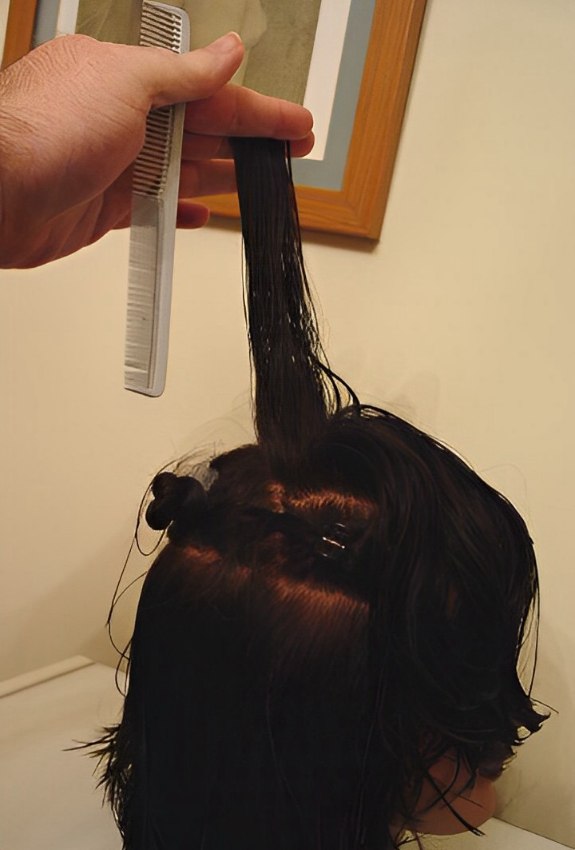
Take down half of the left and right sides and left and right crown sections. Comb them out and re-wet if needed. Starting at the back again, comb a slice of the hair that includes a segment of the hair below it for use as a guide. Hold the hair straight out from the head and cut the hair vertically. Follow as before, working from back to front, first one side, then the other.
Step Five:
Next, free the top section and comb it out. Beginning at the front of the head, comb a slice of the hair up from the forehead on both sides to assure that the segment is centered on the head. Using the perimeter length as a guide, cut the segment from the forehead back and repeat the process, working backward to the crown of the head. It is important that you comb the crown section straight up on both sides or risk having a lopsided effect.
Step Six:
Finally, take down the upper halves of the left and right sides and left and right crown sections. Start at the center back of the head and blend the lengths by connecting the line of shorter lengths from steps four and five. Work back to front, one side then the other.
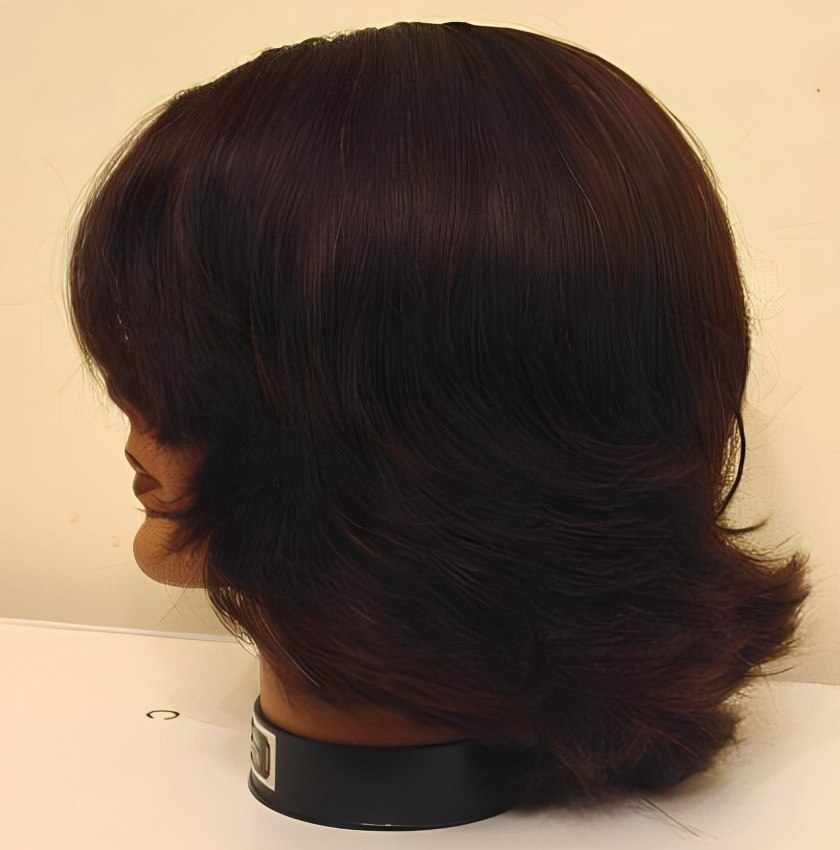
When finished, you can double-check your haircut by combing the hair out from the head and holding it horizontally, and carefully trim away any protruding "corners" or sections that may have been missed.Once you've checked the haircut thoroughly, style the hair as desired. The result is a style consisting of uniform layers.
Advice: Practice this hair cut on a mannequin before trying it out on a real person.
©Hairfinder.com
See also: More hair cutting instructions
