Flat Iron Styling
Today, we have specialized thermal styling tools designed to change the hair's wave pattern with less risk of damage, as well as products to protect the hair during these processes. Not only are there curling irons of varying sizes and shapes, but there are also flat iron tools that can take you from curly and voluminous to sleek and silky in minutes.
How to Flat Iron Hair
You need to know a few important rules before you begin using these appliances, both to give the best possible results and to make sure you do the least possible amount of damage to your hair. For thermal styling with a flat iron, always follow these simple rules:
Rule Number One: Always start any thermal styling process with clean, DRY hair. Whenever possible, your styling session should begin with shampooing and conditioning the hair using a moisture-rich formula in both your shampoo and conditioner. Additionally, follow up with a leave-in conditioning spray to protect the hair during the drying and thermal styling processes.
A build-up of gel, mousse, or hairspray from previous styling will only result in stickiness, clumping, and possible damage. Thus, cleansing the hair before thermal styling is essential. In addition, the hair must be COMPLETELY dry. Even slightly damp hair will not only respond poorly to thermal styling, but applying the heated appliance to damp hair will cause the hair to literally "cook." The steaming will result in swelling the hair shaft and forcing the protective moisture from the cortex of the hair.
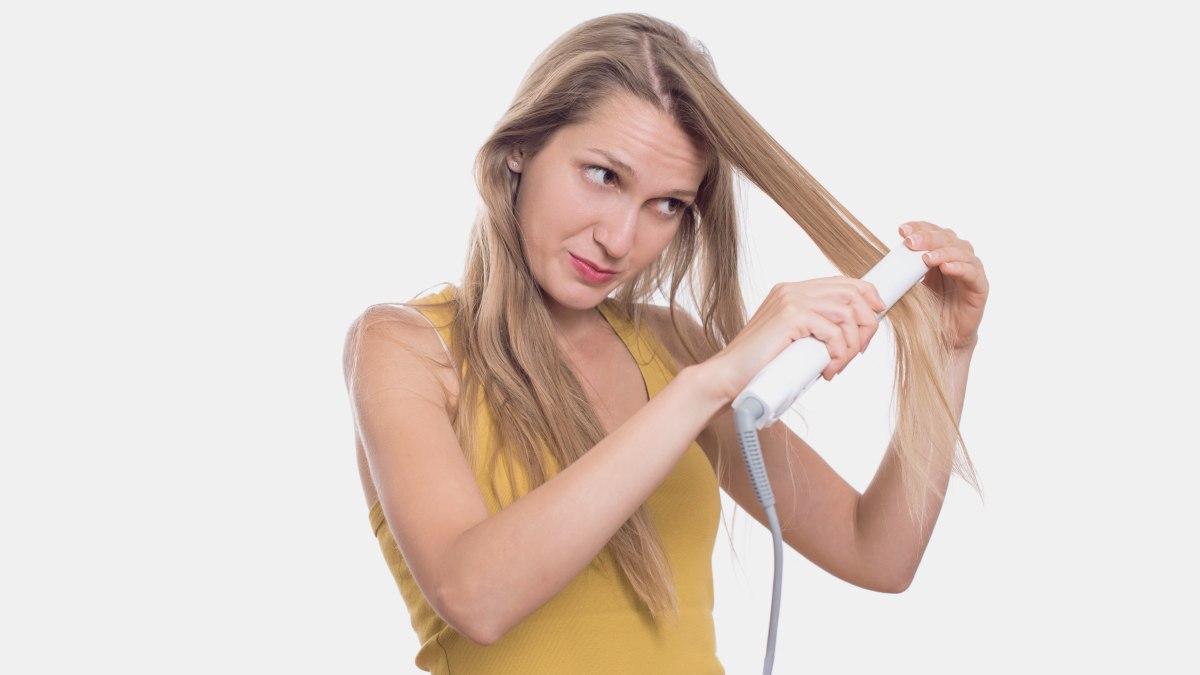
Rule Number Three: Work with the hair in manageable sections and use only as much heat as necessary to straighten the hair. Many women buy a flat iron and complain that it doesn't work well. Usually, it's because they are overloading the iron. If you try to iron too much hair at once, you end up with an uneven application of heat, as the hair against the heating plates gets most of the heat, while the hair in the middle isn't heated enough. In addition, if you try to straighten a section that is too thick by heating the hair longer, you only end up overheating the outer layers of the hair, potentially damaging it.
There is also the danger of damaging and burning the hair if you use too high a setting on the iron. You should always test the heat level of your iron if you are unsure of how hot it gets. Take a piece of tissue paper that has been misted with water and place it between the heating elements. The proper setting will quickly evaporate the moisture without marring the tissue. If the paper shows any sign of scorching or discoloration, then lower the heat setting of your iron before you apply it to your hair.
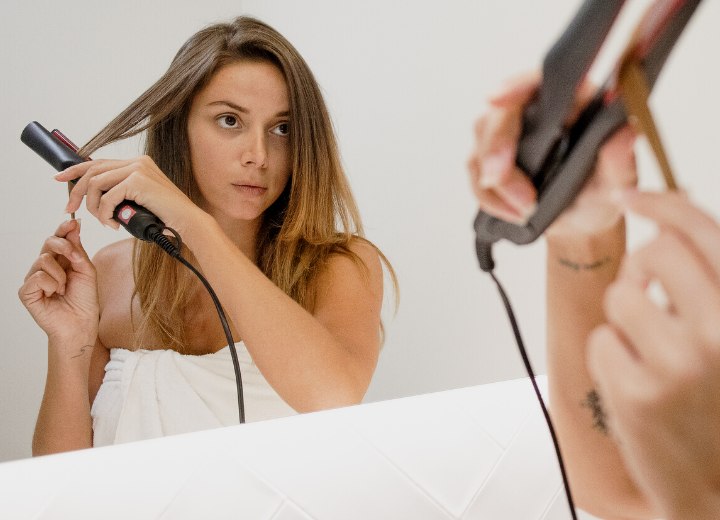
Divide your hair into sections no wider than the heating plates of the iron, and straighten slices no thicker than half the width of your heating plates. By working with small sections and slices, you can apply the heat evenly and will get the desired straightness with fewer passes of the iron.
Rule Number Four: Use a light amount of styling product to maximize the longevity of the style. By lightly misting the slices you are straightening with a bit of hairspray and allowing it to dry completely (or by using a small amount of gel or mousse as you dry the hair), you will get a straightening result that will last longer than styling the hair without it. This is also another reason to start with shampooing and conditioning, since applying the product to hair that already has product from previous styling would almost certainly lead to a buildup of product.