Short Graduated Shape with Disconnection
Step by step guide on how to cut a short graduated shape haircut with disconnection, from Stacey Broughton, myhairdressers.com
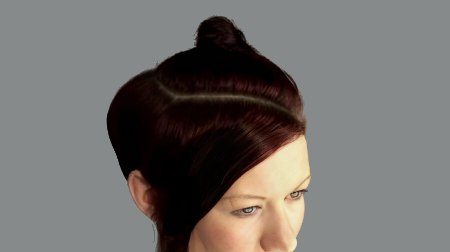
A beautifully balanced sleek graduated classic shape with disconnected areas. A haircut full of technique and discipline, which is a basic fundamental skill needed in today's hairdressing. This is a modern day take on a classic, bringing old school purism into a loose and fast world.
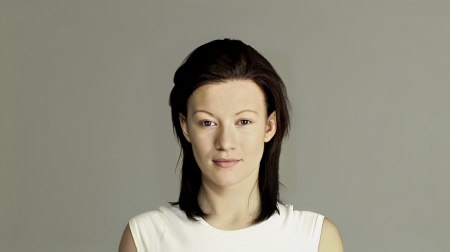
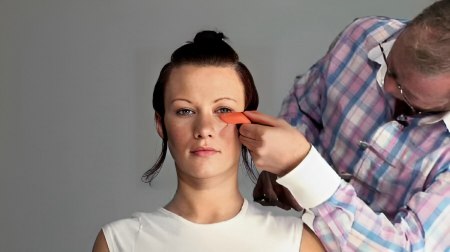
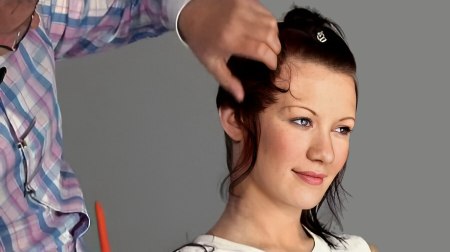
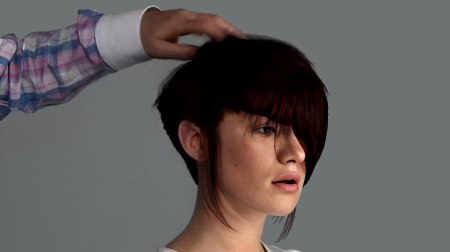
Before: Lauren before the cut.
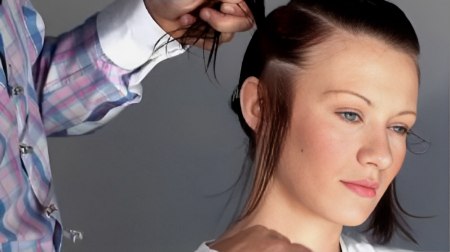
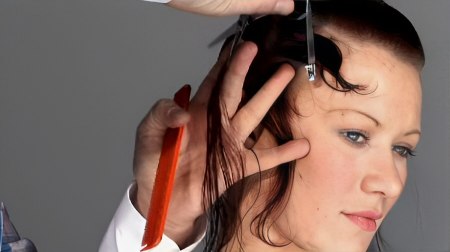
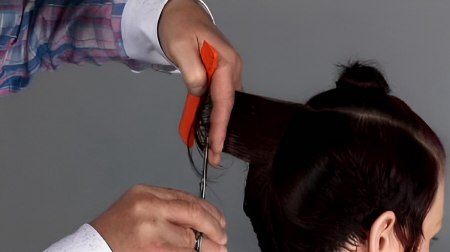
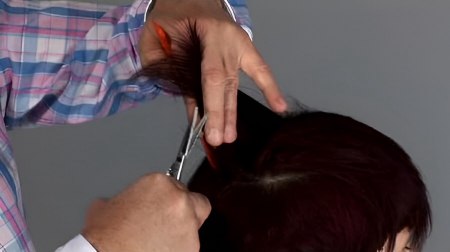
Step 1: Start by sectioning a small disconnected area in front of the ear.
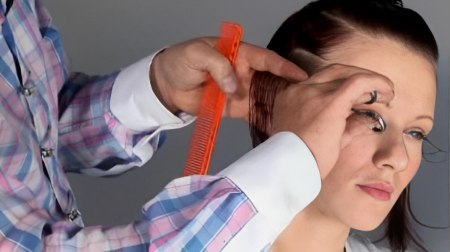
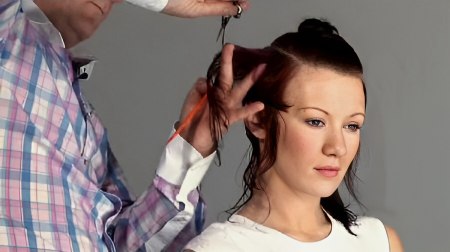
Step 2: Begin with the front side panel. Take a horizontal section and, using elevation and tension, cut a square line.
Step 3: Next, refine this initial section.
Step 4: Taking parallel sections, continue this process to the parting, using the previous section as a guide. Elevate and over-direct downwards.
Step 5: Continually check the balance, visually and technically.
Step 6: Then, repeat the same process on the opposite side.
Step 7: Check the balance, as these first two panels are key to the entire internal shape.
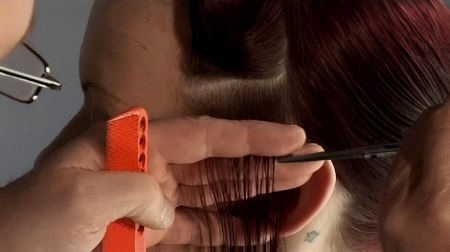
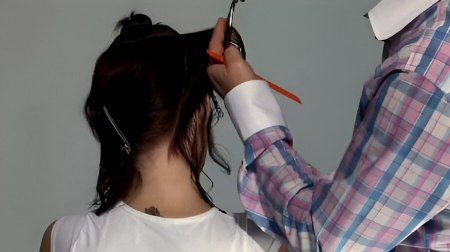
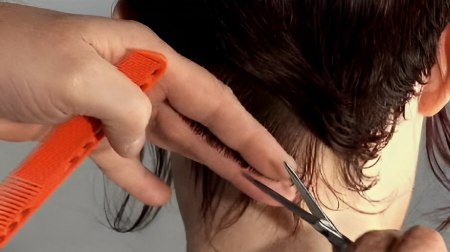
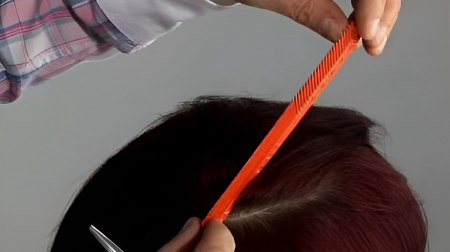
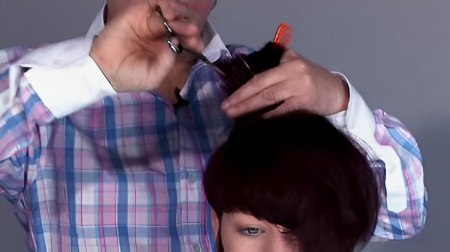
Step 8: Returning to the first side and using a horizontal section as a guide, cut a vertical section into the nape. Use the same elevation and angle your fingers into the nape. Please note that the initial vertical sections are slightly diagonal.
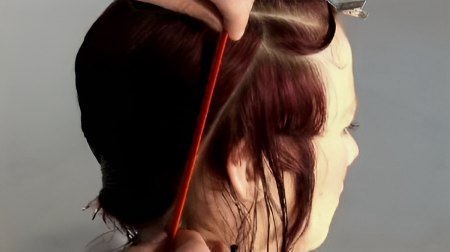
Step 9: Using the previous section as a guide, continue with parallel sections. Please note as you move into the back, the sections become more vertical in order to accommodate the head shape and to give a flatter graduation.
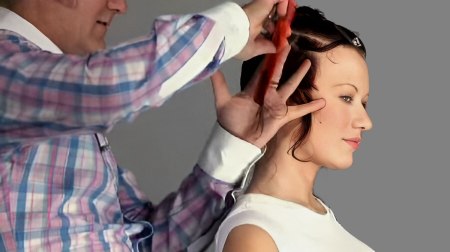
Step 10: Please note the way in which Stacey slightly twists his section and angles his fingers towards the nape to create his flat graduation.
Step 11: Check the hair as it dries to assess the build up of weight.

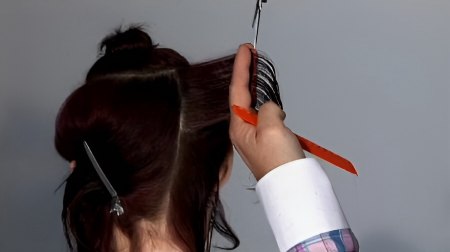
Step 12: Once you have reached the top of the horizontal section, take the next section from the parting and use the previous section as a guide. Please note you can now see that the section has become vertical.
Step 13: Be careful to angle your fingers into the head in order to maintain length at the top of the section to achieve a flat graduation.
Step 14: Continue with this process until you reach the round of the head in the back.

Step 15: Repeat the same process on the other side. Note that you need to pay constant
attention to growth patterns and density of hair, especially around the hairline.
Step 16: Return to the first side and repeat this process through to the centre back. Please note you should over-direct the sections to keep the internal shape round in the back to enhance the head shape.
Step 17: Repeat this process on the second side.
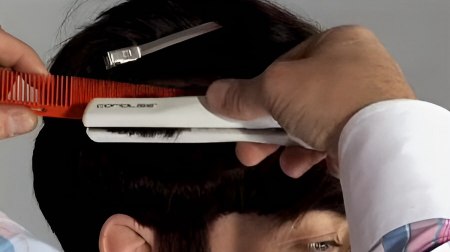
Step 18: Next work diagonally to cross-check the internal shape. This allows you to check the symmetry.
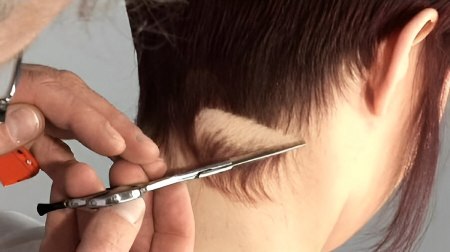
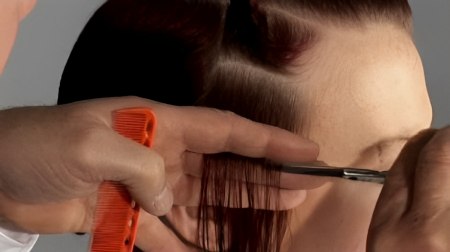
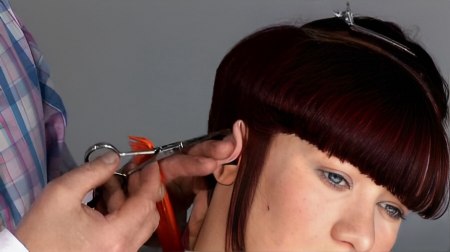
Step 19: Next refine the outline which can be cut in a variety of ways. In this case, Stacey chooses a defined line.
Step 20: Bring down the top area and create a diagonal section across the head, which incorporates part of the fringe section.
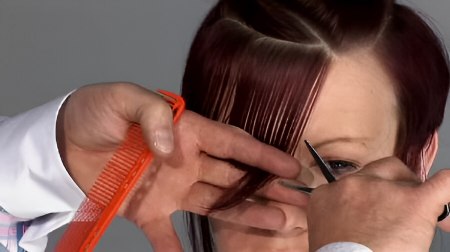
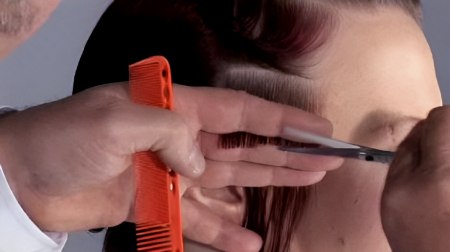
Step 21: Take fine sub-sections and, using the previous sections through the temple area as a guide, cut a line from the temple to the bridge of the nose.
Step 22: Continue with this process, using the previous section as a guide and with a small amount of tension.
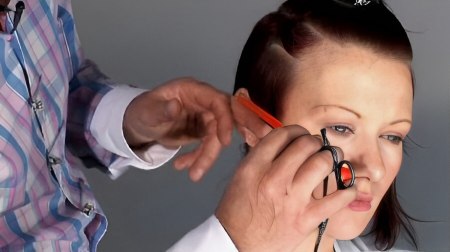
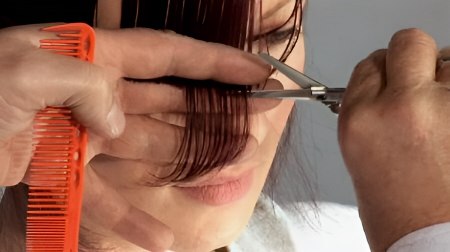
Step 23: Next, dry the hair in order to check and refine the outline in the fringe and the areas around the ear.
Step 24: Now connect the remaining hair on the parting side to the underneath. Start from a point just off the crown and pivot the sections towards the front hairline.
Step 25: Work asymmetrically for a sleeker look.
Step 26: Return to the same point just off the crown and continue pivoting around towards the back.
Step 27: Refine and blend any corners of disconnection with free-hand techniques.
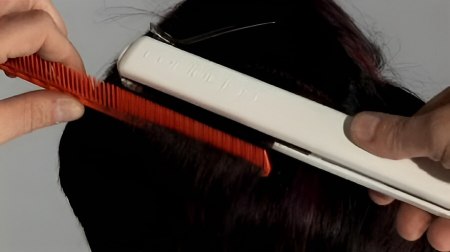
Step 28: Dry and iron the hair, using Corioliss mini irons which are ergonomic for delicate areas.
Step 29: Use the large C2s for the longer disconnected sections.
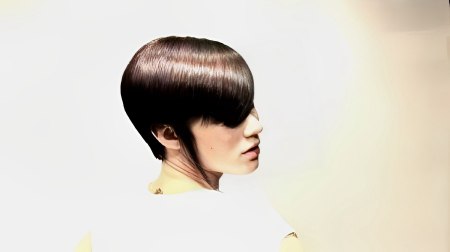
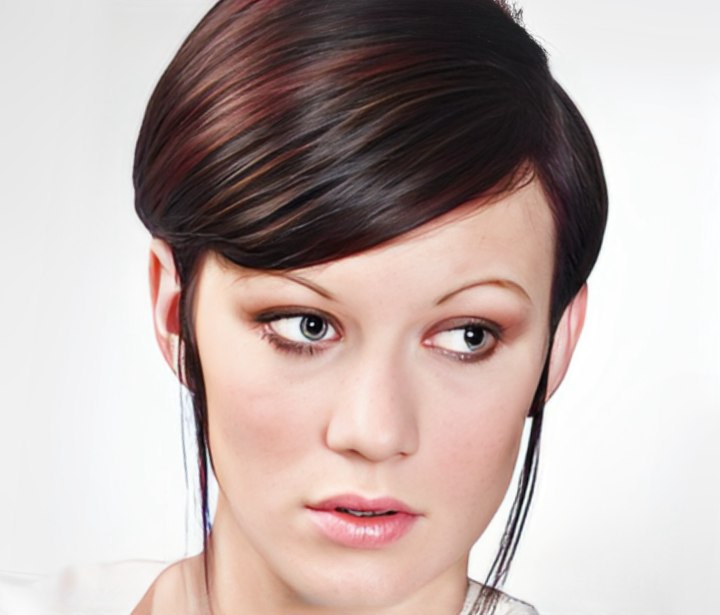
Finish: The result is a beautifully balanced, sleek, graduated classic shape with longer disconnected areas.
Text and photos by MHD. Subscribe to view the training video!