Basic Concave Layer
Step by step guide on how to cut hair with the basic concave layer technique, from Stacey Broughton, myhairdressers.com
This technique will help you with your body positioning when cutting and understanding layering. It's also great for textured hair. Master this shape and you will reap the benefits!

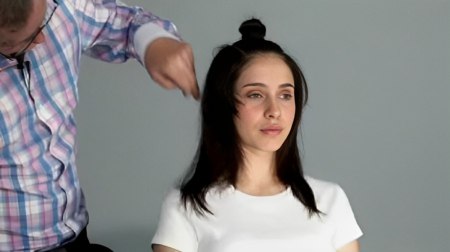
Before: Monica before the cut and colour.
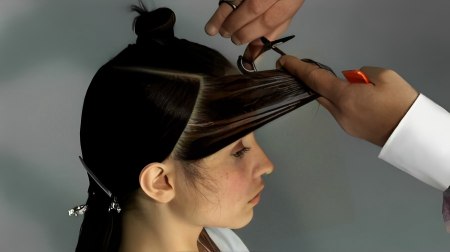
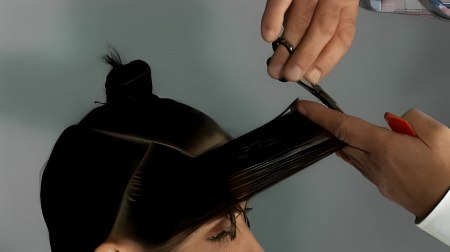
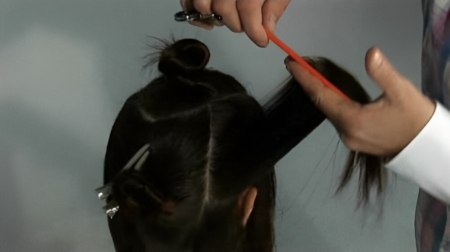
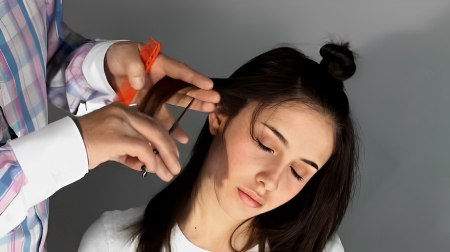
Step 1: Begin the haircut on the right hand side. Take a diagonal section from the recession to just in front of the ear. Use even tension, over-direction and pull the hair forwards and up, angling your fingers towards the hairline, and cut a line from short to long. Notice that Stacey chooses to stand on the left of the model whilst executing his right hand side.
Step 2: Repeat this process on the second side, again standing on the opposite side. Working these two small sections first ensures correct balance from the outset.
Step 3: Check the balance technically and visually.
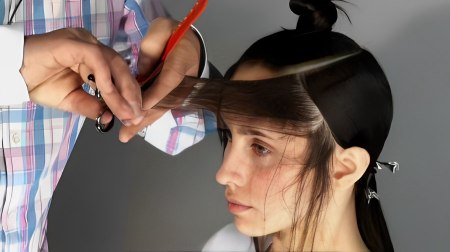
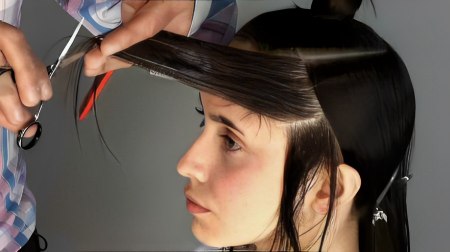
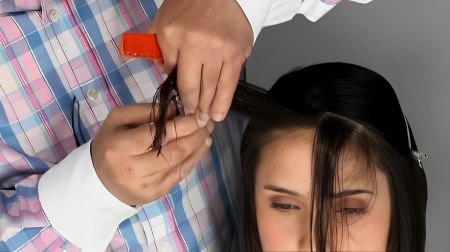
Step 4: Return to your initial side and cut the next section, using the previous section as a guide. Again, use over-direction and elevation and pay attention to the angle of your fingers.
Step 5: Then cut the second section on the other side.
Step 6: Continue with this alternating pattern until you reach the back. Working with alternating sections ensures accuracy of technique. Please note as Stacey works behind the ear, the section lengthens to include the back hairline.
Step 7: Please note that the sections from the front through the side are diagonal and curved into the nape area. These sections will become more vertical as you work into the back.
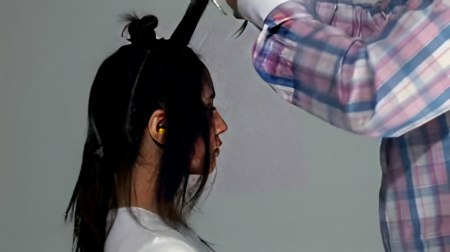
Step 8: Please note that as you move around the head, your angle is reflective of head shape. Notice how Stacey also decides to divide his longer sections for ease and accuracy.
Step 9: Remember to constantly check and refine the balance.

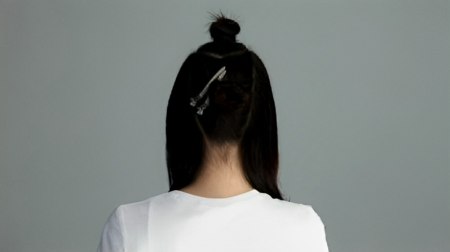
Step 10: Just before the final section in the back, you should crosscheck your work.
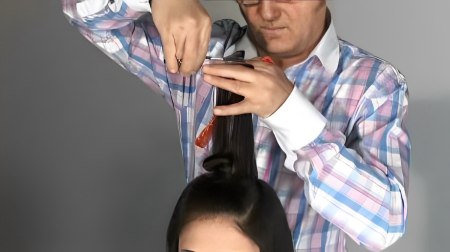
Step 11: Next, cut the final two sections in the back on both sides. Notice that Stacey's elevation and over-direction in the bottom part of the section is severe, to maintain length. This ensures that the concave shape pivots from a shorter point in the front to a longer point in the crown. This guarantees that the outline lengths remain long.
Step 12:
Crosscheck though the centre-back, using the same elevation. This refines the connection between both sides and removes corners.
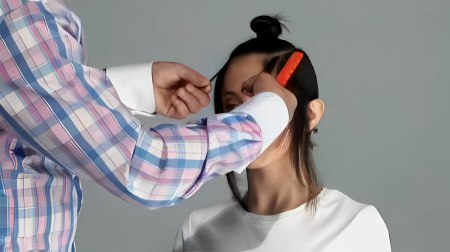
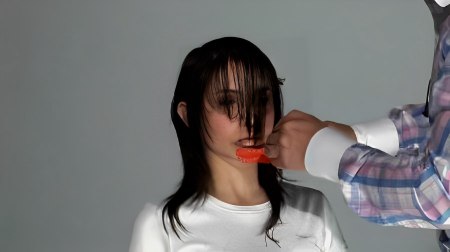
Step 13: Next, refine the perimeter in the front, using free-hand techniques.
Step 14: Now, begin work on the top section. Use horizontal sections from the parting and stand behind the model. Use a guide from the first side area and cut a concave section from short to long, elevating and over-directing the hair. Use the position of your fingers to determine the angle.
Step 15: Please note that the concave connects on the parting side and does not connect on the other side. Check the angle visually.
Step 16: Continue with parallel sections through to the crown, using the same elevation and over-direction and your previous section as a guide. Please note that the parallel sections take into account the roundness of the head and the angle increases towards the back.
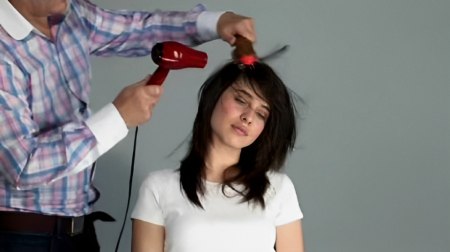
Step 17: Now dry the hair. Dry the underneath first, then work diagonally from front to crown so the dryer is directed down the cuticle.
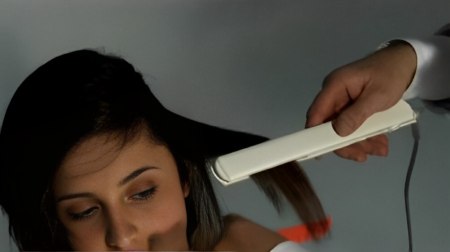
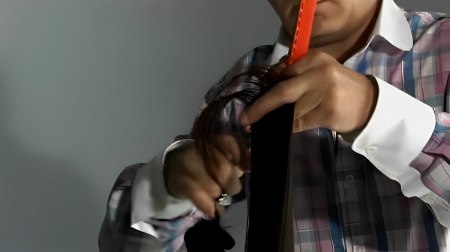
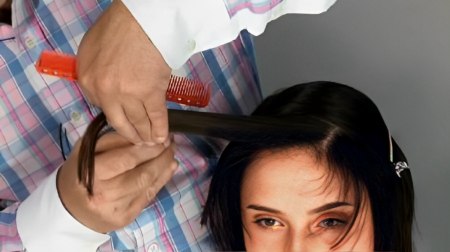
Step 18: Using Coriollis C2 irons and diagonal sections which mirror the outline, iron the hair ensuring a bevel throughout the perimeter. Please note that Stacey is particular with his temperature control, dependent of hair quality.

Step 19: Now use appropriate free-hand techniques to soften the internal shape.

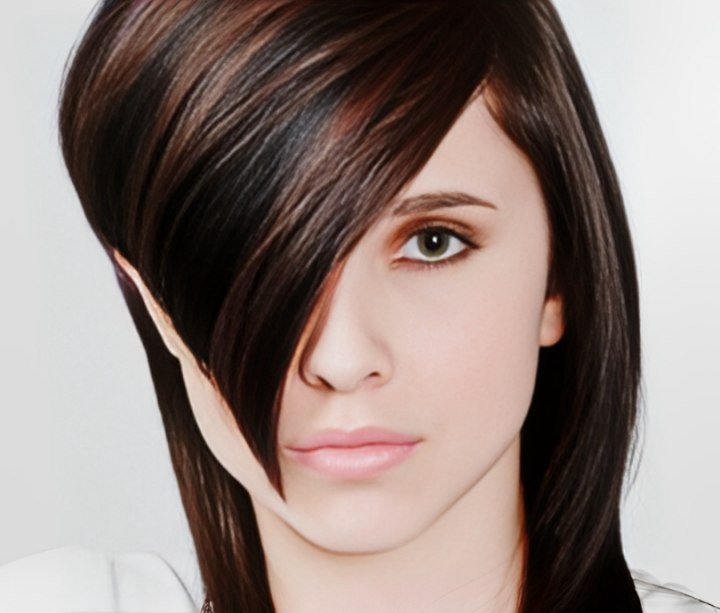
Finish The result is a traditional, basic concave technique, refreshed for the modern climate by use of disconnection. A great teaching tool for body positioning and finger angles.
Text and photos by MHD. Subscribe to view the training video!