Crop Circles: A Braided Up-Style

In our continuing exploration of different looks that can be created for up-styles with long hair, the idea of using braids comes to mind. Using braids in up-styles is not unheard of; in fact, it's a common practice. However, in most cases, braids in up-style designs are usually done as accents or as foundations upon which the main design is anchored. But we wondered if we could design an attractive updo using only braiding techniques. Here's what we've done:
Tools You Will Need
1. Snag-safe elastic bands
2. An assortment of large and small bobby pins
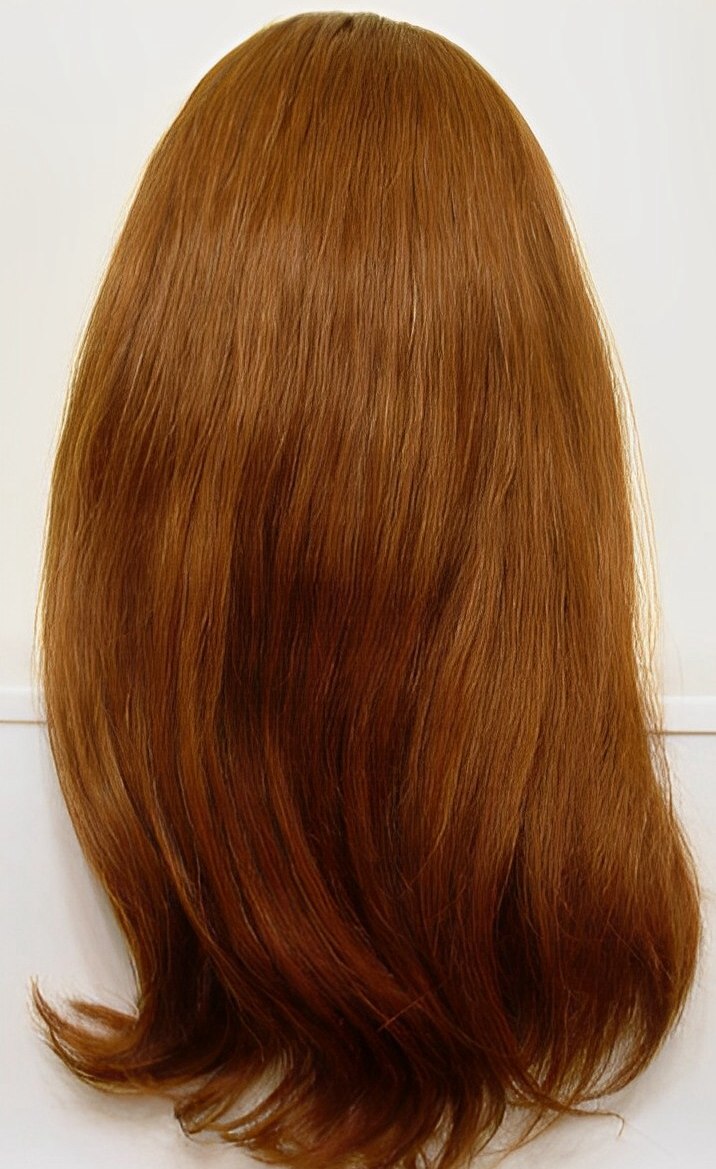
We started with unwashed hair and brushed it until it was smooth and tangle free. We also used an anti-frizz serum, which was applied to the palm of one hand and distributed evenly over both palms and on the fingers by rubbing the hands together.
We then smoothed the serum onto the hair and finger-combed it to spread the serum from the scalp to the ends of the hair. Because we had so much hair to work with, we had to repeat this step several times until all the hair had been smoothed.
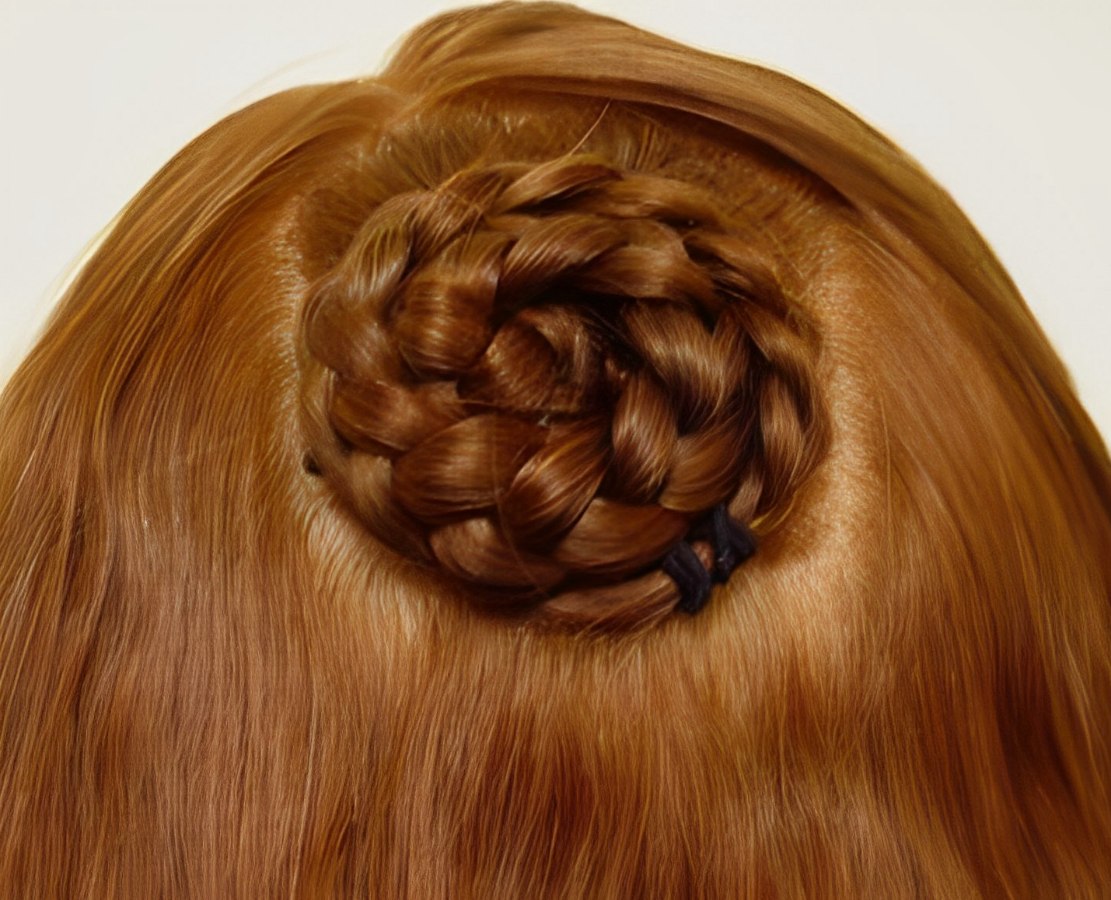
The design was created to be more free-form and asymmetrical, giving it an organic feel and making it adaptable for anyone wishing to attempt the style on their own. Starting at the center crown area, we separated a segment that was approximately four inches by four inches square. We combed the segment to ensure smoothness, then braided it into a standard three-strand braid aligned to the center of the square.
The end of the braid was secured with a snag-proof elastic band. This braid was then formed into a coil, positioned flush against the scalp, and secured with large bobby pins. The end of the braid was tucked under the coil out of sight and secured in place with small bobby pins.
Next, we began working with the remaining hair. A second panel was sectioned at the top of the head, from the top side of the initial square to the forehead, and as wide as the initial square. This panel was also braided in a three-strand braid, with the base of the braid centered at the back end of the panel, and the end of the braid secured with a snag-proof elastic band. This second braid was coiled and pinned in the same manner as the initial braid. At this point, we had two coils positioned one in front of the other, just forward of the center crown area of the head.
Moving to the right side, we sectioned off the area just behind the right ear. Again, we braided this section in a three-strand braid, centering the base at the back of the section and securing the end with a snag-proof elastic band. Once completed, we wrapped the braid around the lower coil in a clockwise direction, tucking the end under the edge of the lower coil, and securing it in place with small bobby pins.
Transitioning to the left side of the head, we created a section by parting the hair in front of the left ear. This section was braided with the base at the rear of the section, following the same method as before. The braid was then wrapped counterclockwise around the upper coil, with its end tucked beneath the coil and secured with small bobby pins.
Our final section was the curved panel of hair starting behind the left ear and curving along the nape of the neck. Rather than a standard three-strand braid, we used the French braid technique for this section. The braid was centered within the panel, finishing up in the right nape area. The remaining hair was braided in the standard three-strand fashion and secured with an elastic band.
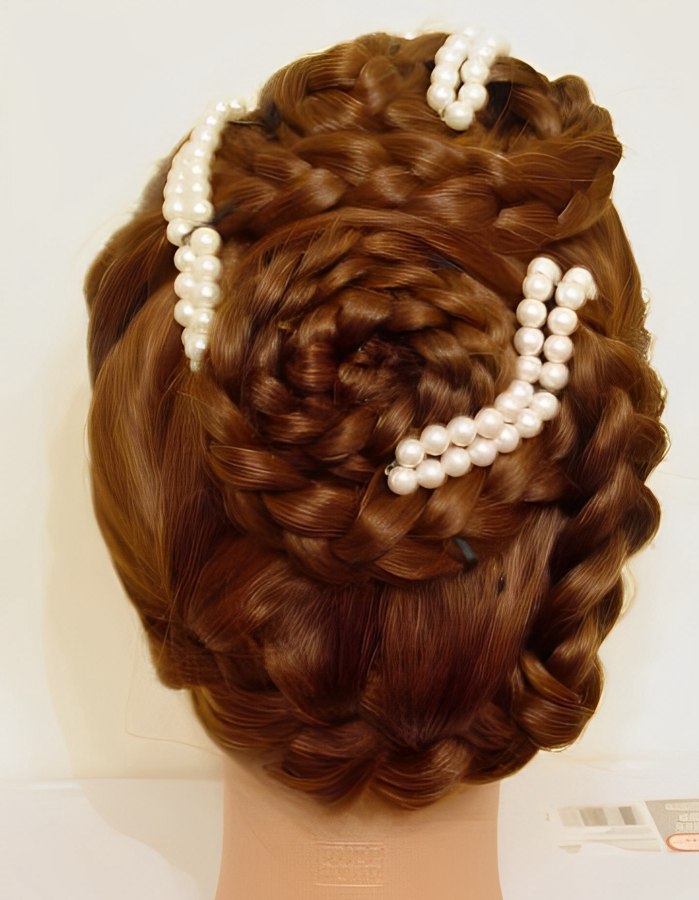
The free portion of the braid was positioned vertically, crossing over the right-hand braid, and threaded in an S-shape between the two coils. Its end was tucked out of sight beneath the upper coil's edge and anchored along its path using large and small bobby pins as needed.
To complete the style, we lightly misted it with hairspray and gently patted down any stray hairs. The design was then adorned with costume jewelry faux pearl bracelets, arranged to resemble two rows of pearls. Alternatively, jeweled hairpins or longer strands of beads could be used to accentuate the curves of the coils, providing an equally appealing look.
See also:
More hair styling instructions
More about up styles
More about braiding hair