Free-Style Curls
Styling Techniques to add Curl and Volume
We've already discussed various techniques for styling your hair without using styling tools, such as finger waves and pin curls. However, many of the women I've spoken to express concern that these methods seem too difficult. While it's true that these techniques require practice and patience to master, styling your hair without tools doesn't have to be daunting or time-consuming.
If you're simply looking to add some curl and volume, consider opting for free-style curls. This approach offers an easy way to introduce variety, is more comfortable than wearing rollers, and can be done quickly.
• Curls clips or bobby pins.
• Styling comb or tail comb.
Creating the Style:
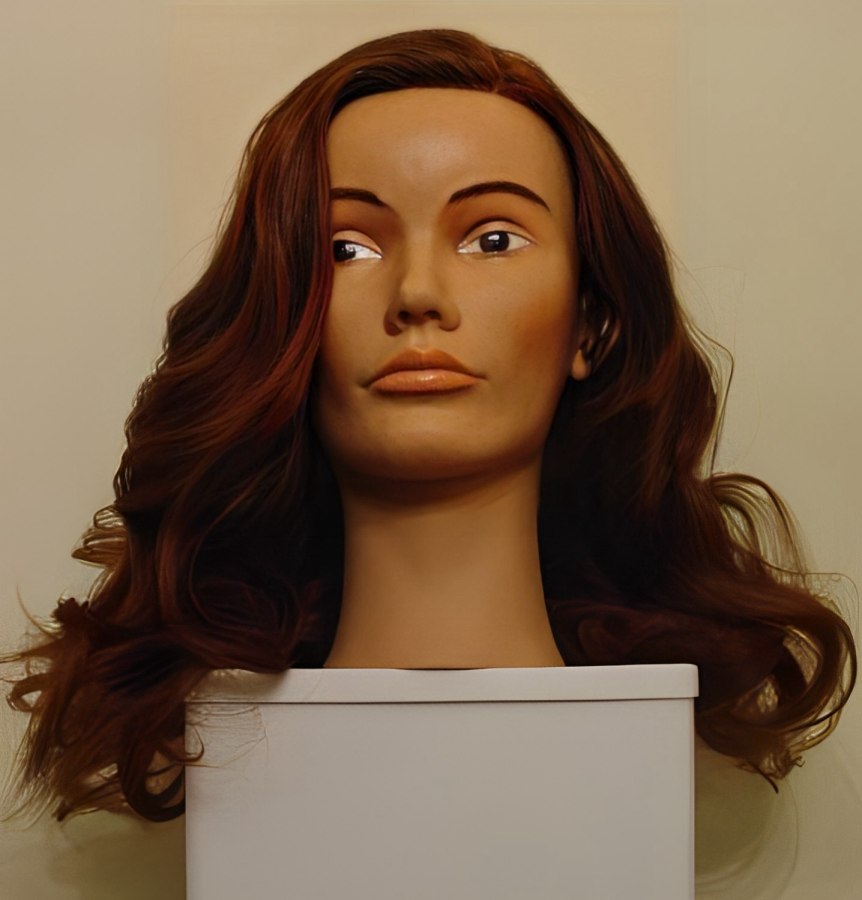
This styling technique can be done with either freshly washed, conditioned hair or with clean, dry hair. Starting with dry hair has the advantage that the curls will dry much more quickly. For our demonstration, we used a manikin with clean, dry hair.
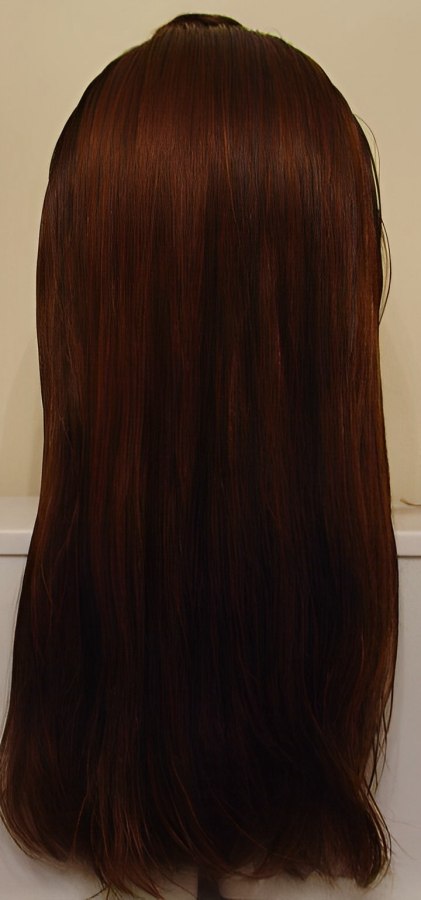
First, we brushed the manikin to remove any tangles and smooth the hair. Then, we lightly misted the outer layer of the hair with a protein-rich leave-in conditioner and began creating the free-style curls. Our manikin has a natural part on the left, and we wanted to preserve that, so we began making curls at the top of the head just to the right of the parting.
To create the curls on top and around the face, simply separate a small section of the hair using the comb of your choice and comb it smooth. Then, wrap it around your finger loosely. If you want larger curls (like we chose), you can wrap the hair around two fingers. After the hair is wrapped, press the tip of your finger to the scalp and slide the hair down onto the head. Secure the curl with either a curl clip or a bobby pin, and continue with another segment.
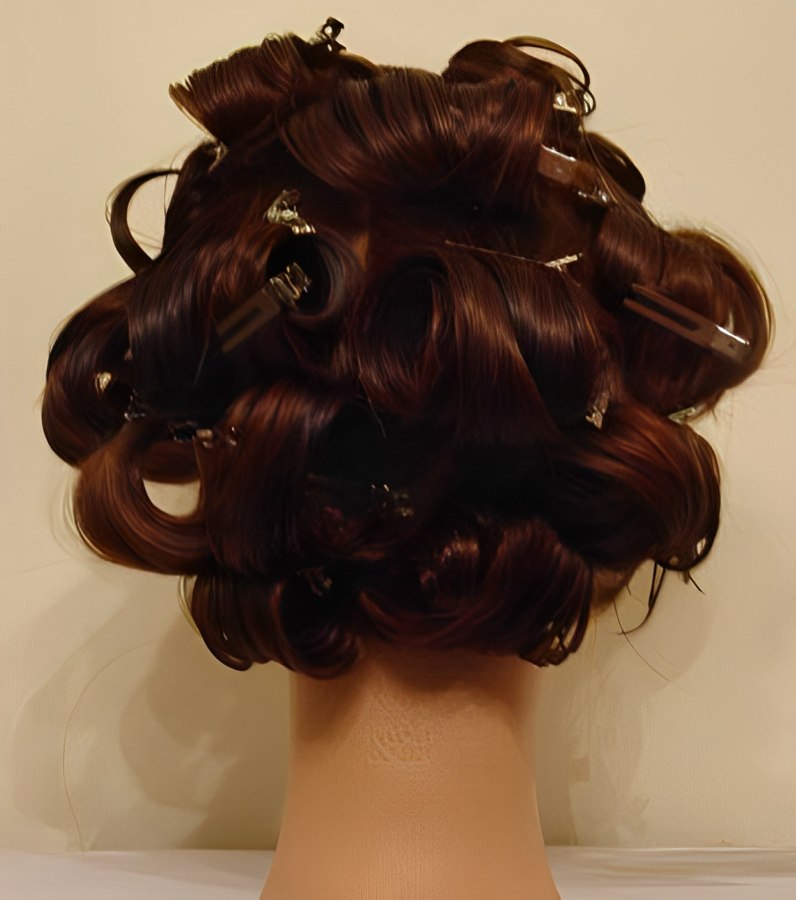
Once the top and sides have been curled, move to the back of the head. Feel free to continue misting the hair as needed to keep it slightly moistened. You can either continue creating curls flat against the head or, as we did in the demonstration, wrap the hair around your finger(s) and then clip the curl horizontally to keep it from unrolling.
Once you have finished making the curls and clipping them securely, use the leave-in conditioner (or the liquid styling product of your choice) to mist the entire head. Then, let the curls dry. You can either allow the hair to air dry, or if you have a bonnet hairdryer or blow dryer with a diffuser, you can speed up the drying process. In our demonstration, we allowed the hair to air dry.

After the curls are dry (and cooled if you used a bonnet or blow dryer), remove the clips (or bobby pins) and smooth out the curls with your fingers. At this point, you can use a styling brush to further smooth the individual curls, creating a style with smooth, separated curls. Alternatively, if you prefer, you can simply brush the curls together, as we did, to create fuller, curling waves.
As you can see, you don't need curling irons, hot rollers, or curlers to style your hair. You don't even have to practice complicated techniques to get good results, and you can add as much or as little curl as you want.