Razored Circle Cut
How to cut this hairstyle with bangs
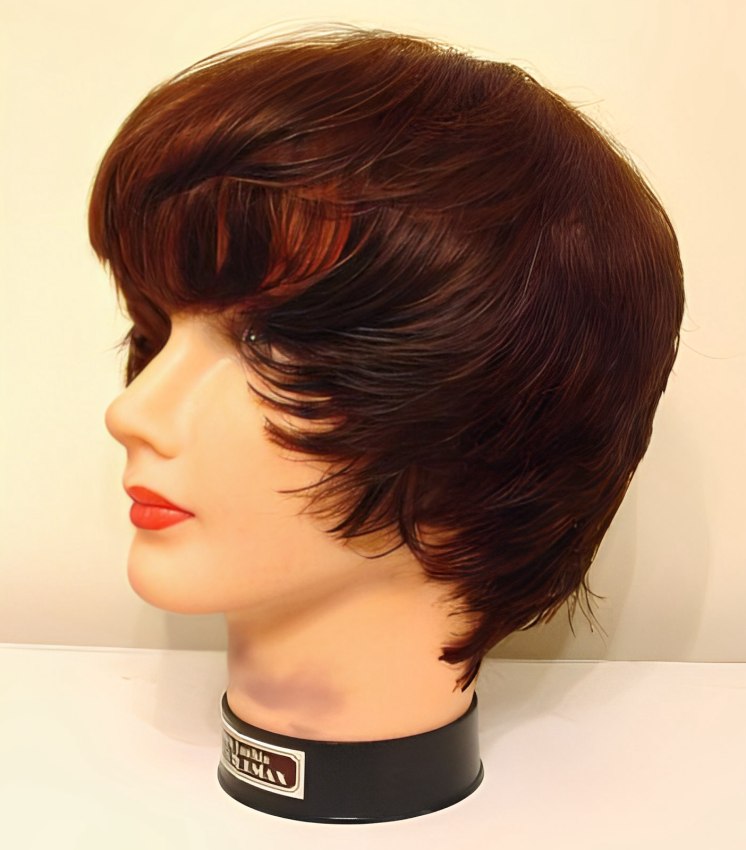
The basic circle cut is a very versatile style. With a little variation and texturing of the hair with a razor tool, you can achieve a very modern, soft style. Here are the steps to get the style you see here.
Step One:
Perform the Basic Circle Cut and rewet the hair, combing it out in preparation for texturing. If you are going to texturize a previously executed circle cut, shampoo and condition the hair, towel dry, and comb the hair to remove any tangles.
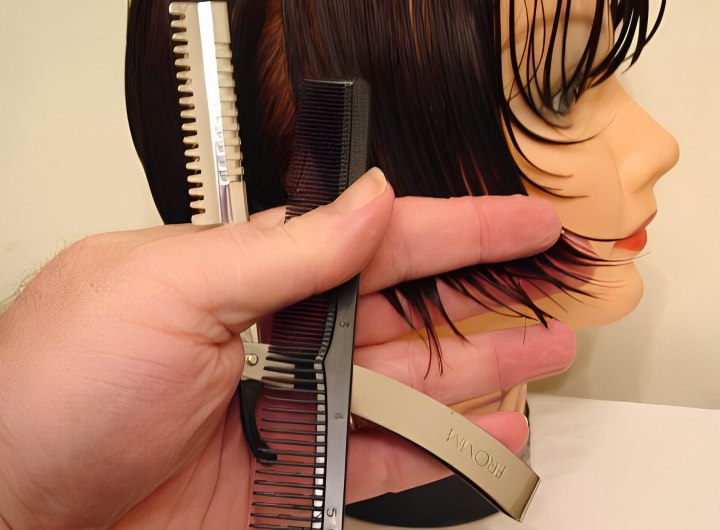
Start in the fringe (bangs) area of the head. Separate a segment of the fringe a little narrower than the blade of your razor tool. Comb the segment to smooth it and hold it (using a little tension) between the index and middle finger of your holding hand. Slide the segment of hair between your fingers until they are approximately two-thirds of the length of the hair from the scalp.
With the razor angled slightly against the hair, and using a light "scraping" motion, slide the blade along the last third of the segment. The goal is to remove a small amount of the hair in an angle along the bottom third of the hair line. Remember that you can always go back and remove more hair, but once it is cut, it's gone, so work carefully.

Step Three:
Work your way left and then right in the fringe area, following the curve of the fringe area's cut line. When you reach the sides of the face, slice a segment vertically and comb it forward, toward the face. Hold the segment and use the razor as described above, working toward the face. The diagram shows the angle at which the hair should be held and the direction in which you want to comb and cut.
Then, slice another segment and continue to work your way around to the center back of the head. You will likely need to work with the hair along the parietal ridge (the curve of the skull above the ears) first, and then work your way around again on the lower sections of the hair.
Step Four:
Once you've completed the above steps and worked your way all around the head, you're ready for styling. For our demo, we used a small amount of gel and worked it evenly through the still damp hair. Then, using a blow dryer on a high-heat, low-speed setting, the hair was dried. While drying, a general shape for the styling was achieved with the fingers, and a flat, ceramic brush was used to smooth the drying hair to its finished style.
After styling, a light mist of hairspray was applied and the wide end of a styling comb was used to add definition to the hair style. The end result is a style that is soft and sassy, with easy movement, and the ability to look good even if it gets a little mussed during the course of the day or night.
Advice: Practice this haircut on a mannequin before trying it out on a real person.
©Hairfinder.com
See also: How to cut hair
