Long Back-Angled Bob with Volume and Curls
So, you decided to go with the back-angled bob cut for your long hair and now you want to know what you can do with it, right? Well, all your favorites are still possible: up-styles, ponytails, braids, etc. And you can even give yourself some variety in a more casual style by adding curls to the look.
The amount of curl is entirely a matter of personal choice. But whether you opt for small, tight spirals or long, flowing waves, curl can make a world of difference in the look of the cut. For our demonstration here, we chose a wet-set with large rollers for big, full curls with a lot of hold. If you are practiced at creating a curly style with long hair, you know that various techniques will give you differing levels of strength in your curls.
How To:
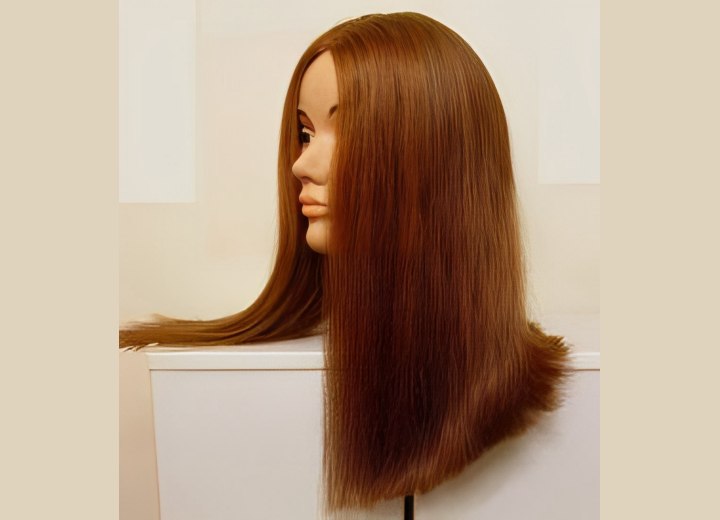
Our photos show the stages of this curling process. We began with freshly cut hair which was shampooed once more to remove any stray hair clippings, and conditioned to ensure hydration and protect the hair against any damage from the blow dryer. After towel-drying the hair, we applied a generous amount of styling gel and worked it carefully through the hair using our fingers and a wide-tooth comb to remove any tangles.
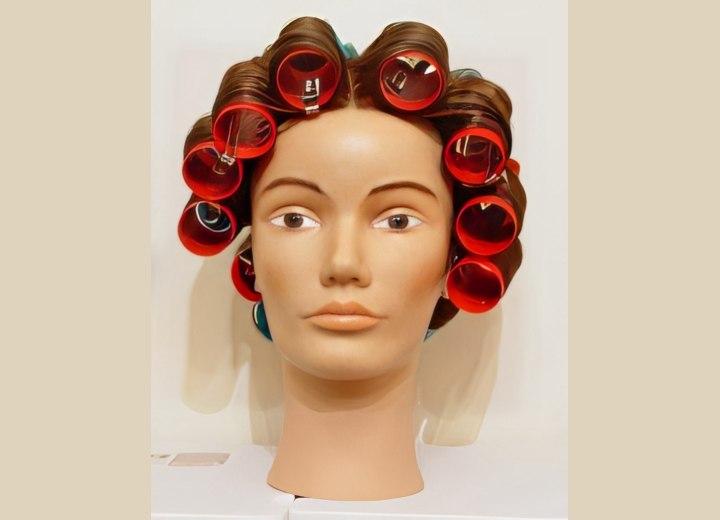
The hair was then wrapped as shown using the largest rollers we have available. The hair was wrapped overhand and half-off-base, to give a moderate amount of lift to the curl. Because we wanted softer waves to frame the face, we used our largest rollers along the front hairline and directed the curls downward along the sides of the head.
Behind this front row of rollers, we shifted one size down in rollers and wrapped a row of rollers down the middle at an angle, for a more organic (natural) wave pattern. The remainder of the sides were then wrapped in angled rows and filled in as needed. When the hair became too dry, we misted it with water to make wrapping the hair easier.
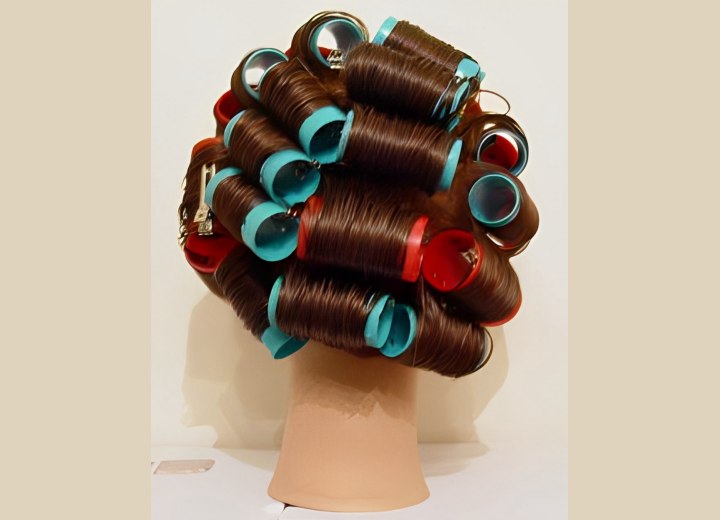
The finished wrap looks more haphazard than it actually is, and many older women who are accustomed to seeing very neat, uniformly wrapped hair, such as for a perm, may think the roller set has been done incorrectly. However, unlike your grandmother’s day of precisely symmetrical styles, today’s hairstyles favor more organic and random-looking wave patterns. It also helps to prevent visible roller marks, which are those telltale seams where the hair has been parted for wrapping on a roller.
Finishing the Style:
Once the hair was wrapped, our manikin was misted once more to moisten the curls and placed under a bonnet dryer for 45 minutes on the "high" setting. Because the manikin’s hair is so long and thick, we needed to extend the drying time to an hour, but we lowered the heat to "low". Once the hair was dry, and before removing the manikin from under the dryer, we switched the setting to cool and left her for a final ten minutes.
The cooling step in heat setting (whether under a hair dryer for a wet set or when using hot rollers or curling iron) is very important. Since both heat and water can break down the side bonds of the hair, you need to make sure not only that your hair is completely dry, but also that it is fully cooled before you remove your rollers. Those of you who have used hot rollers know this, probably because you’ve made the mistake of removing the hot rollers too soon at some point and watched the curl fall right out of your hair.
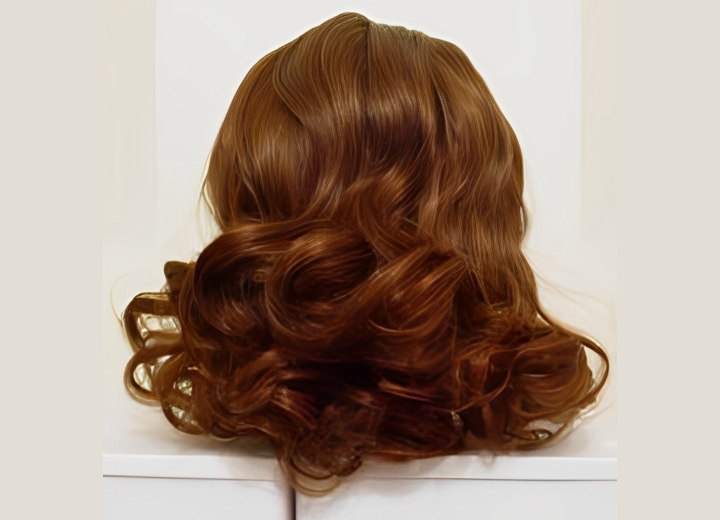
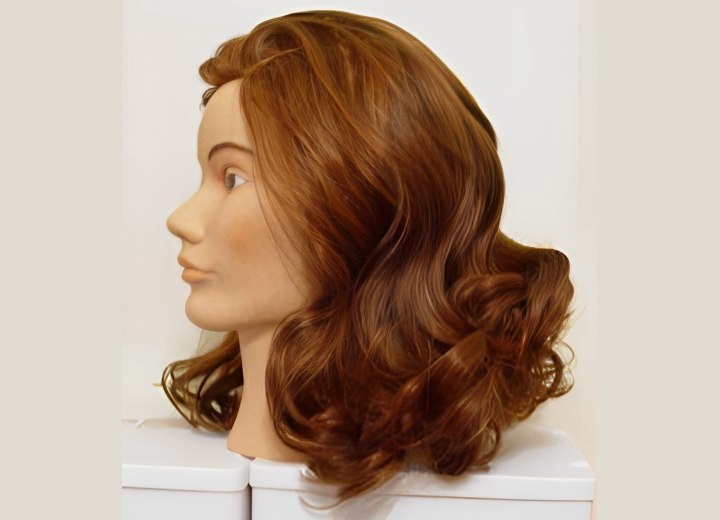
Once the hair was cool and dry, we removed the rollers and combed out the curls starting with our fingers first and then with a wide-toothed comb to soften them. After softening the curls, we switched to a vented brush to further break up the styling product and give the hair a softer look. Finally, we changed to a styling brush for a smooth, soft-looking finish.
A light application of anti-frizz serum allowed us to smooth down any flyaway strands in the hairstyle and give the desired amount of definition to the curls we just added. The finished look, as you can see, is a head full of voluminous waves and curls with a healthy shine and lots of volume.
©Hairfinder.com
See also:
How to make pin curls
Prom hair styles for curly hair
How to style hair in big curls and waves
