How to Cut an Inverted Bob (3)
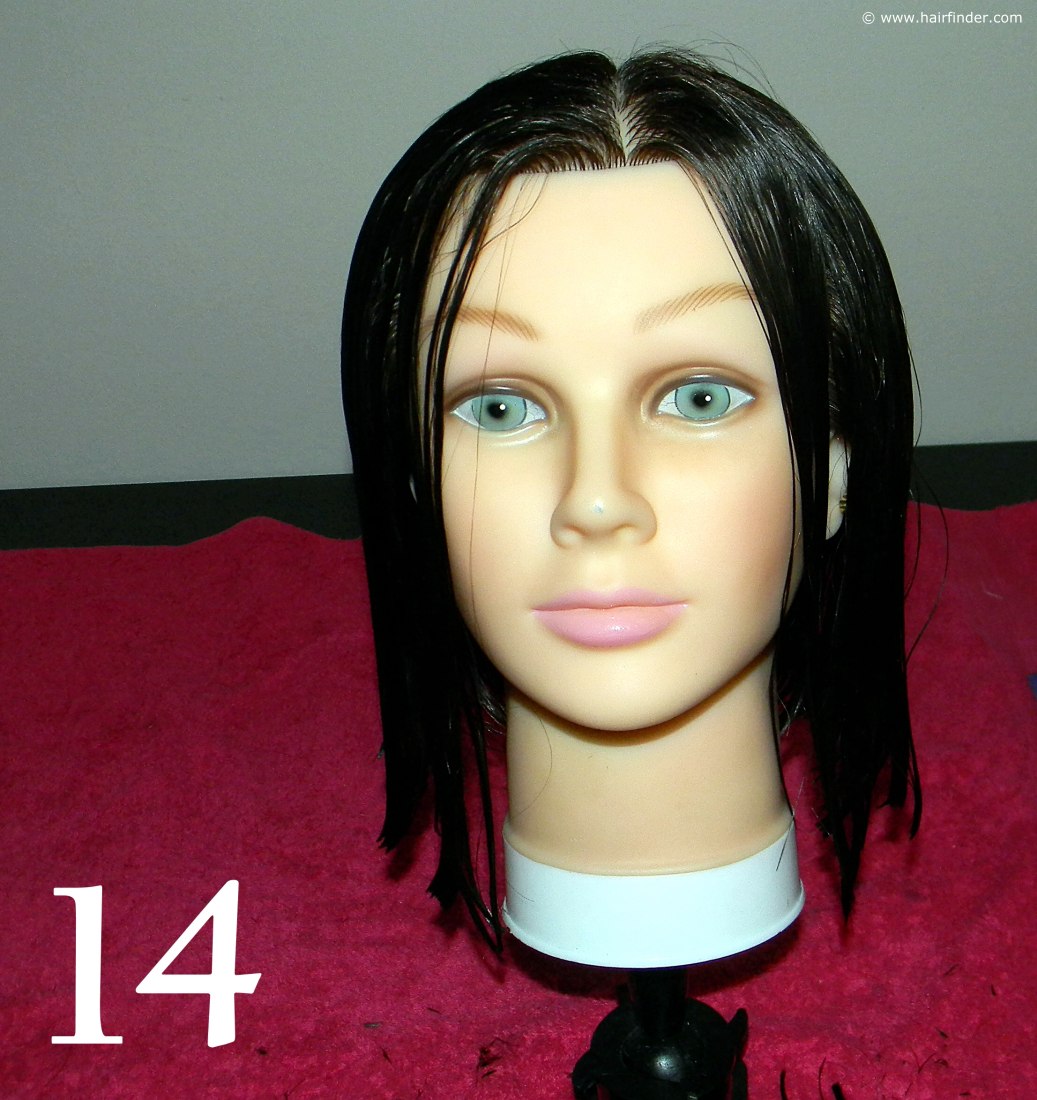
Previous Page14. When you’re done with this side section, check that the two sides correspond in length etc. Pinch the hair of both sides between the thumb and forefinger of each hand. Simultaneously slide your hands down the length of the model’s hair, and if the length of each side corresponds with one another; your thumbs should end up on the same height.
If this is not the case, you’ll have to correct the length of the two sides so that they are exactly the same. Remember that this difference may not look like much when the hair is wet, but it will make a huge difference in the presentation of the cut when the hair is dry.
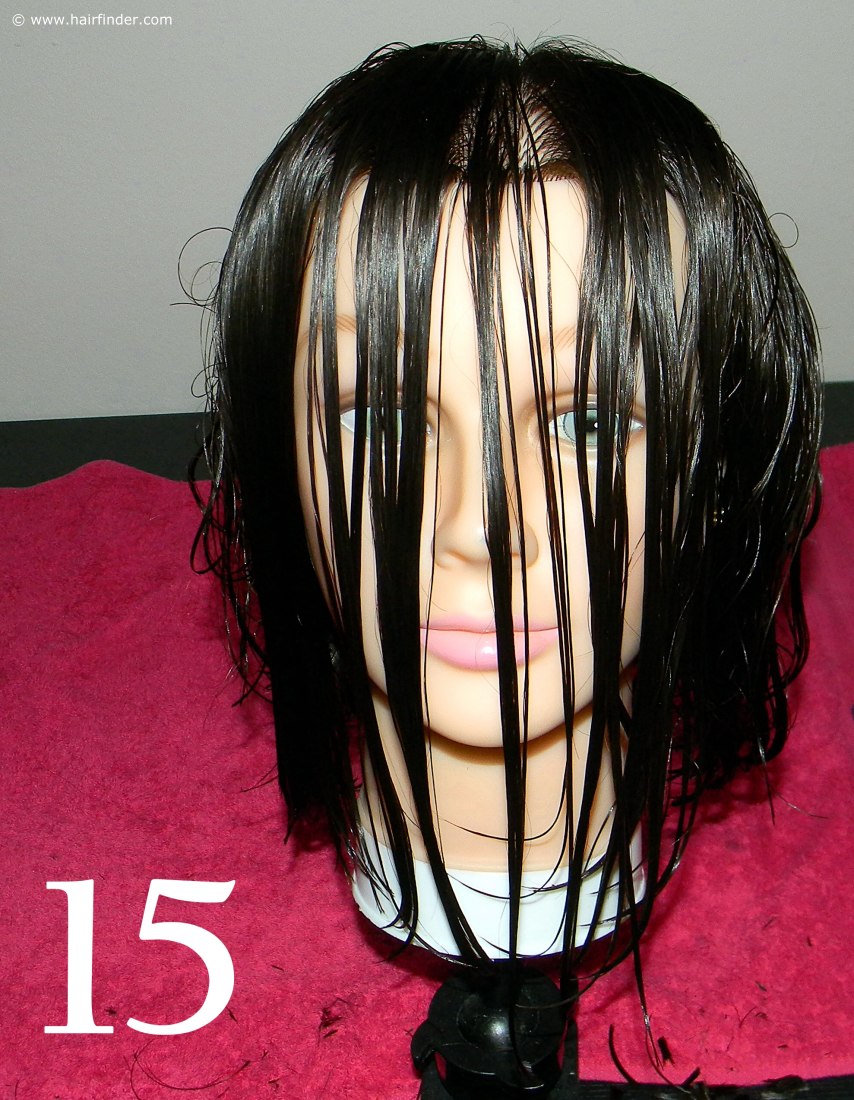
There should be a slight angle in the middle of this combines weight-line, but it is paramount that the two lines connect each other seamlessly. If not, there’s an inconsistency in one of the weight-lines of your side sections.
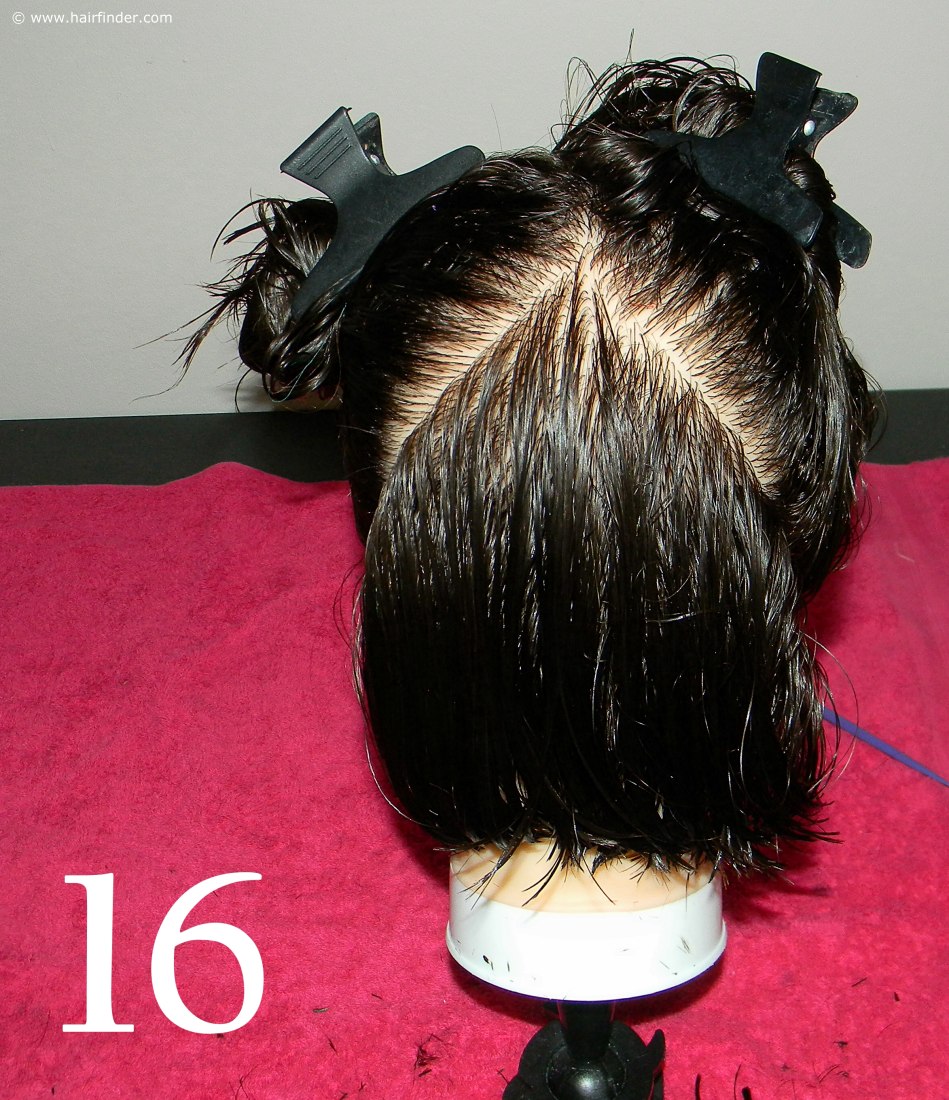
16. Move towards the back of the model’s head again. This is where we will proceed to cut the back section shorter and thin this section out considerably. Use the sharp end of your tail comb, and again draw a parting from the middle of the forehead towards the back, ending on the occipital ridge.
Draw another parting from the back of each ear, connecting in the middle of the occipital ridge. You’ll again notice the triangular shape of the top of this section. Comb the loose hair in a neat downwards fashion.
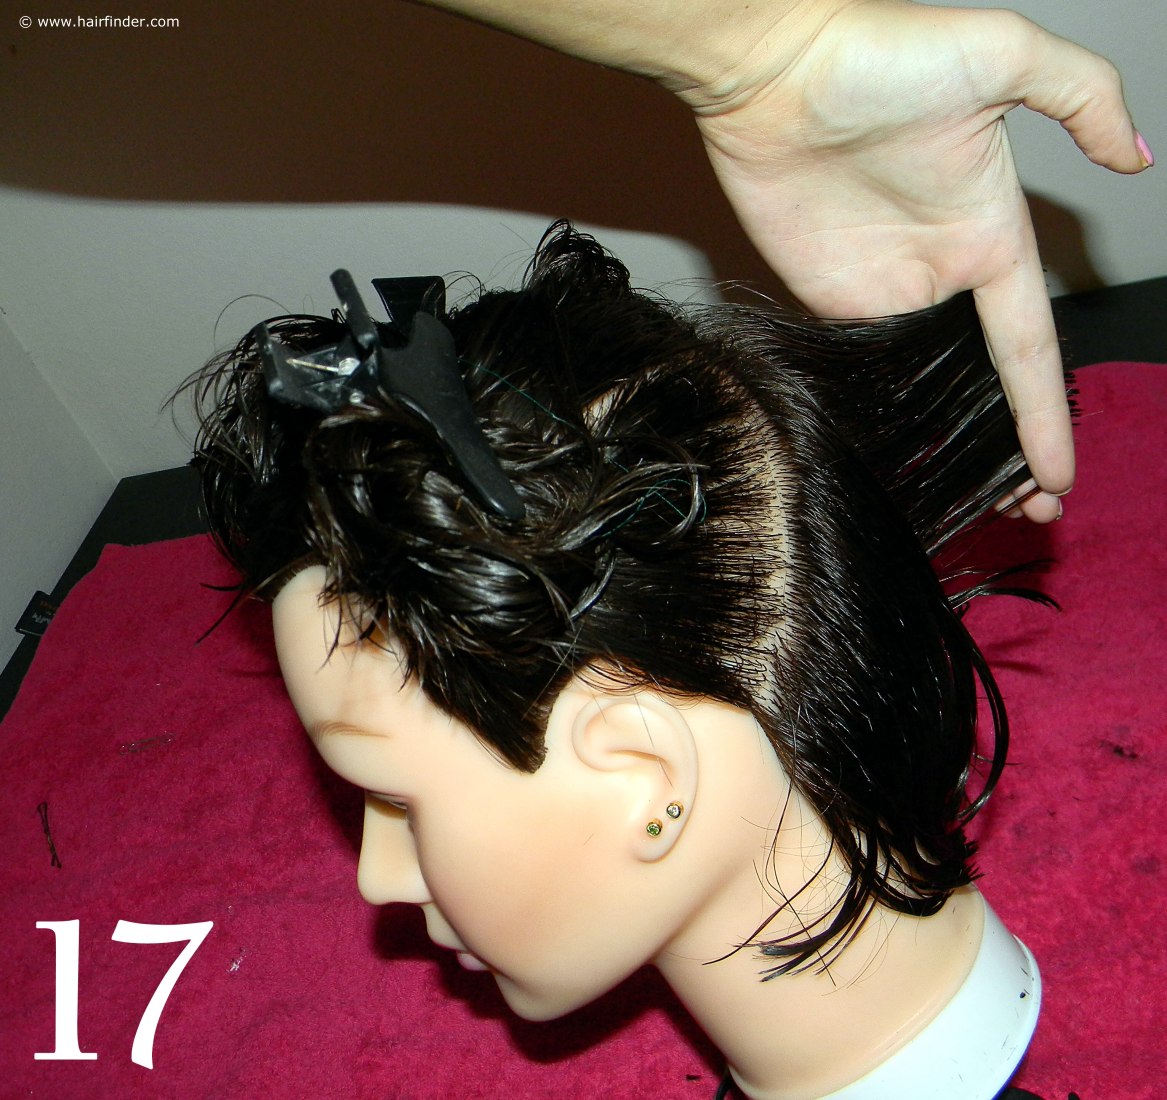
17. Separate a thin two inch section running from the occipital bone towards the nape area. Note that the top hair is much longer than the short hair in the nape area. You will now cut an even line so that the length of this vertical back section is consistently even from the occipital bone area right down to the nape.
Repeat this step all through this back section. All the hair in this section should be concisely even in length. No hooks or curves may be present in this section.
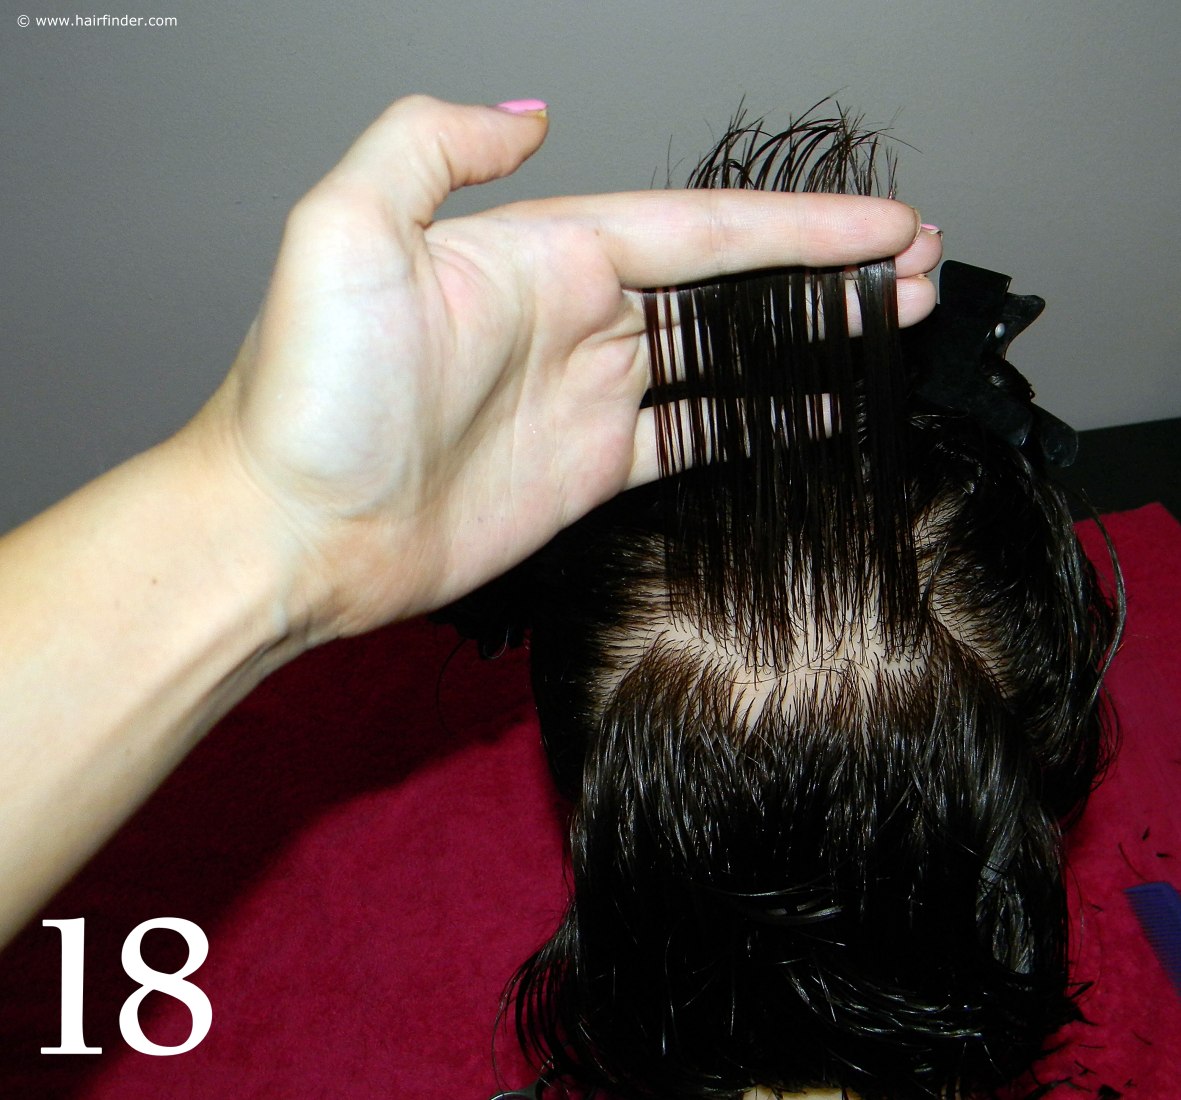
18. When you’ve finished with the vertical sections of this back section, you can cross reference the consistency of the length in this entire area by drawing out a thin horizontal section, checking that no hooks or curves are present.
Work your way from the occipital bone area down towards the nape area. If you do spot an inconsistency, correct it immediately. When the hair is wet these inconsistencies are hard to spot. Yet when the hair is dry and styled, it will ruin the look.
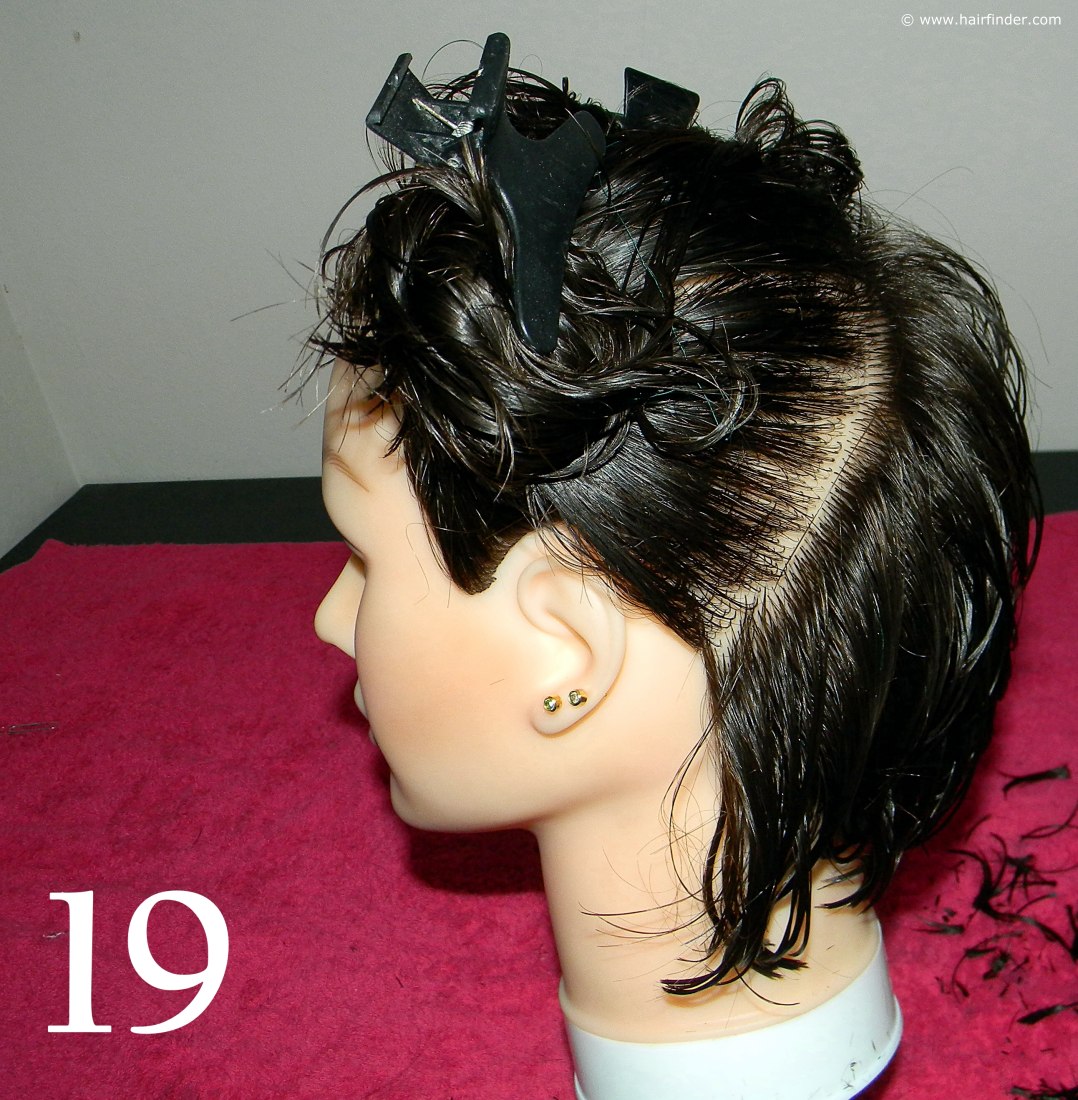
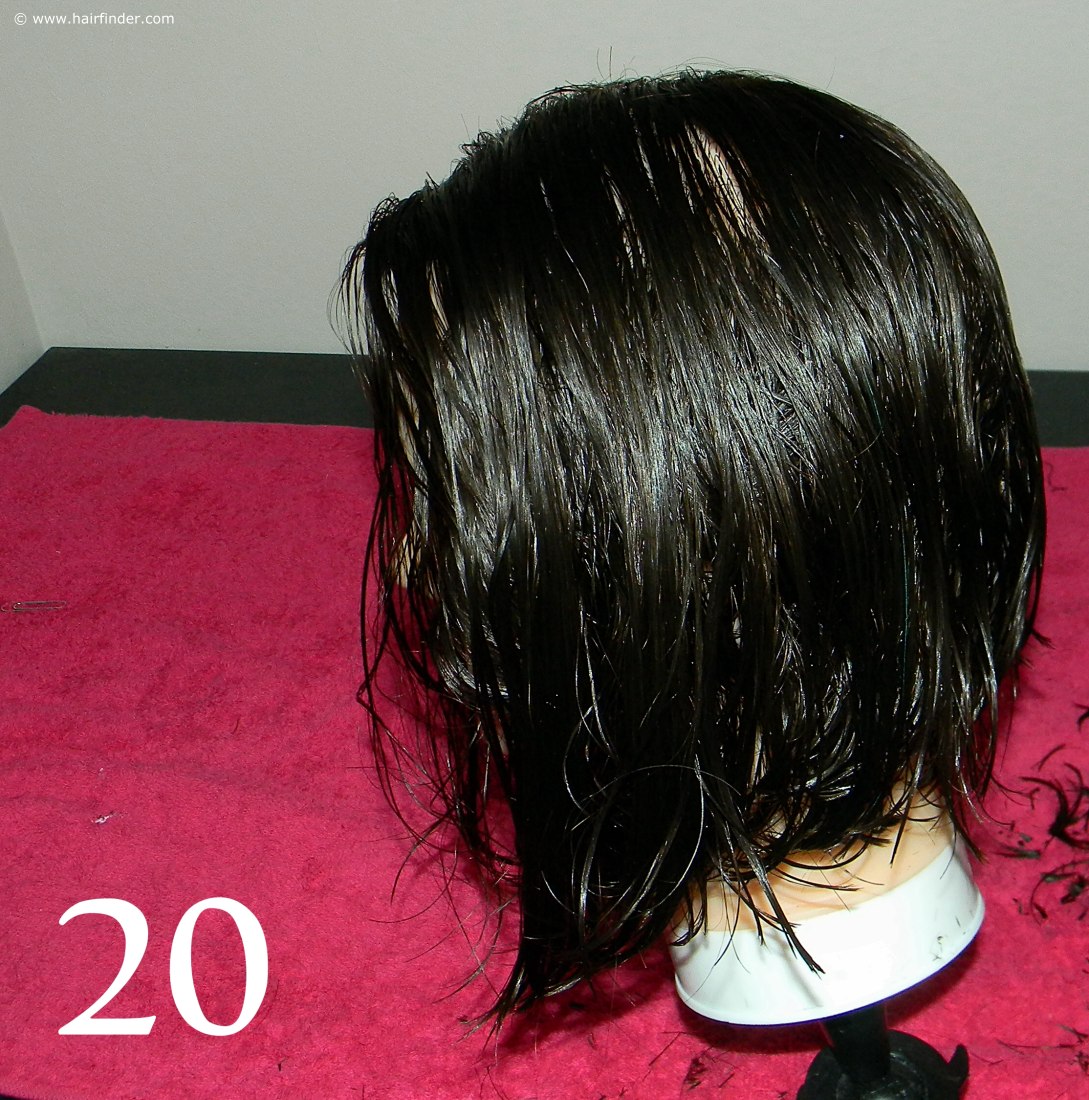
19. Note how you can already see the form of the back of the inverted bob, even while the hair is wet. By cutting and thinning out the hair in the back section, you are in effect manipulating the hair in this section to follow the exact silhouette of the model’s head, which means that you have created a uniquely tailored cut for each and every person’s hair that you cut this style for. This is part of the magic of the inverted bob.
Next Page
