How to Cut a Short Inverted Bob (2)
Previous Page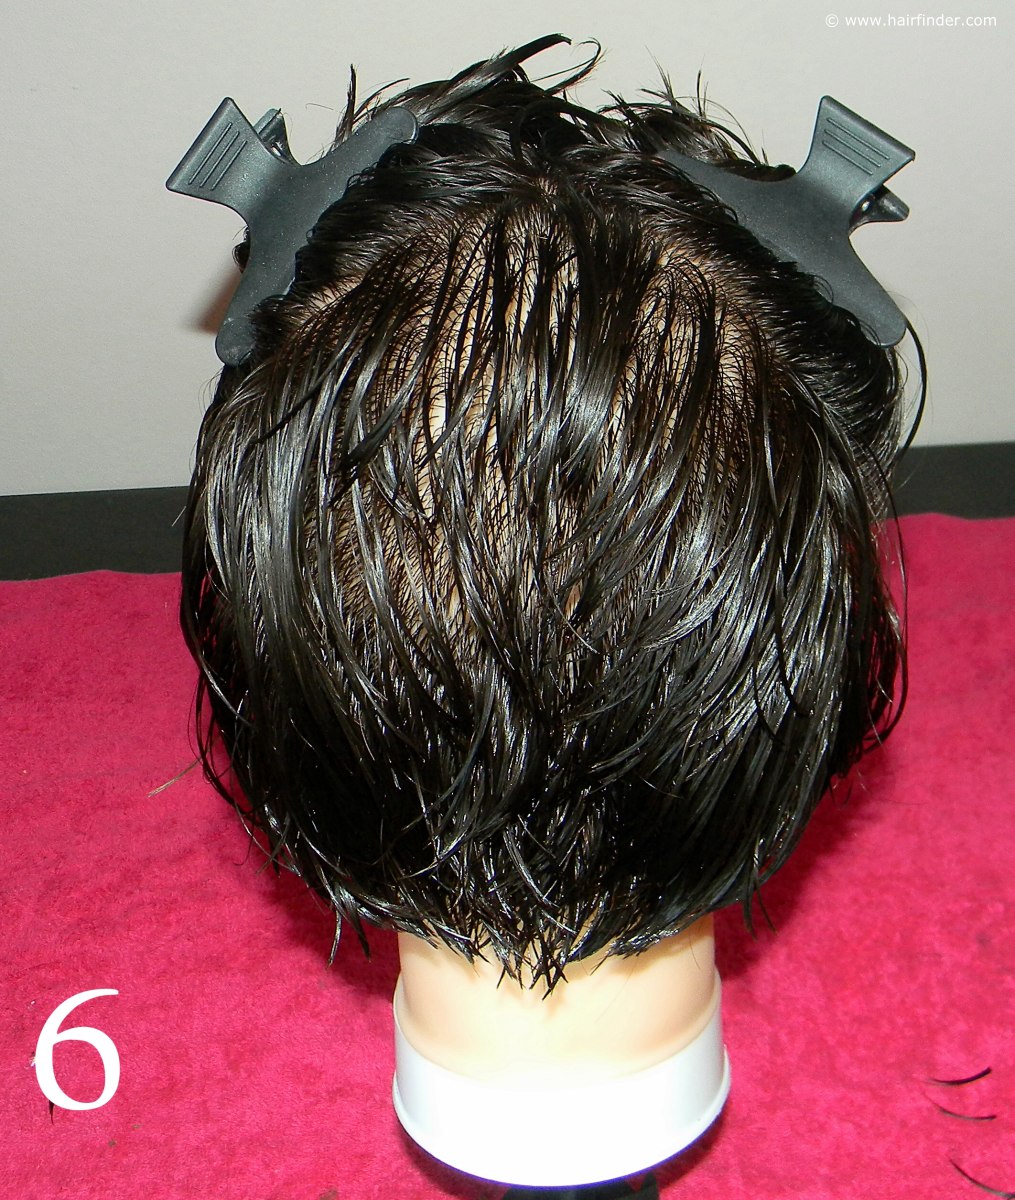 6. Now you’ll start drawing vertical sections in the longer areas flanking the short triangular section in the middle of the model’s head. Draw out two inch sections at a time, gently drawing it over towards the short
middle triangular section. The short triangular section will be you initial guide-line for cutting the longer areas into shape.
6. Now you’ll start drawing vertical sections in the longer areas flanking the short triangular section in the middle of the model’s head. Draw out two inch sections at a time, gently drawing it over towards the short
middle triangular section. The short triangular section will be you initial guide-line for cutting the longer areas into shape.Snip off the edges of the longer vertical sections as you go along. The longer areas will continue to be progressively longer towards the front of the head after you’ve cut this section according to the above instructions. This is because the hair is pulled from the front towards the back section before being cut, meaning the layers will progressively be shaped into style, yet not losing its length in the front. Do this on both sides of the model's sections flanking the short middle triangular section.
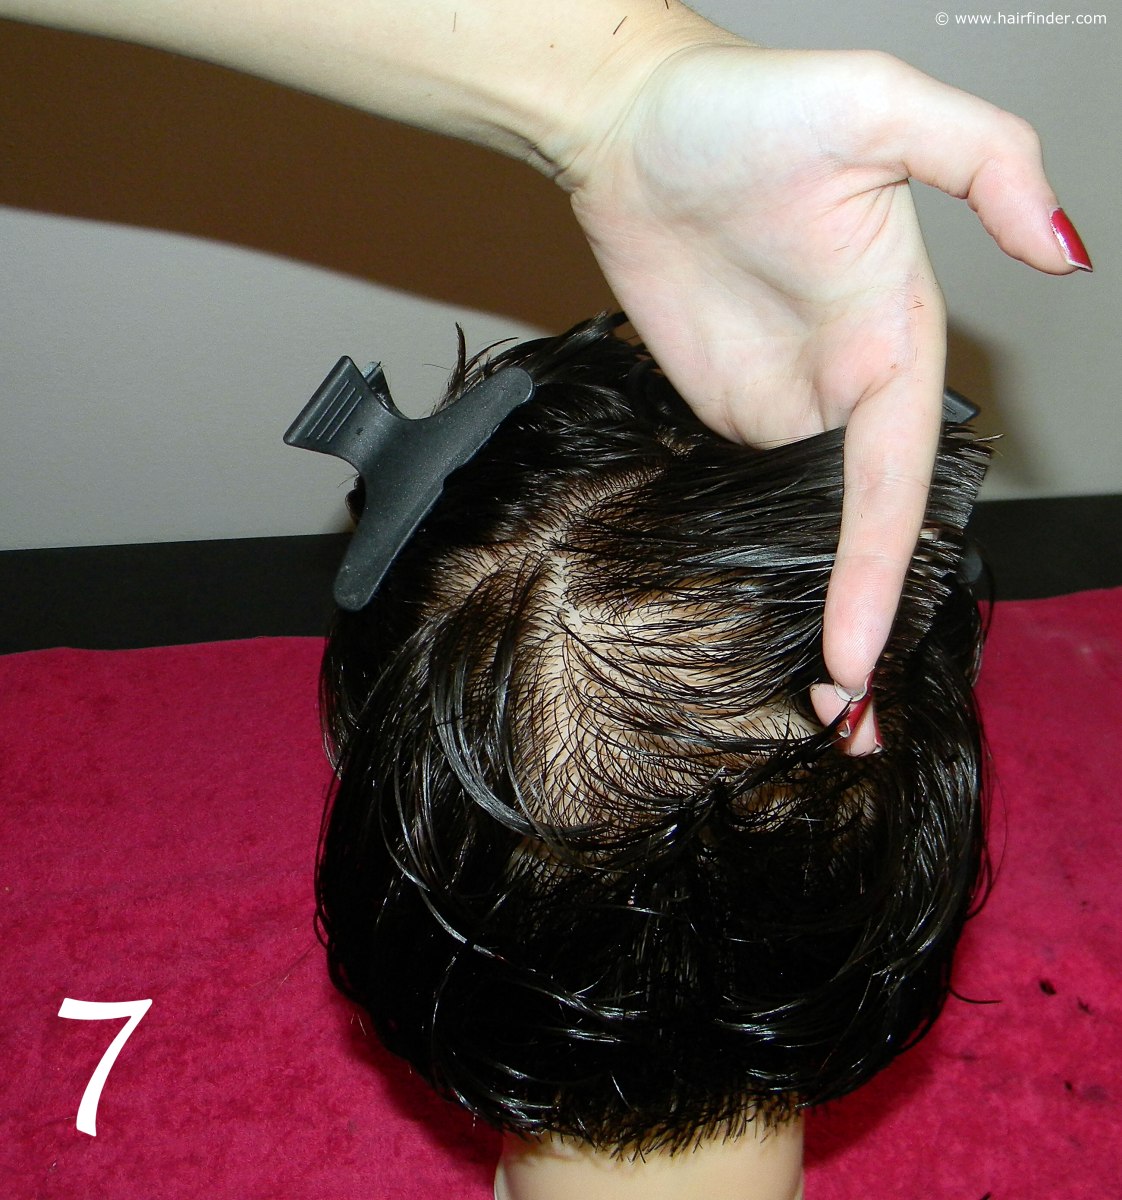
8. Release the hair being held in place by the clips, and draw out a horizontal parting to separate two inches of hair, Clip the rest of the hair up again and gently comb out the section that you’ve just separated. Note how this hair is uniformly longer than the back of the hair.
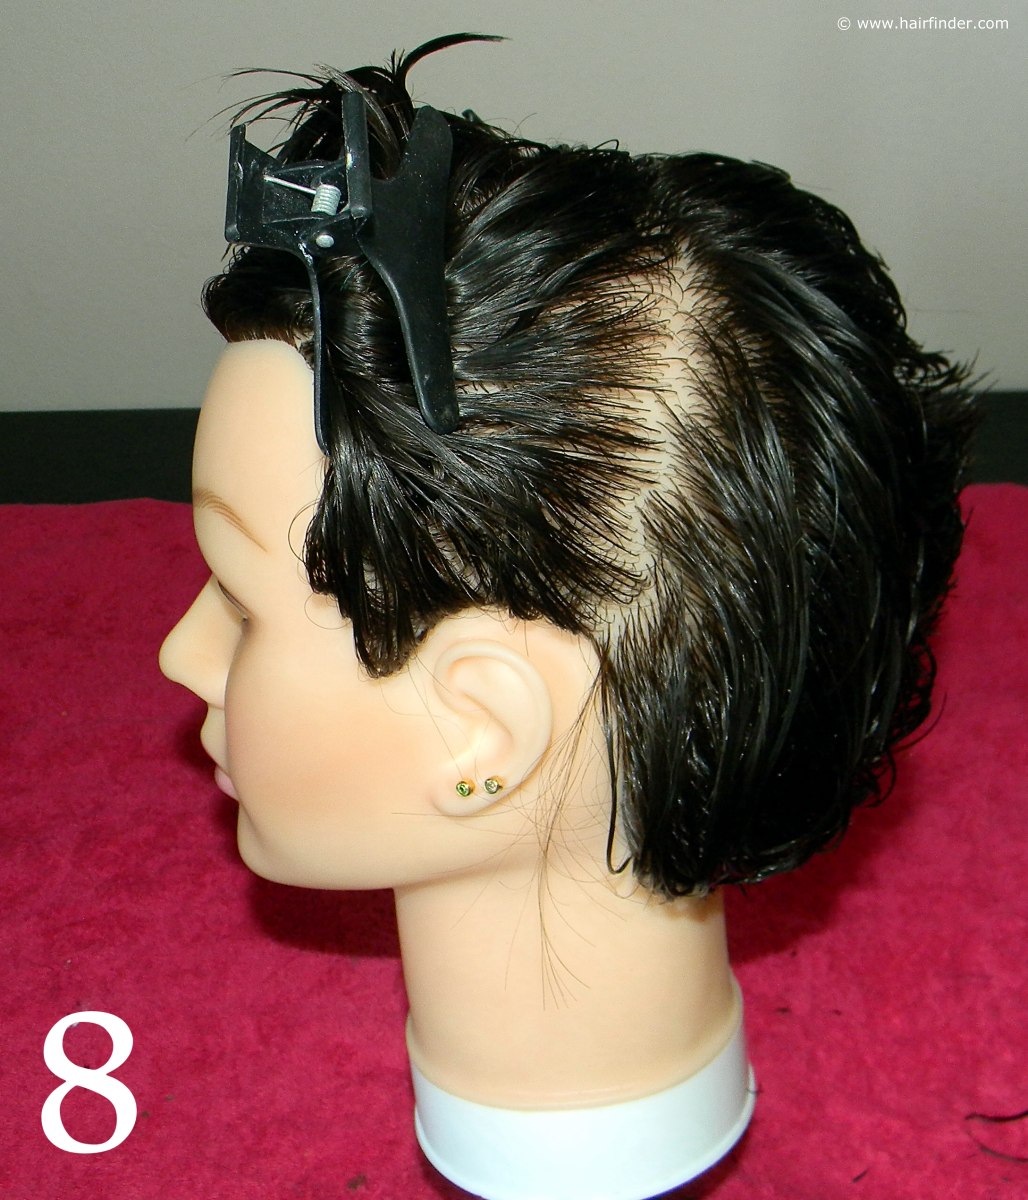
9. Draw out a vertical parting (at the back of this section; nearest to the short back section), of about two inches wide and comb in into a 90 degree angle in relation to the head of the model. Cut the long edges off of this section, so that you are left with a uniformly shorter angle.
The length of the hair should be cut according to the guide-line of the shorter back area, so that the layers of the hair progressively continue seamlessly from longer at the front to shorter at the back. Do this step all along this section, drawing the longer hair at the front towards the back of the head before cutting it into shape with the rest of the style.
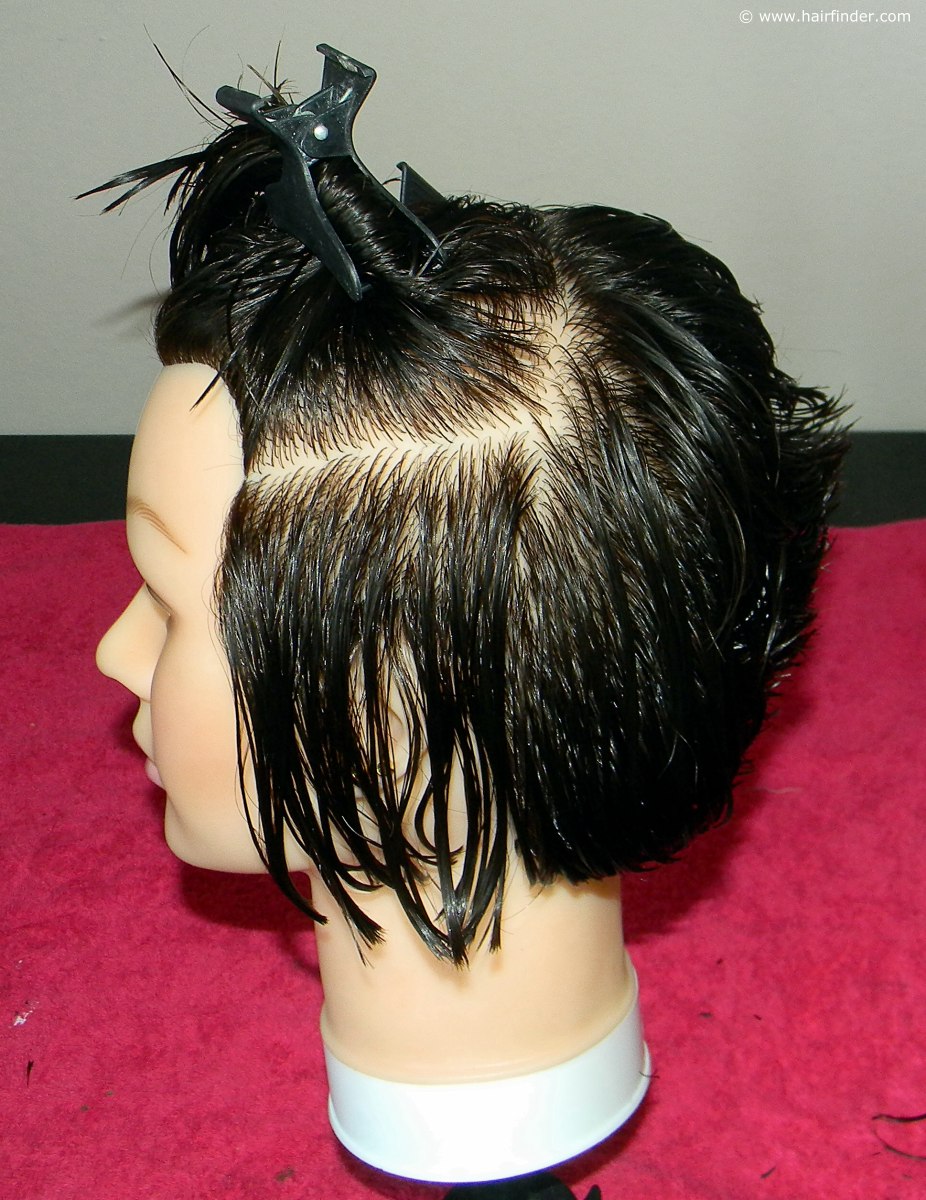
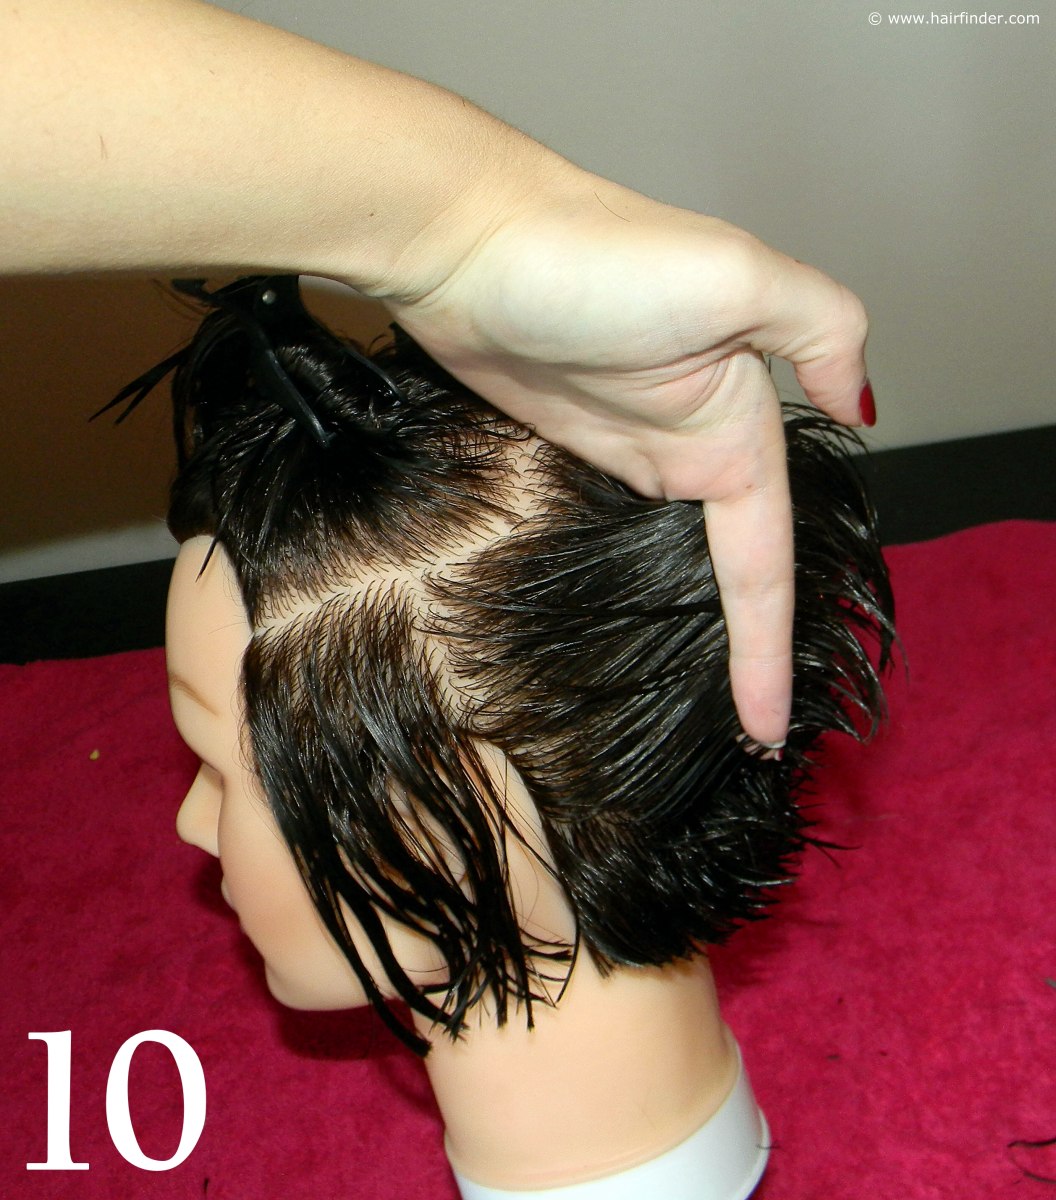
10. See how the hair is gently pulled towards the back of the section before being cut. This will consequently ensure that you don’t lose the elementary length needed to create the short inverted bob.
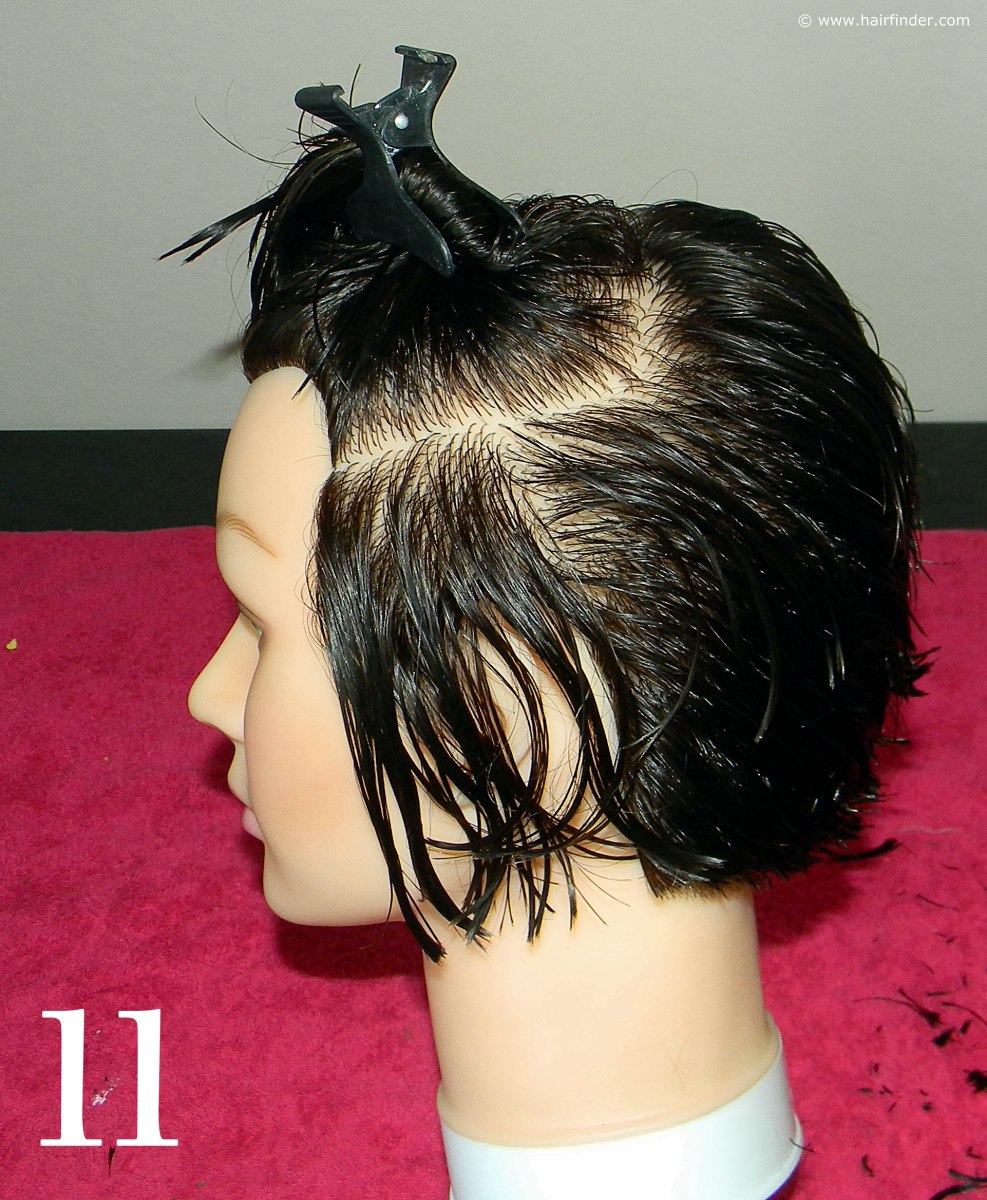
11. After you have cut each vertical two-inch section in this fashion, comb the aforementioned section towards the back of the model’s head, in order to see that the layers blend seamlessly into one another. If you see any anomalies or difference in length or angle, correct this now. It’s important that the hair ranges from longer layers at the front towards the short section at the back of the head.
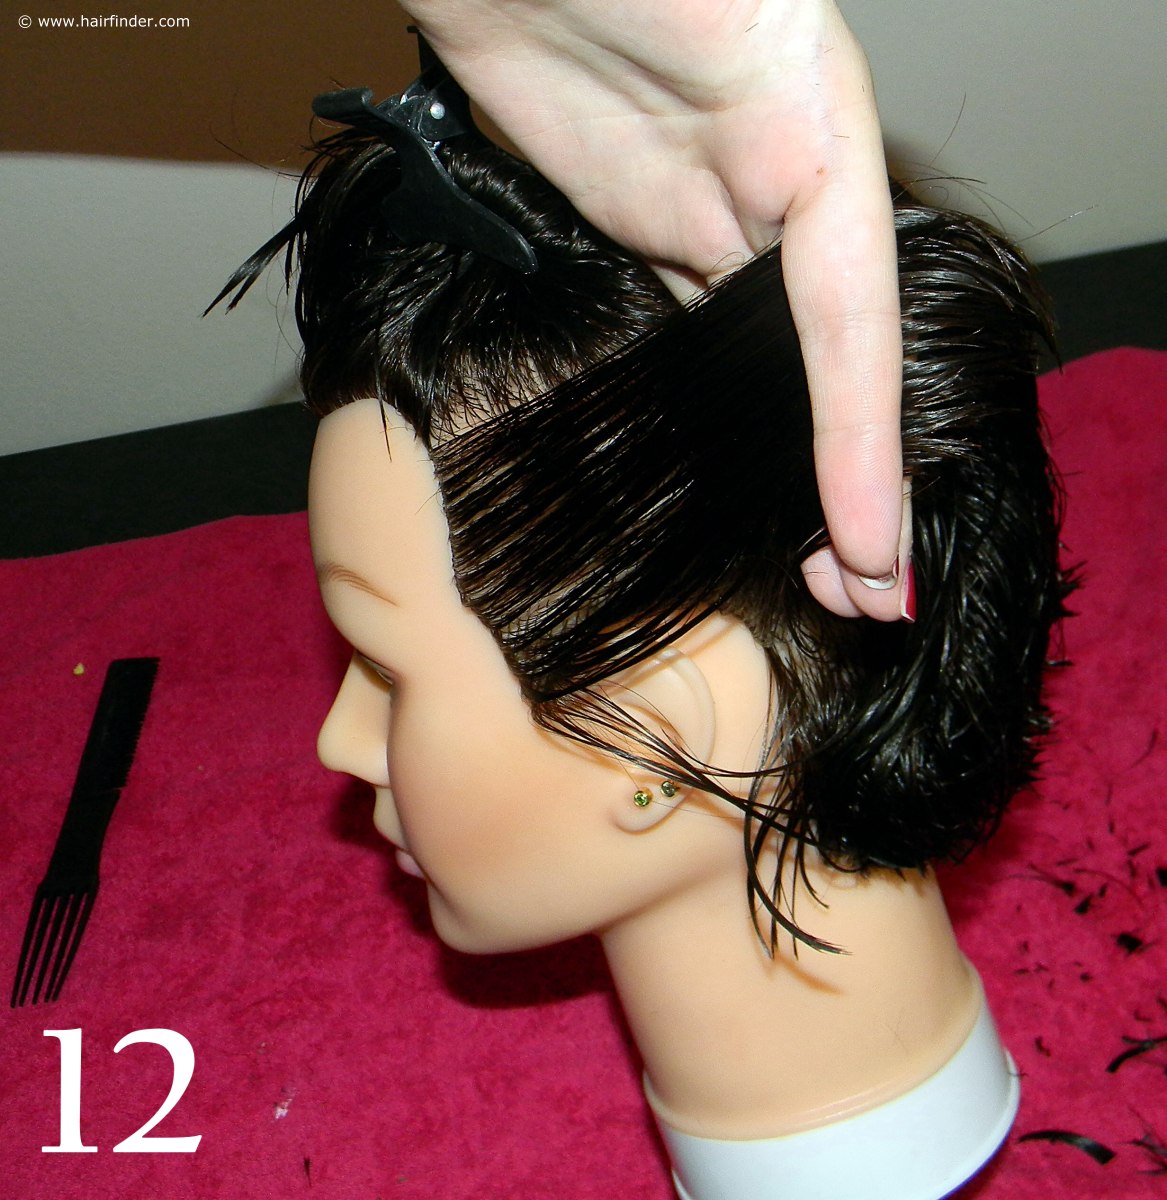

12. Again note how the longer hair at the front of the cut is gently pulled towards the back of the model’s head. This is to ensure the gradually longer layers from the short back to the longer front, as described in the afore mentioned step of this tutorial.
Next Page
