How to Cut a Short Bob (4)
Previous Page First Page24. When you’re finished with this phase of cross referencing, there should be a uniform and gently curved look to the angle of your short bob. Never over-do this phase of the cross reference cutting, as this will result in excessive layers being created, leading to a short layered cut instead of a bob style. This is paramount.
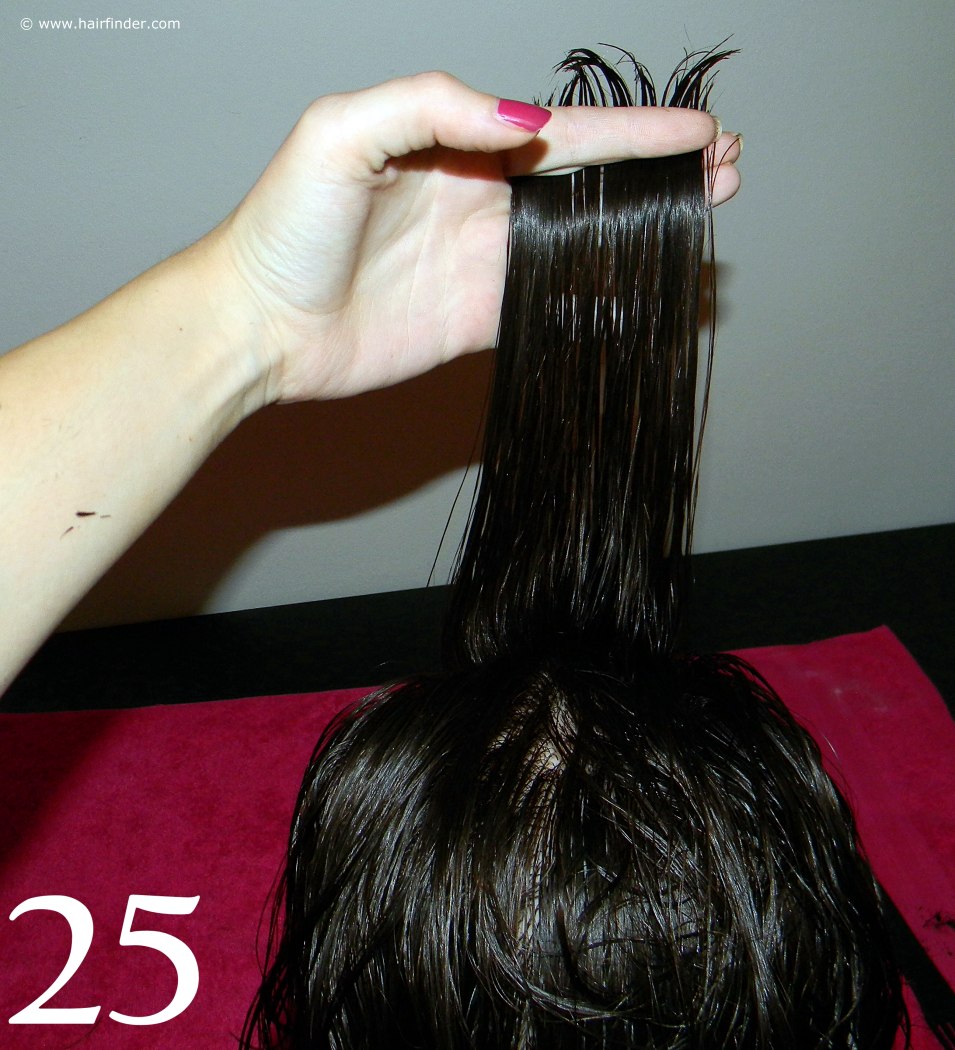
25. Now advance towards the cross referencing of the top section of the cut. Draw horizontal sections of no more than one inch wide, and lift the afore-mentioned section in an upwards manner, so that you can clearly see the weight line of this section. The length of this section should run in a straight smooth line. Trim any hooks or angles that might arise, but again; do not over-do this stage.
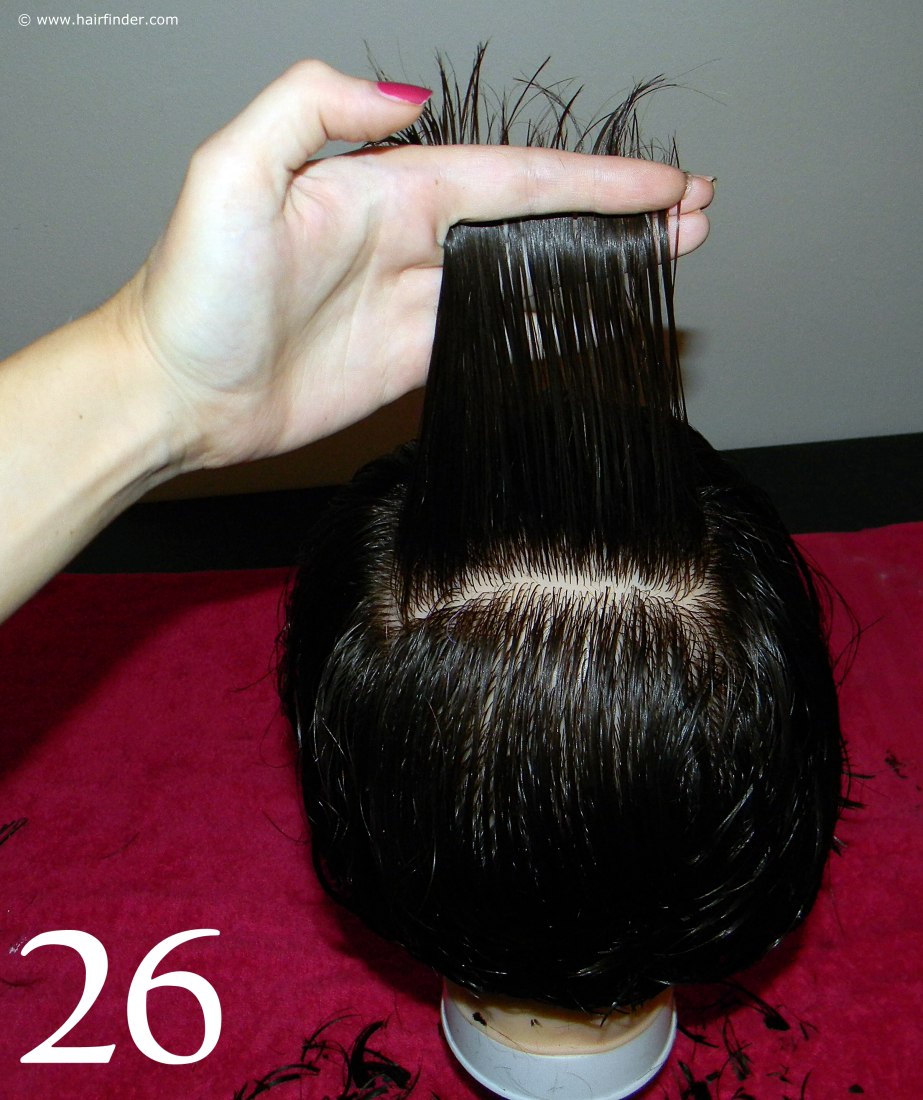
26. Progress with this phase of the cut all the way to the curve of the occipital bone. Use a thin sliver of each preceding section as a guide/weight line for the next section, to ensure that the length in this section corresponds all the way through from hair line to occipital bone.
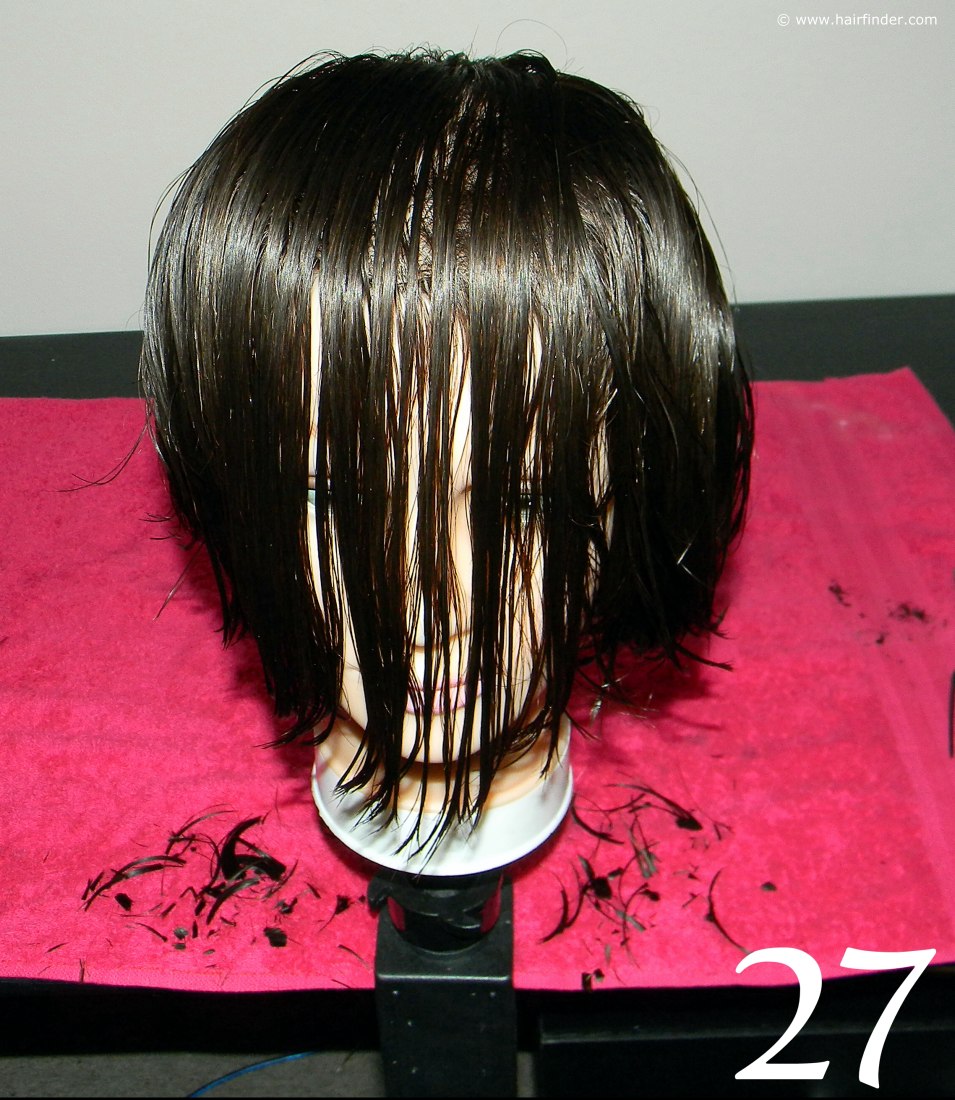
27. Now comb all the hair to the front of the model’s head in order to compare the base-length of the two opposite sides. There should be a corroborating length among the two sides. If you see any hooks or angles, correct this now.
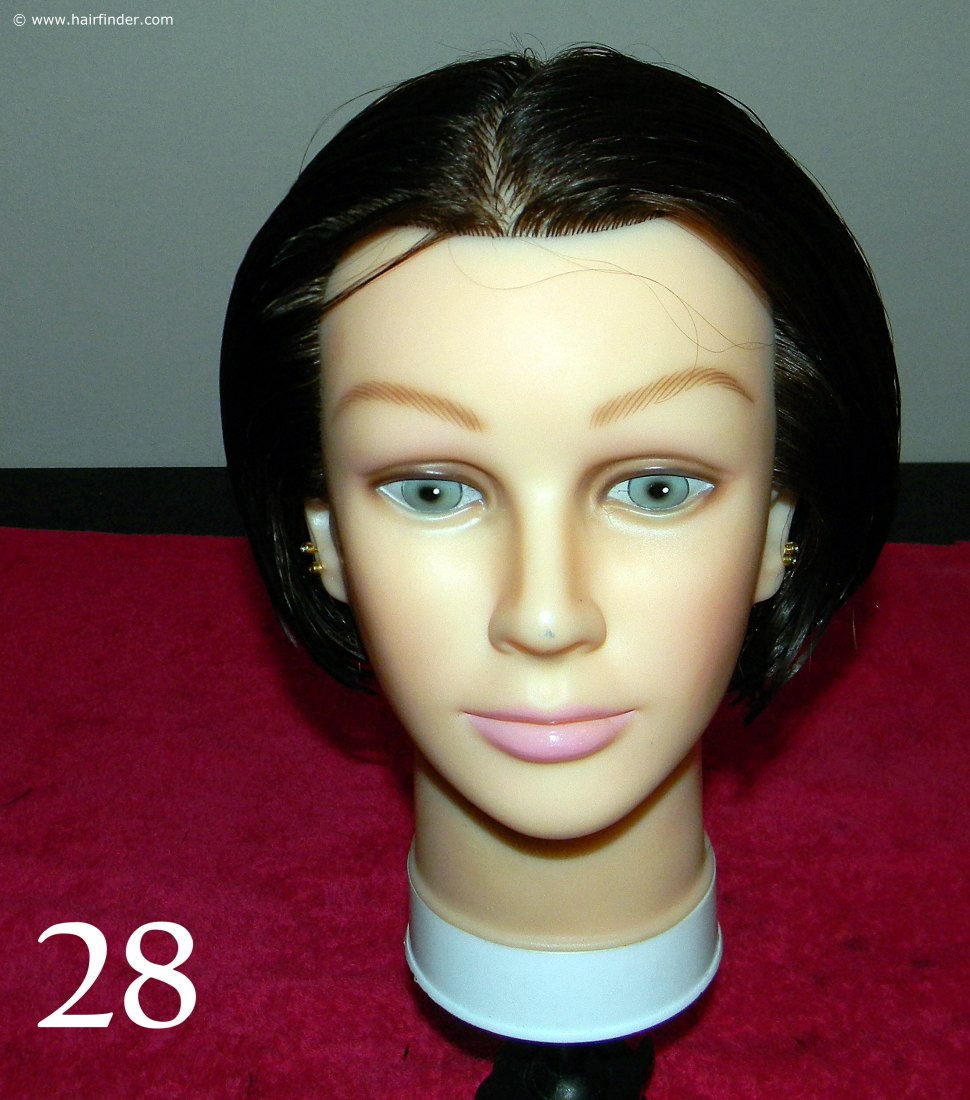
28. Note the precise length of the side-sections as well as the inwards curving of the hair along the angle of the jaw bone.
29. The hair follows gentle curves and uniform angles along the silhouette of the head. The classic form of the bob is flattering, especially for those with a heart or oval facial form with distinctive facial characteristics.
© www.hairfinder.com
See also:
How to blow-dry a short bob
How to create a formal up-style with a short bob
