How to Dye with Box Hair Color (2)
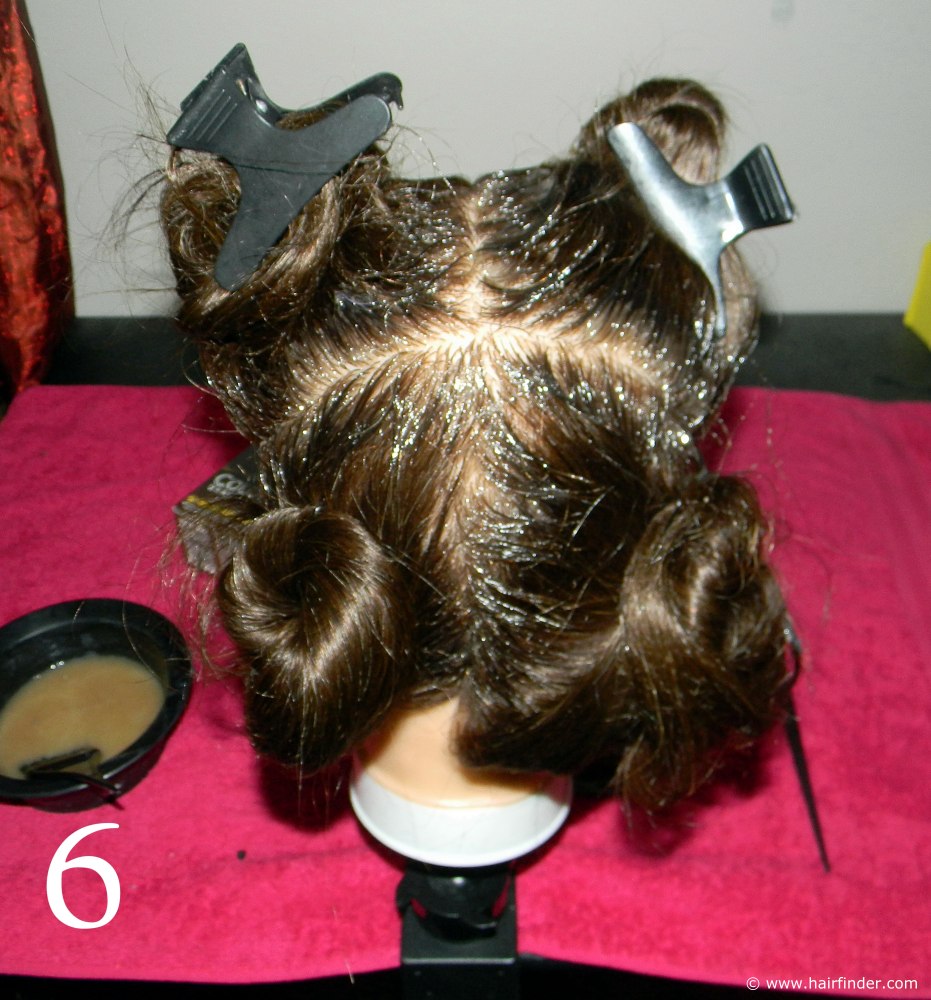
Previous page6. Add the color cream and developer together thoroughly until the two are properly mixed. Put on the gloves and dip your color brush into the bowl to start coloring your model’s hair. Start at the middle-line at the front, and work your way to the back.
Make sure to color both sides of the parting. Repeat this on the middle-line running from ear to ear. Note that we are only coloring the roots or regrowth at this stage of the process. The length of the hair will be dealt with later.
7. When you have finished with the base-lines, you may continue by coloring the roots of the four blocks. Start with the right frontal block. It is always important to begin with the frontal blocks of the top of the model’s head. The reason for this is because the hair on top of the head is naturally lighter or contains more grey hair than at the back of the head.
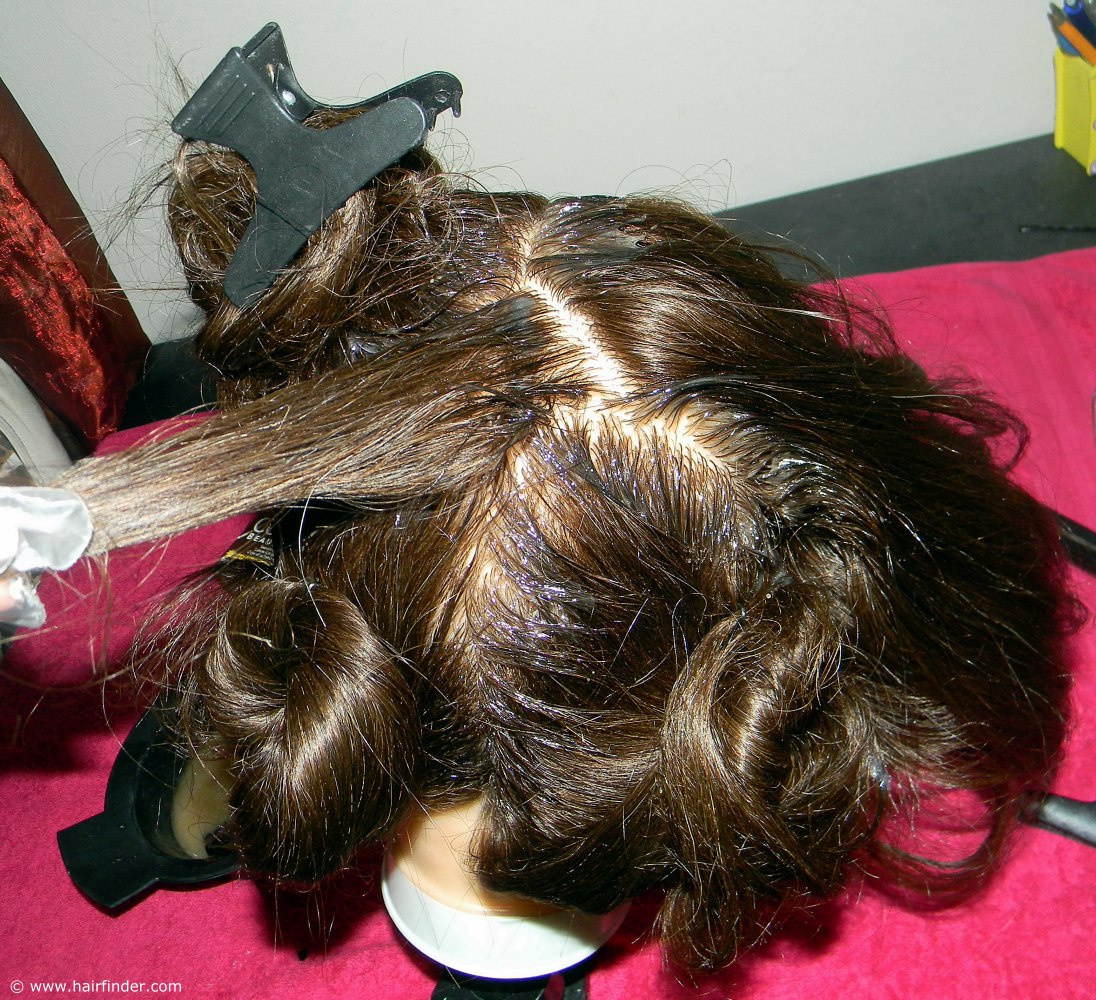
8. Remember the instructional lines of the color-pattern at the beginning of this DIY tutorial. You will draw a line across the top right section, running from the horizontal base-line to the vertical baseline. Use the sharp end of your coloring brush to do this, as it simplifies the process and saves time. Work from the inner corner where the base-lines cross, and work your way out to the forehead.
Remember to color both sides of the line that you’re busy with. This will ensure that the regrowth is thoroughly saturated with color, preventing any missed spots or grey hair shining through by the time of completion.
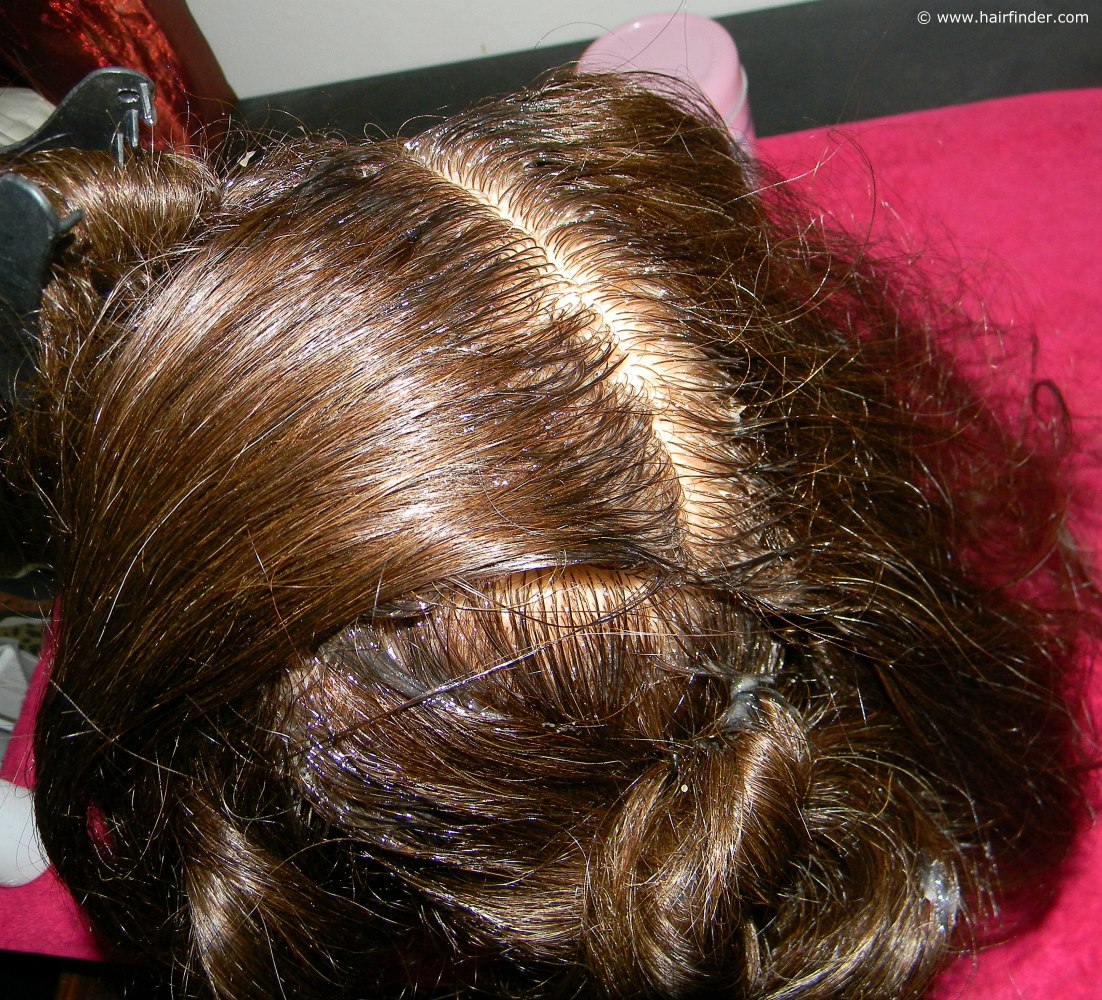
9. Repeat the above process, coloring the hair in half-inch sections at a time. Work from the inside to the outside, taking care to cover every hair. Use ample amounts of color, especially if there is grey hair present.
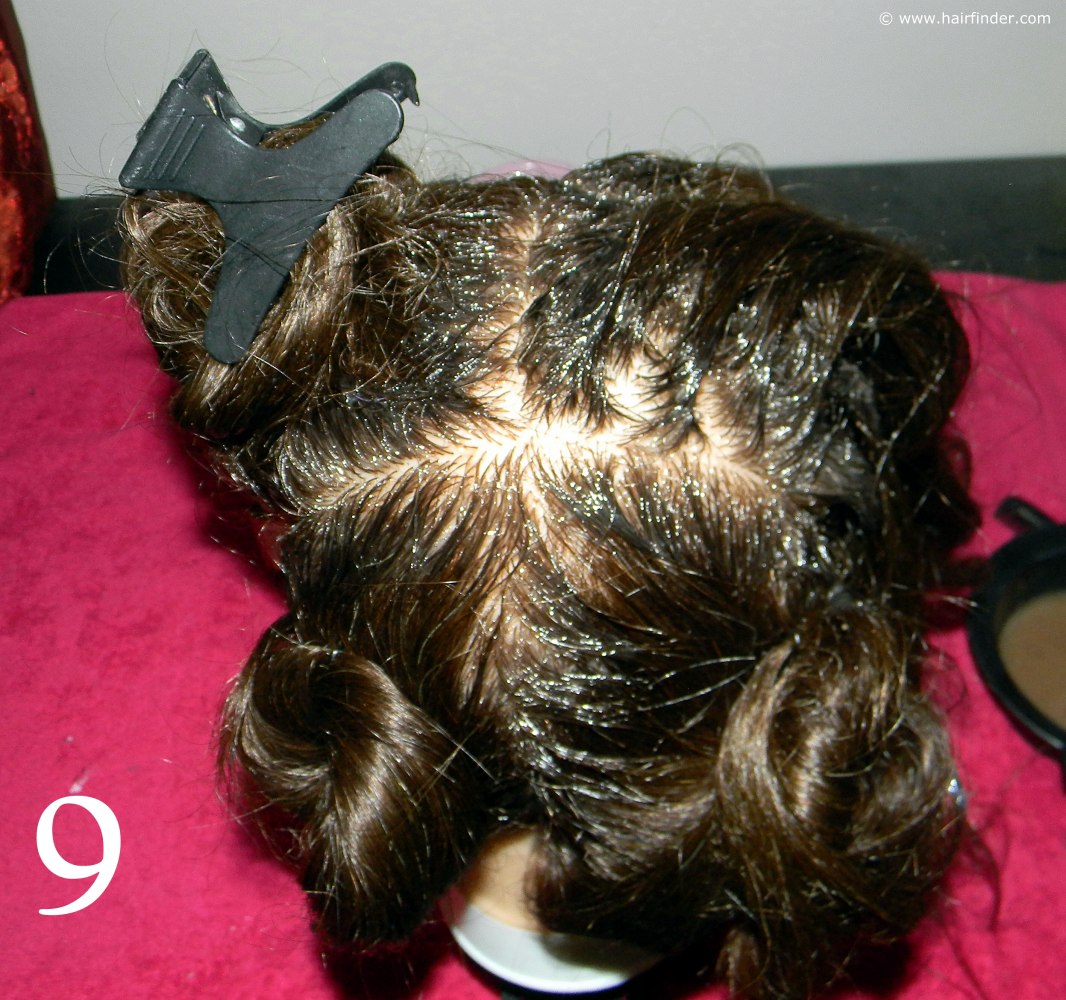
10. Repeat this whole process on the left side of the front section. Move on to the bottom right and bottom left sections as well. Take care not to splatter yourself or the model as the hair volume that falls loose from its clips increase.
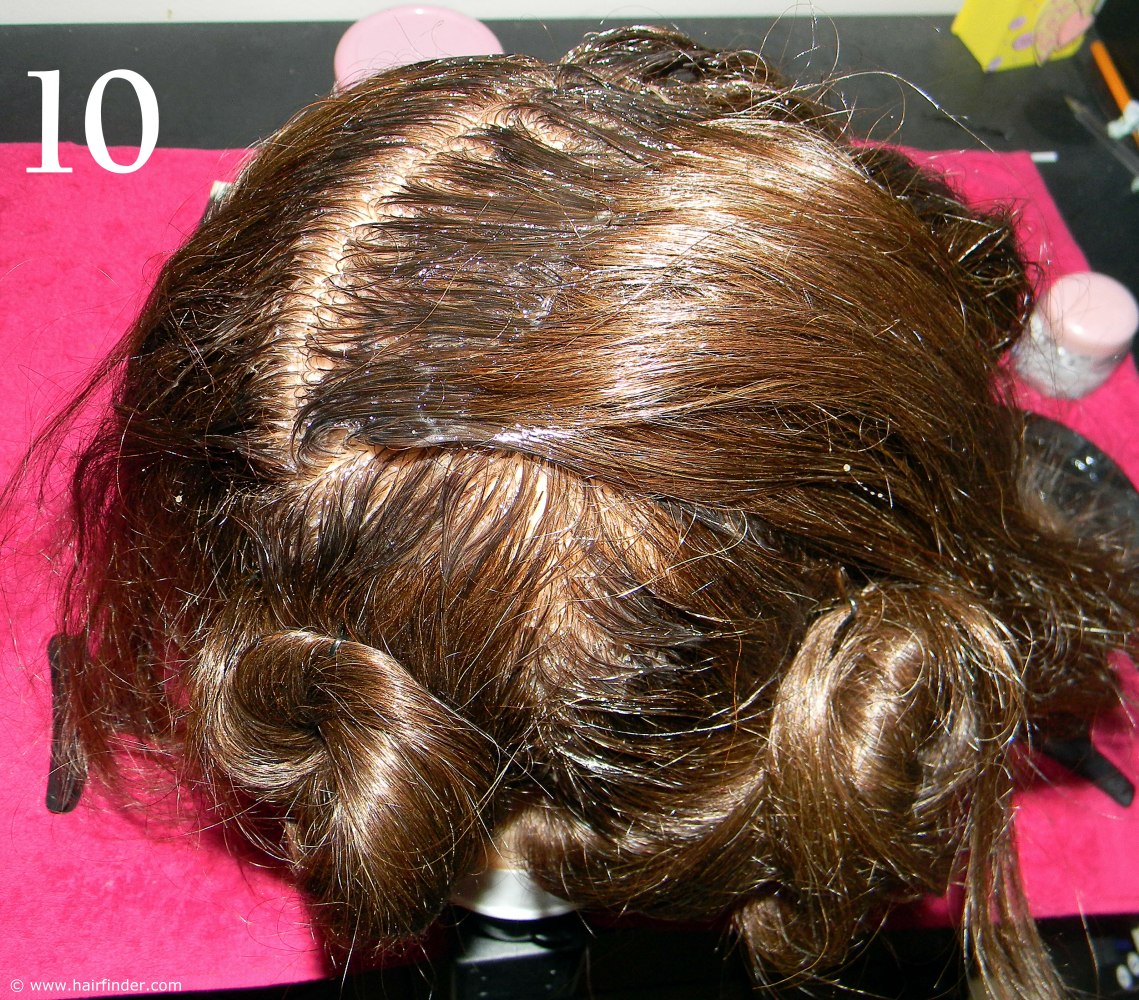
11. When you are finished with the whole head, gently comb the hair to the back of the model’s head, using the sharp end-of the tail-comb to flip the hair to the back. Remember that the hair is wet and currently undergoing a chemical process; thus it is important to be careful when working with the hair in this potentially fragile state.
12. Comb the hair from root to tip with a wide-tooth comb. If your goal is to only color the regrowth of your model, you can comb through the color to the mid-lengths and tips in the last 5 minutes of the total developing time. In other words, comb the color through five minutes before you rinse the color.
If your goal is to color the whole head of the model, you can proceed with the combing through of the color immediately after you have completed step 11.
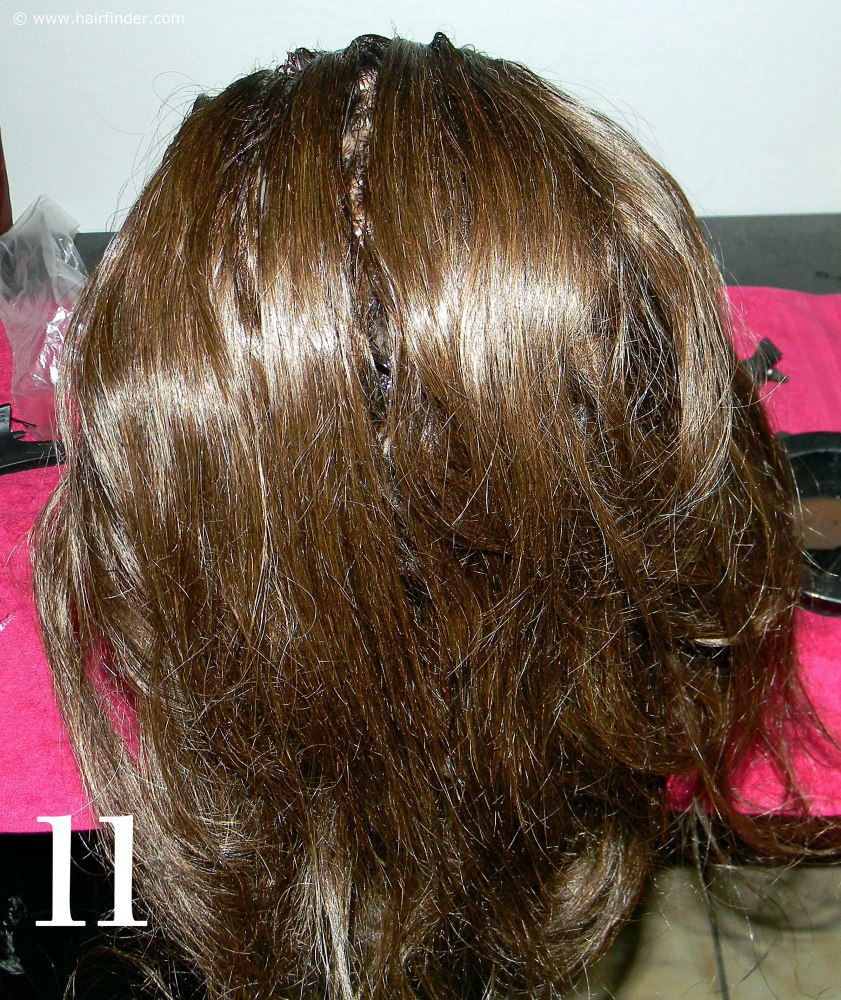
Remember that if you have long or thick hair, you will most likely need an additional box of color to complete this step. Comb the color through with a fine-tooth comb, to ensure that every hair shaft has been saturated with an ample amount of color. Clip the hair up to prevent the colored tips staining the model’s clothing or neck. Rinse the color after the prescribed time.
© www.hairfinder.com
See also:
Hair Coloring Q&A
Hair Color Application
