How to Blow Dry a Short Bob (2)
Previous Page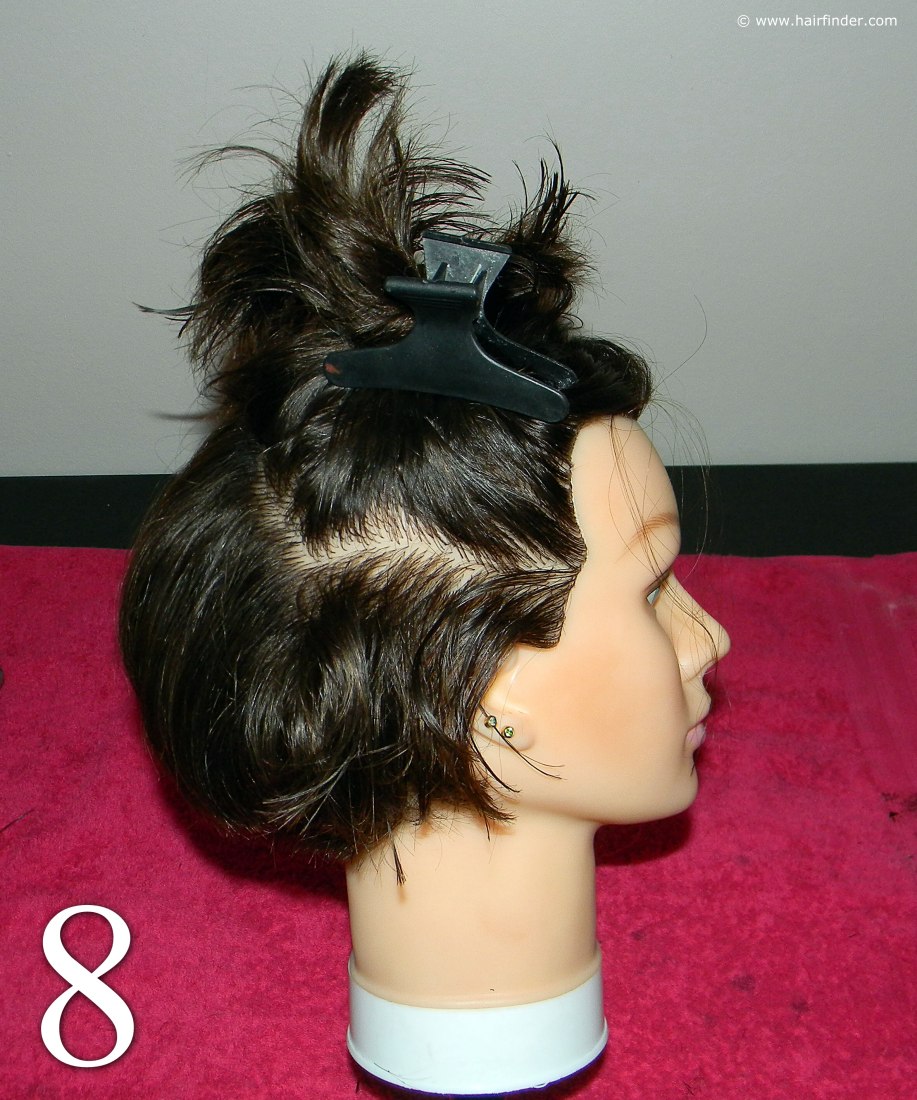
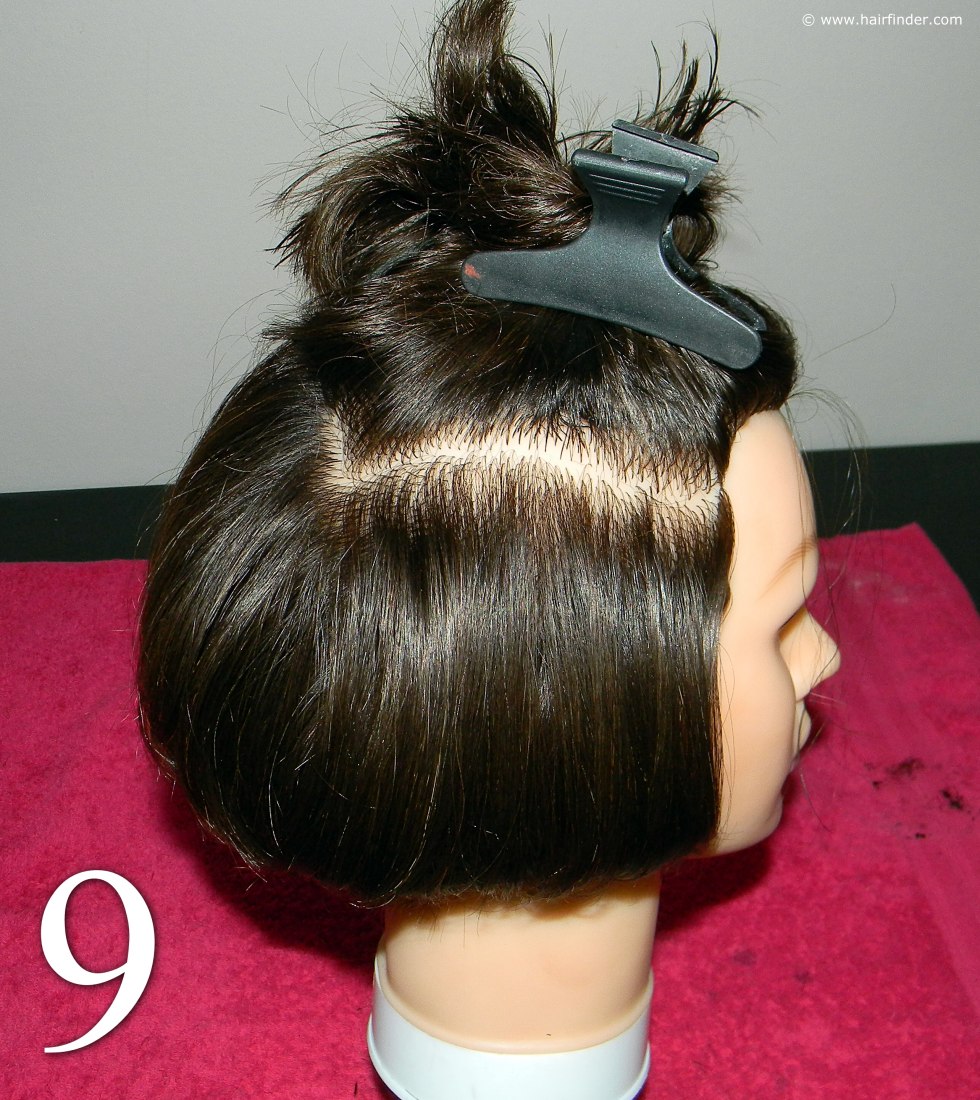
9. Proceed with two inch sections at a time while blow drying the side sections. Be very careful around the model’s ears and face while using the blow dryer. Also ask the model to remove any earrings during this stage, as the jewelry may become extremely hot during this time, and potentially be damaged or injure the model.
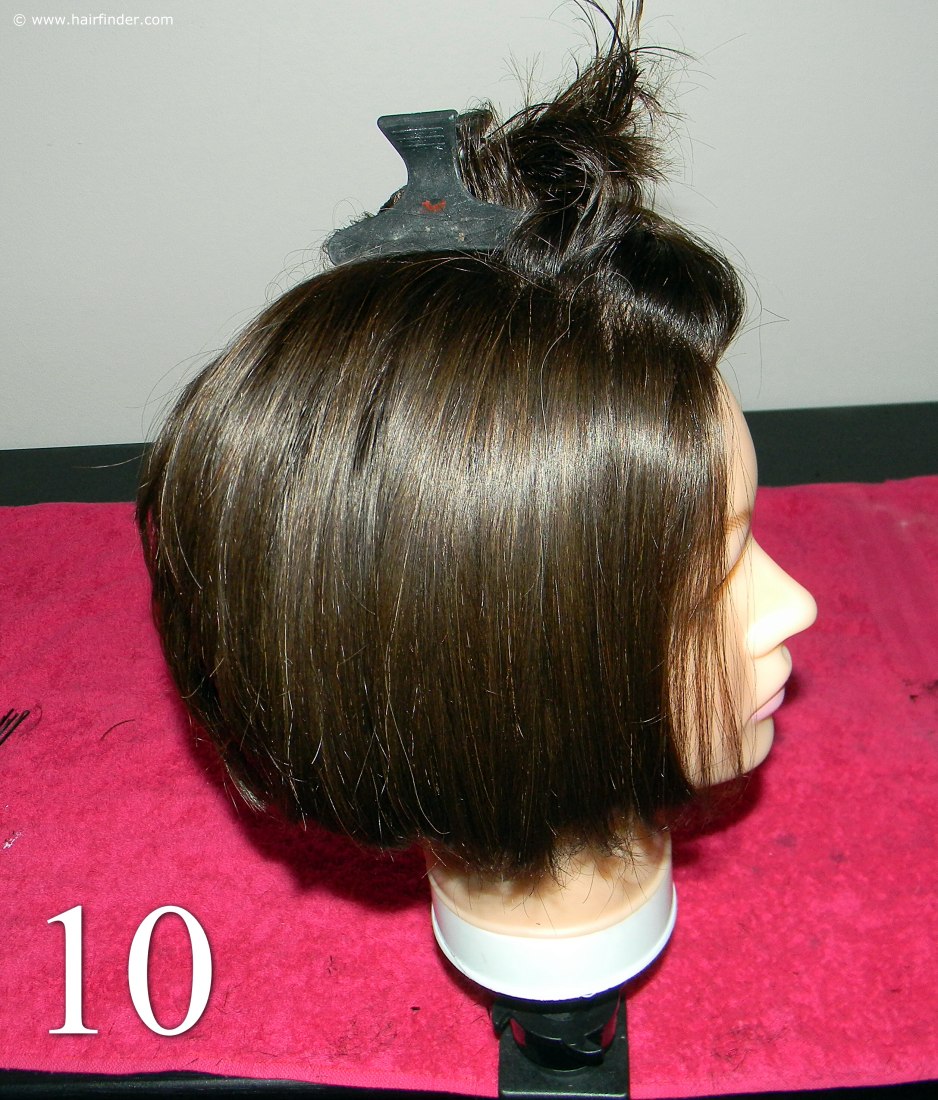
10. Note the gentle curve of the hair of this side section. It is not too round, which would create a “poufy” appearance concerning the model’s face, which is seriously unflattering. Short bobs tend to blow dry in a very round fashion, thus you may need that flat-iron at the end of the style.
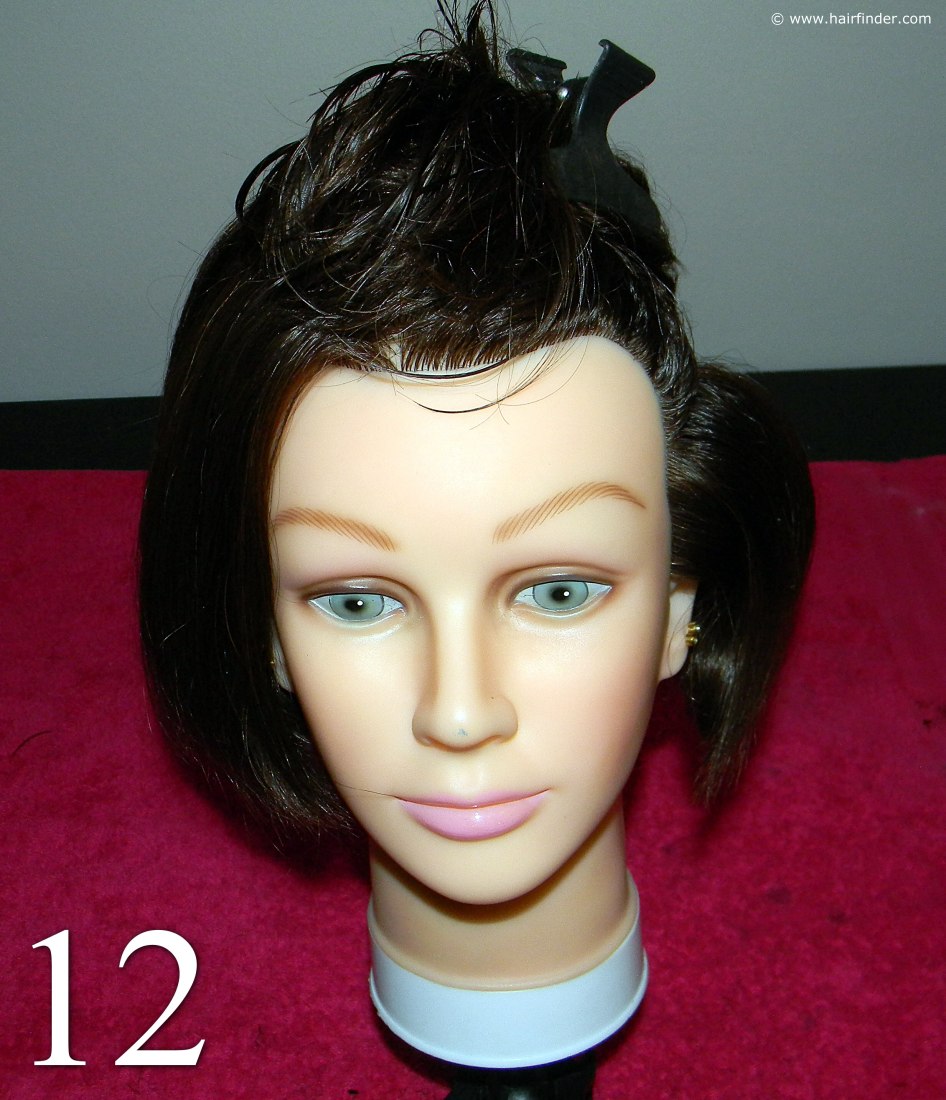
12. It’s important to create the style with equal volume on both sides of the face, especially with a short hairstyle like this one. Most people have growth patterns which differ to an extent from side to side, and a lot of people may have more hair on the one side of their head than on the other.
The sides of any style except for asymmetrical hairstyles should look like mirror images of one another, so pay careful attention to ensure that the amount of volume on both sides of the bob is equal.
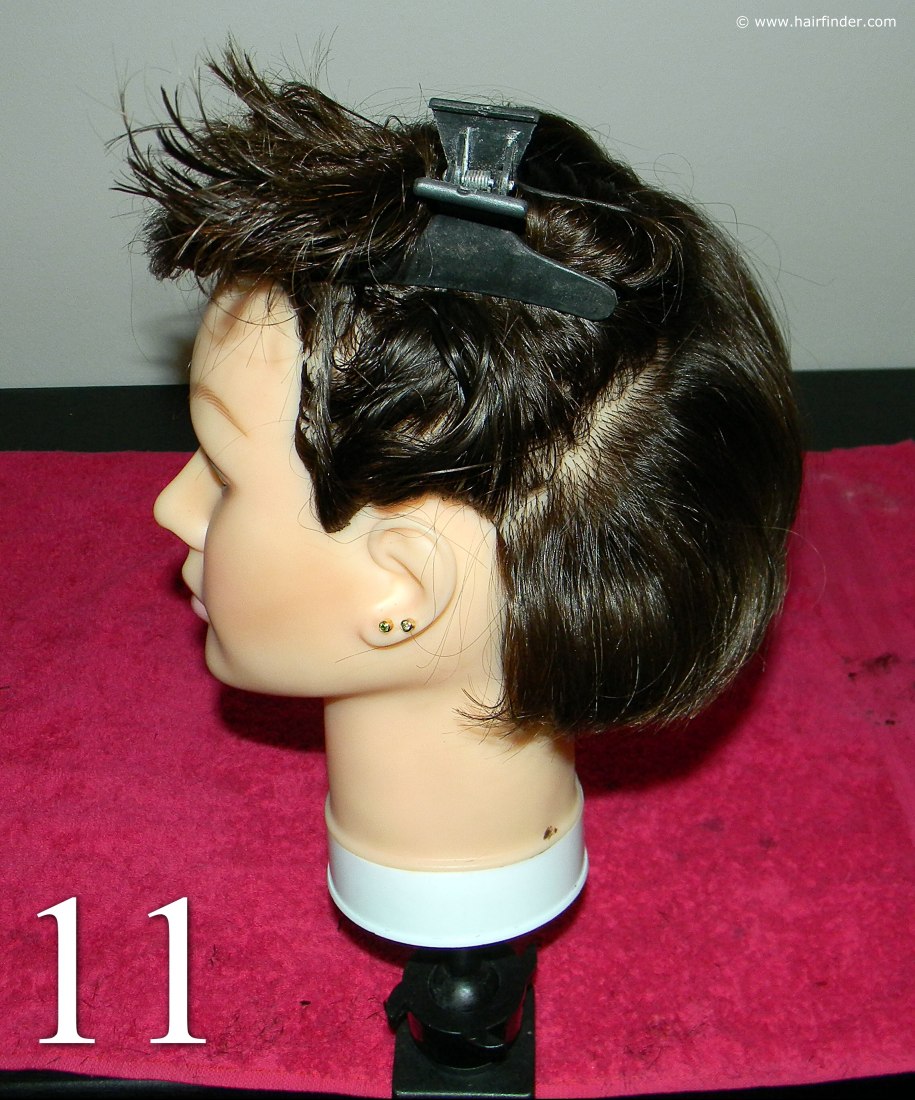
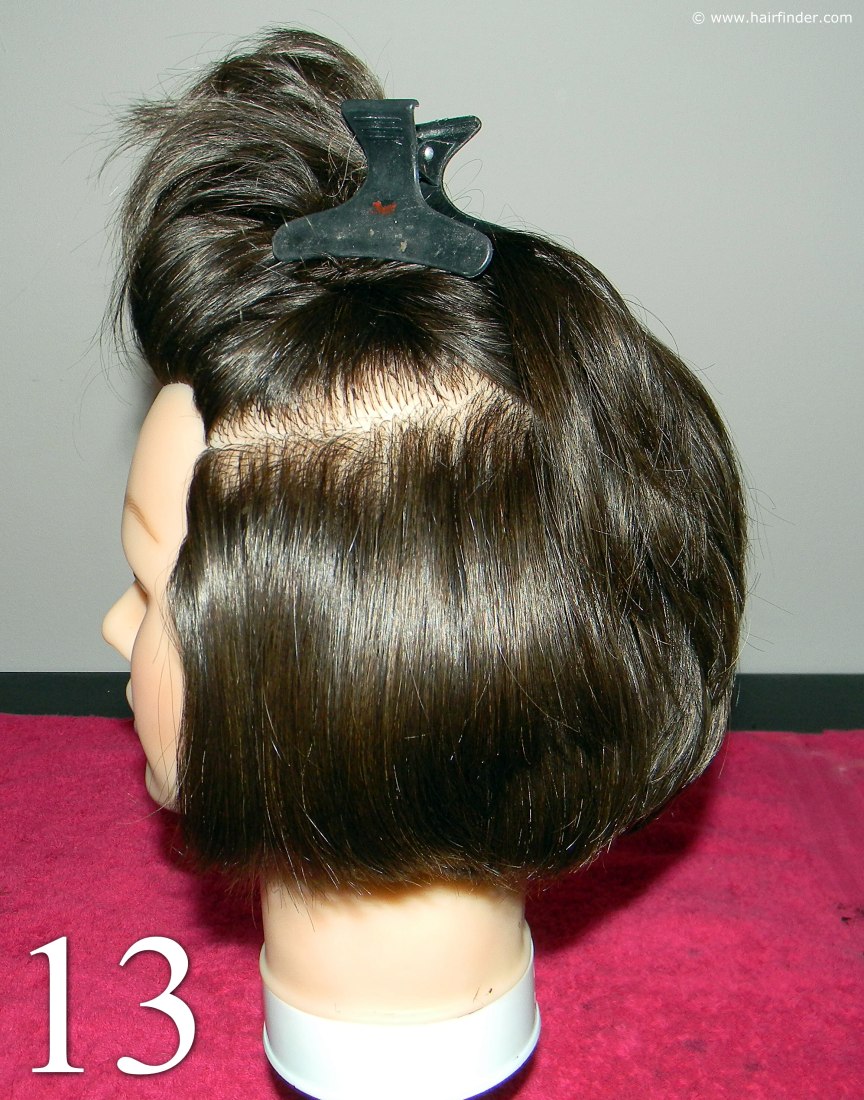
 13. Note that the hair that hasn’t been blow-dried is almost completely dry by now. It’s much harder to work with hair that has lost its moisture before it has been styled. Thus if necessary, use your spray bottle and
spray the hair with a bit of water at the top to wet it again. Just make sure that you don’t wet the rest of your already styled hair.
13. Note that the hair that hasn’t been blow-dried is almost completely dry by now. It’s much harder to work with hair that has lost its moisture before it has been styled. Thus if necessary, use your spray bottle and
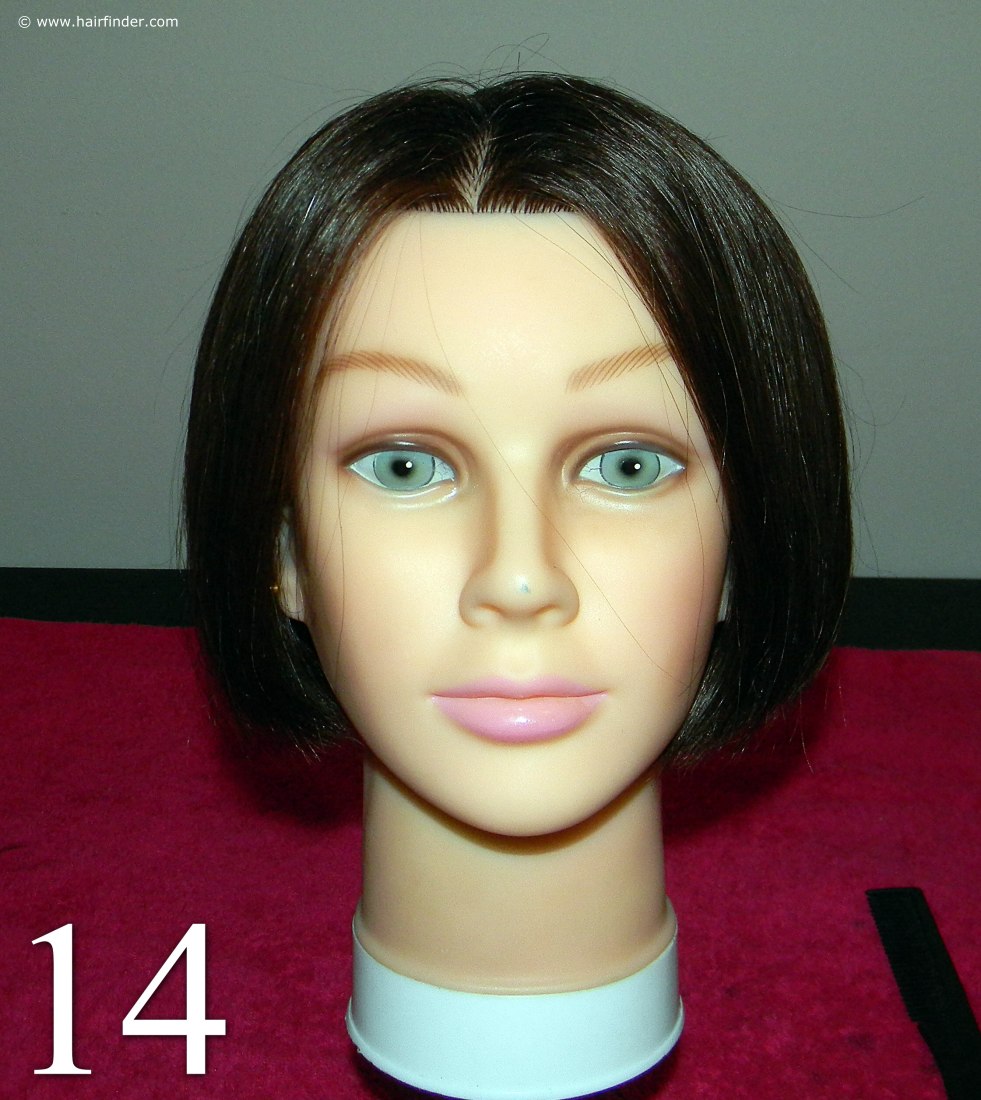
spray the hair with a bit of water at the top to wet it again. Just make sure that you don’t wet the rest of your already styled hair.14. Note that the curves of the bob from the front view may be too round to the liking of the model. This is where the flat-iron can be very handy.
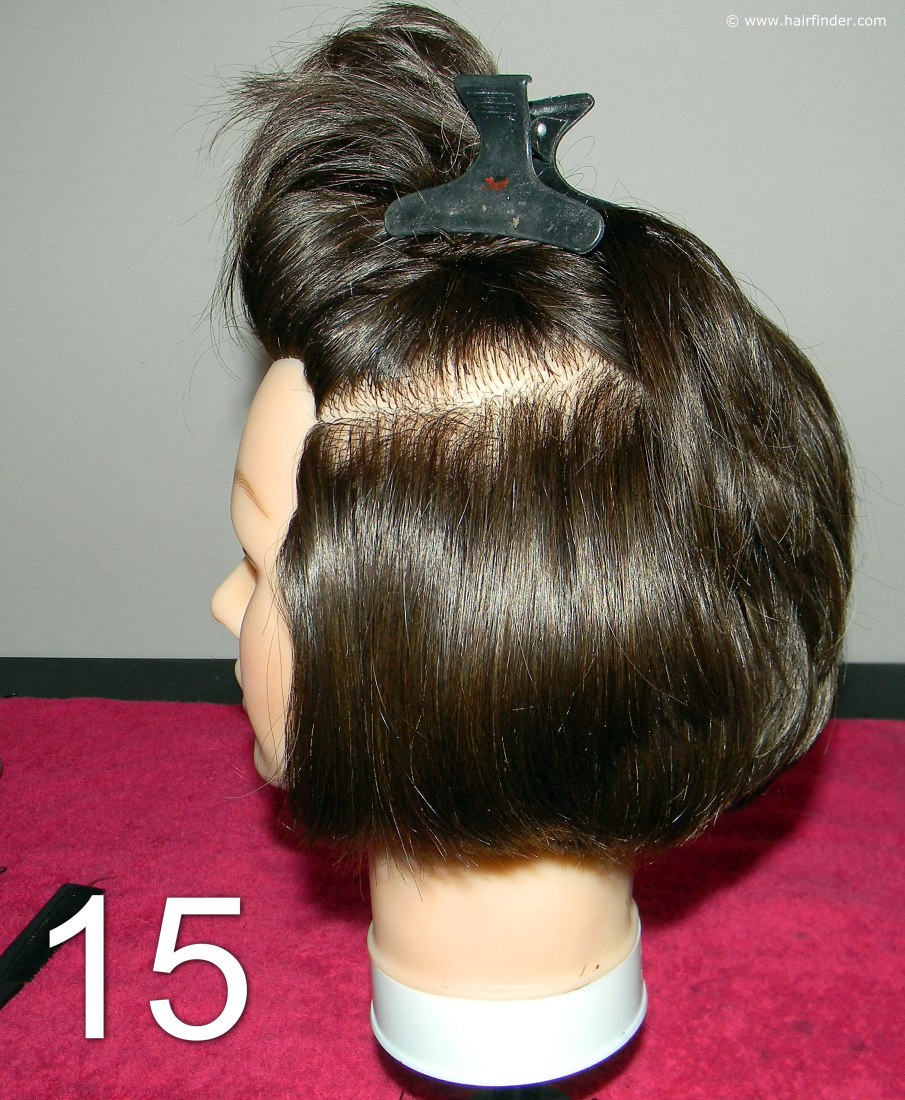
15. Again use sections of two inches at a time, and straighten the hair along the two sides of the bob. Be careful not to burn the client on the ears or in the facial area. If necessary, ask the model to fold her ears flat with her hands in order to avoid any burn injuries possibly inflicted by the flat iron.
16. Note the difference in curve after you’ve applied the flat-iron to the hair. Complete the hairstyle with a shine spray with a silicone base to keep any moisture or humidity out. The shine spray will also enhance the shiny, healthy looking appearance and slick characteristic of the style.
© www.hairfinder.com
See also:
How to cut a short bob
How to blow dry a long bob
