How to Blow-dry a Short Inverted Bob (2)
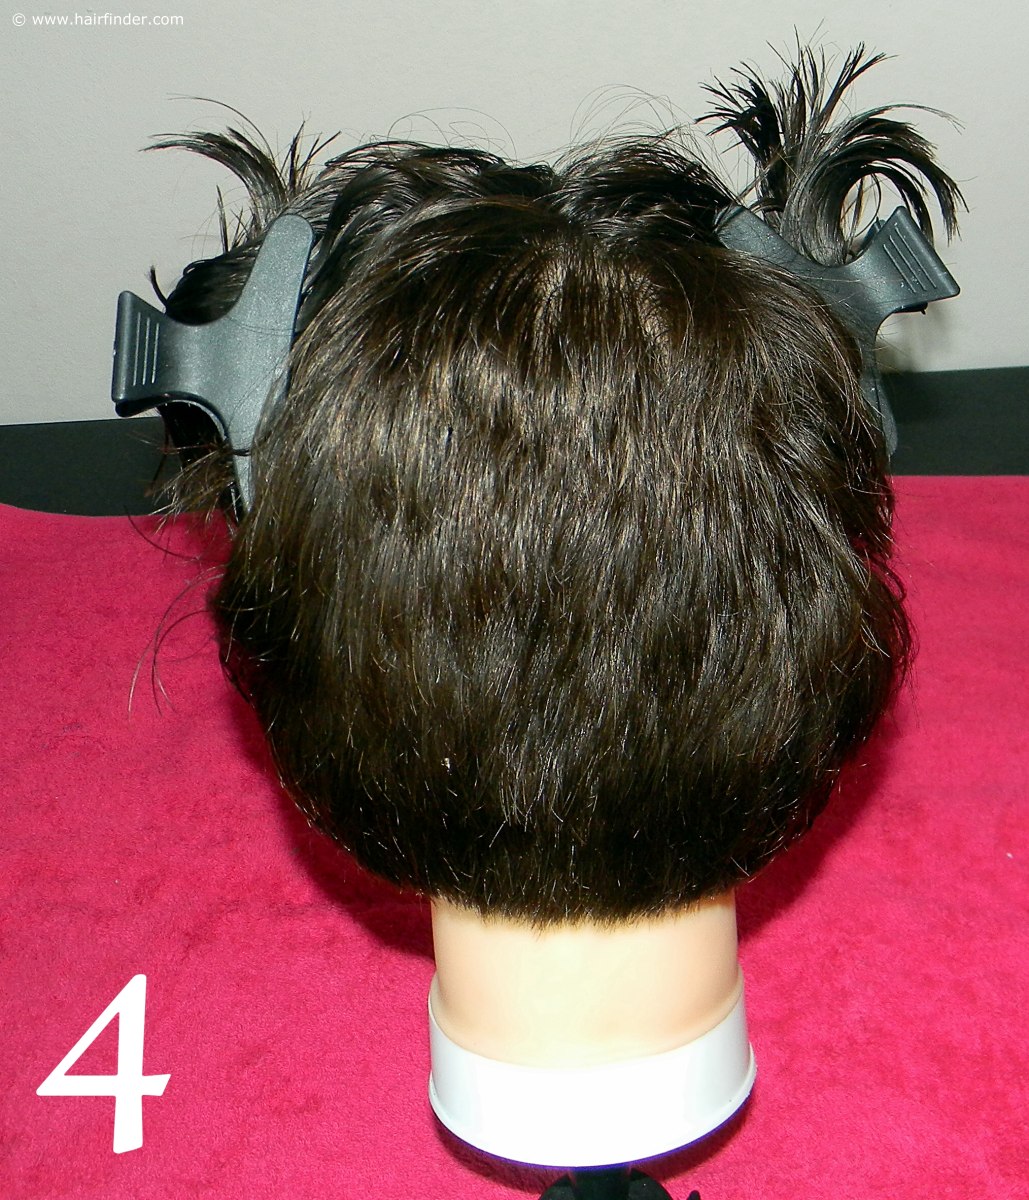
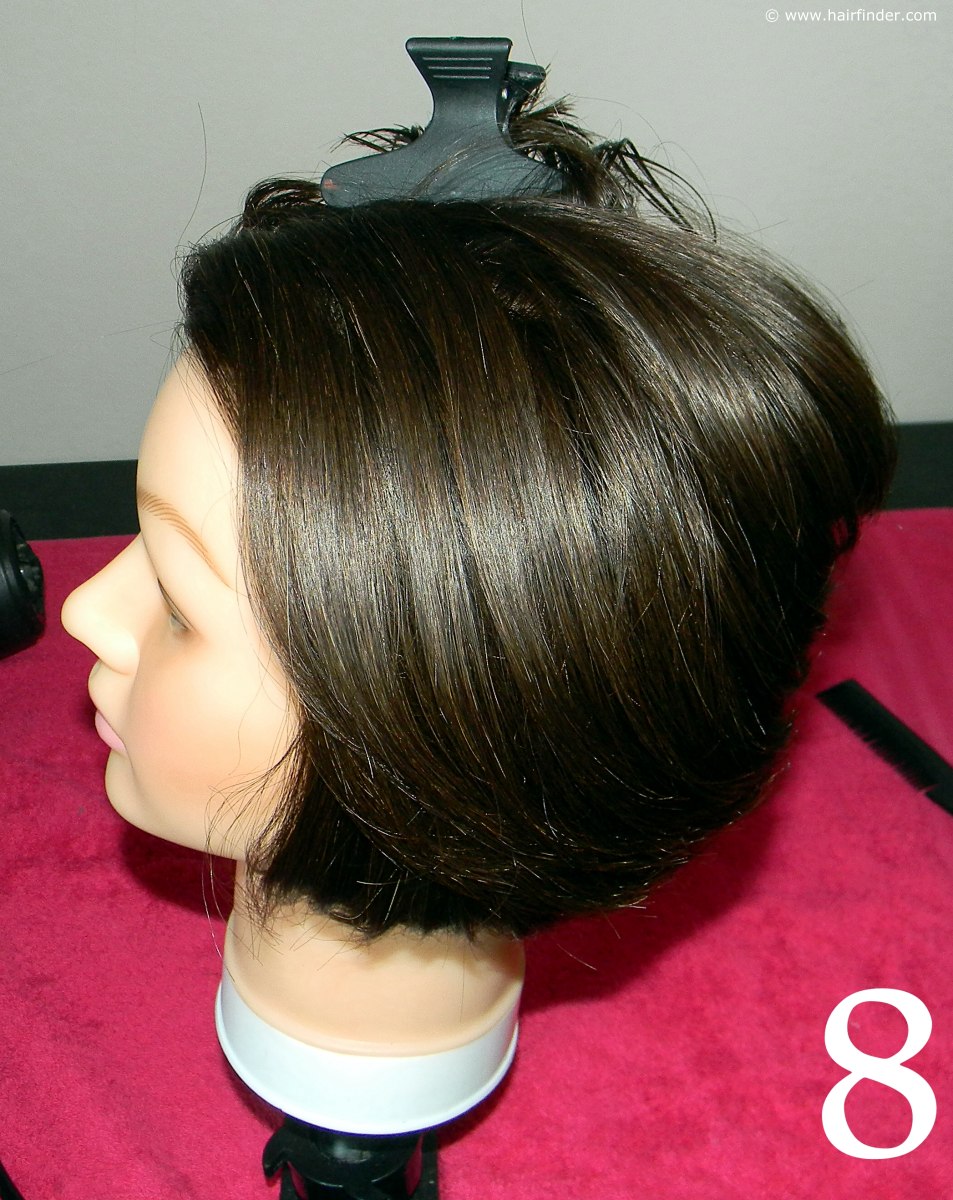
Previous Page6. Even though you will blow the hair as straight as possible; because of the curve of the barrel brush and the fact that the hair is quite short, there will be a distinctive curve along the line of the hair.
Most clients will find this unattractive, but you can ensure them that you’ll be straightening the whole style when you have completed the blow-dry, so she needn’t worry about ending up with a “poufy” or overly-round style.
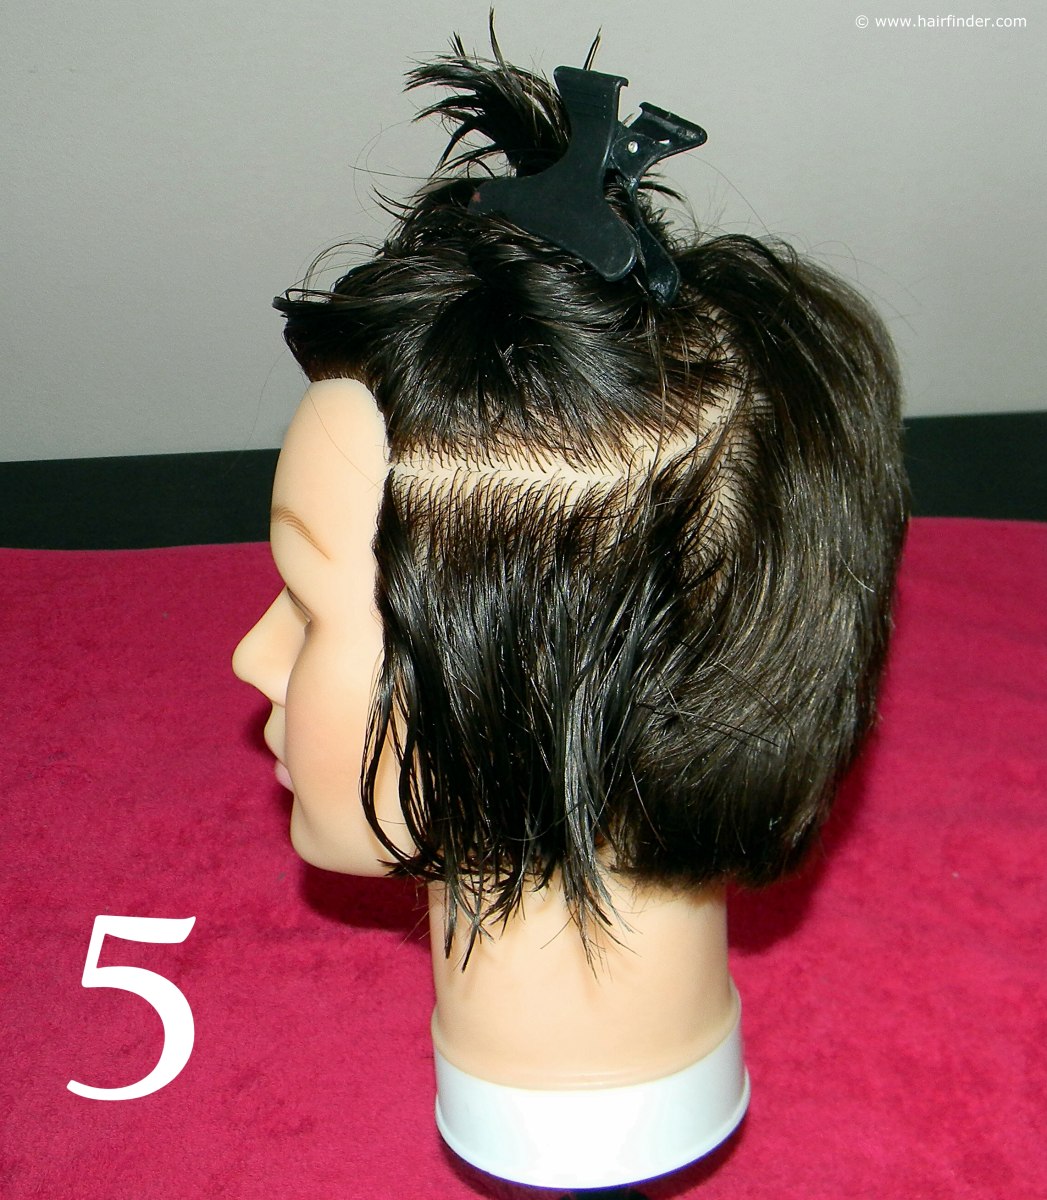
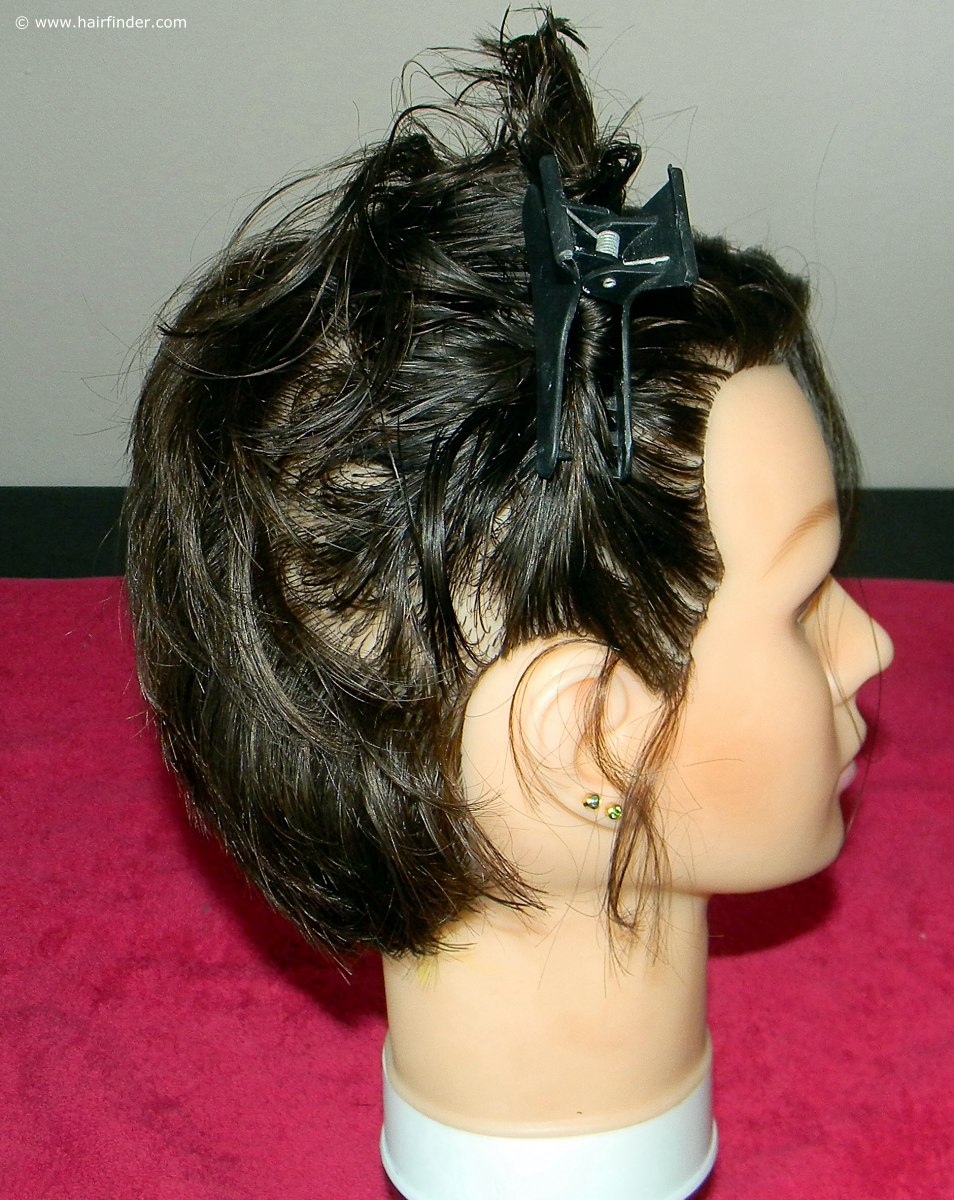
7. Remove the clip again, and draw out the next horizontal two-inch section which you will be blow-drying. Repeat step 5 during each progressive two-inch section until you have reached the last strip of hair in this section.
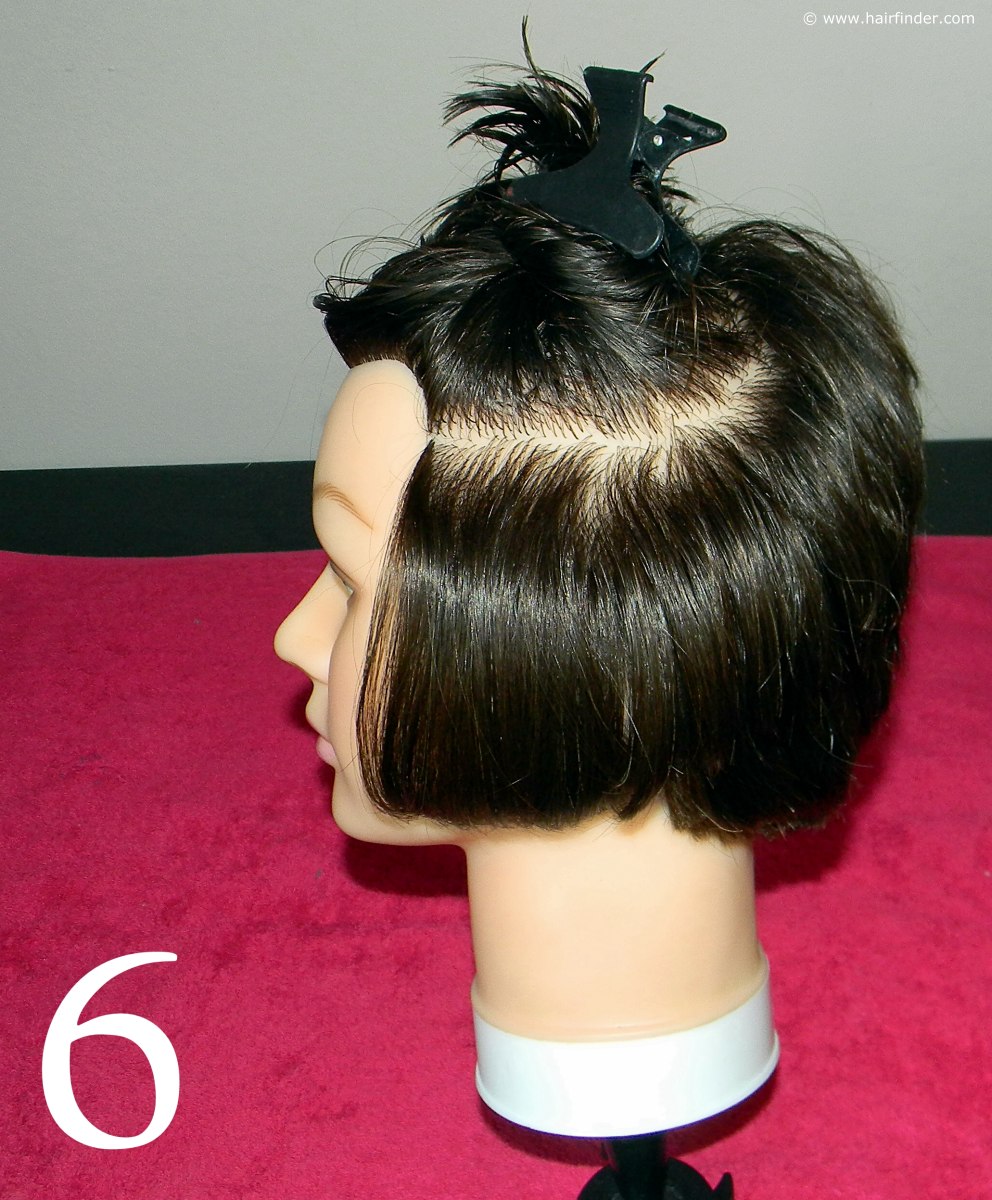
This will create the flattering side part that is so much in fashionable demand these days. Again be careful not to burn the model on her forehead or facial region, as the skin in this region is very fragile and exposed to the air flow of the hair dryer.
9. Advance towards the opposite side of the model’s head. You will now be repeating step 5 all along the height of this section, in progressive two inch horizontal sections. Remember that it is paramount that both sides have an equal amount of volume and shape, thus blow dry the hair accordingly.
The opposite section which you have blow dried first will automatically have more volume, because of the side-parting. But the curve and shape of the two sides must correspond.
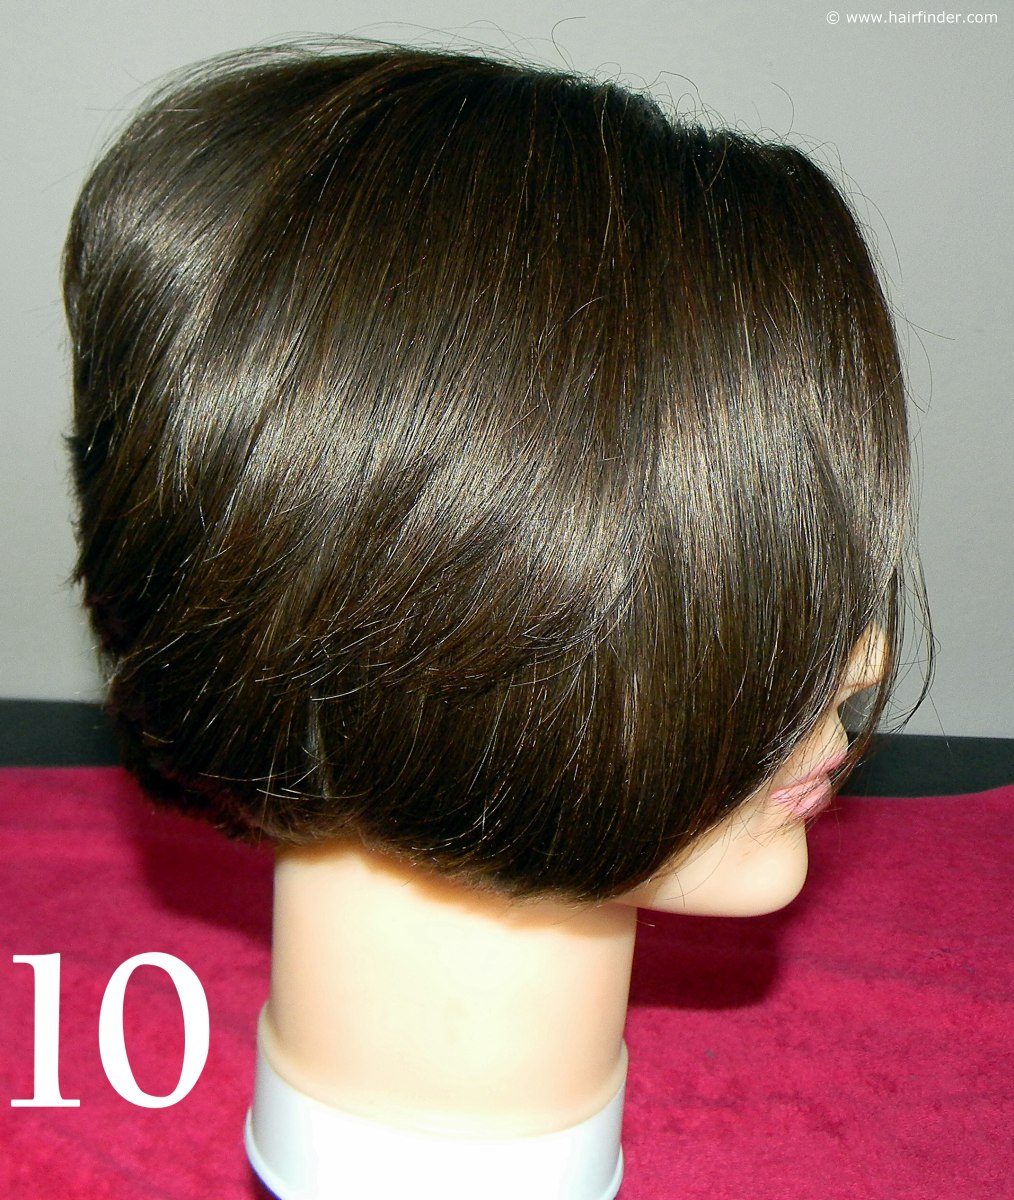
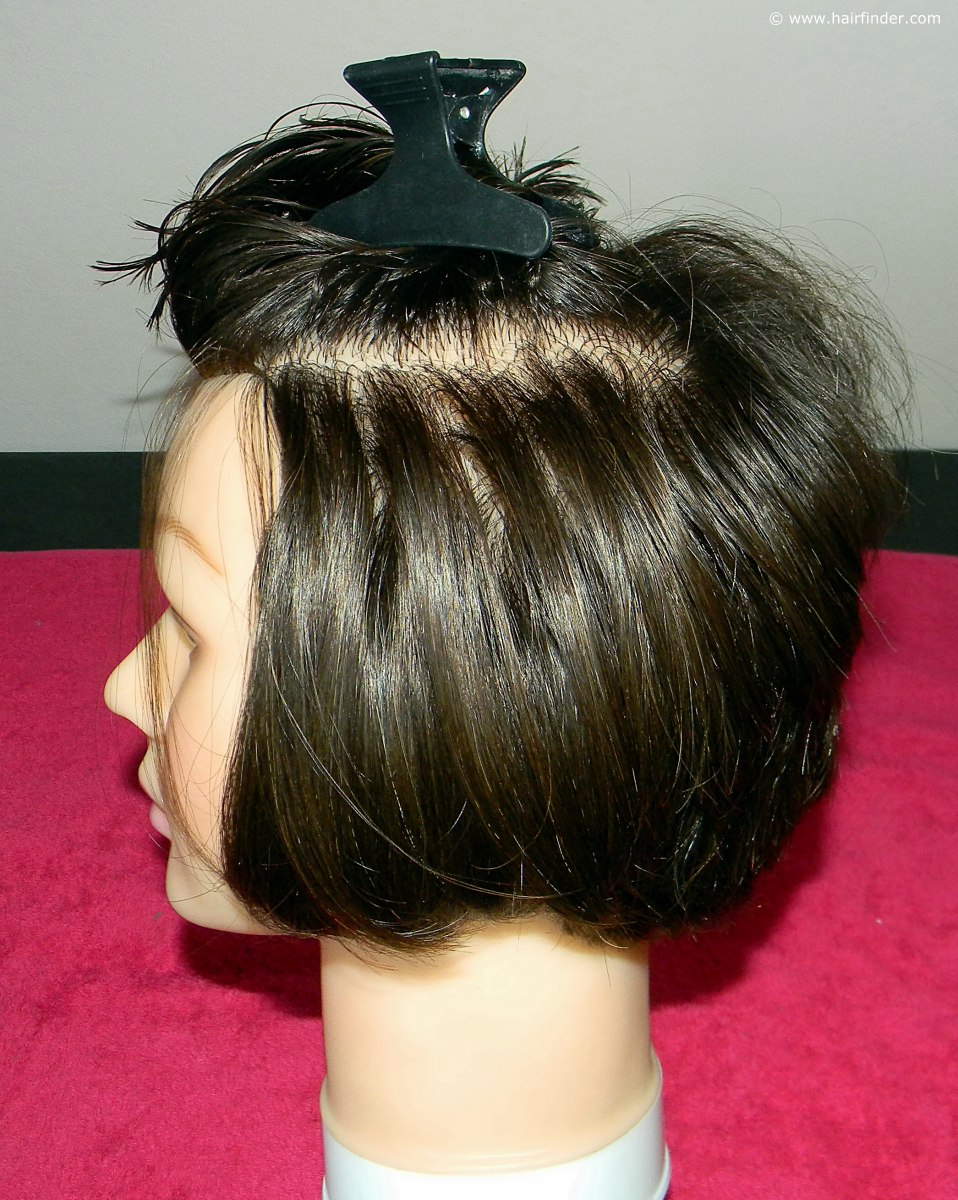
10. When you have finished, the two sides of the model’s head should be proportionally the same. If you see any difference in shape or volume along the curve of the hair, note where the difference is, and remember to correct this once you are straightening the hair with the flat iron.
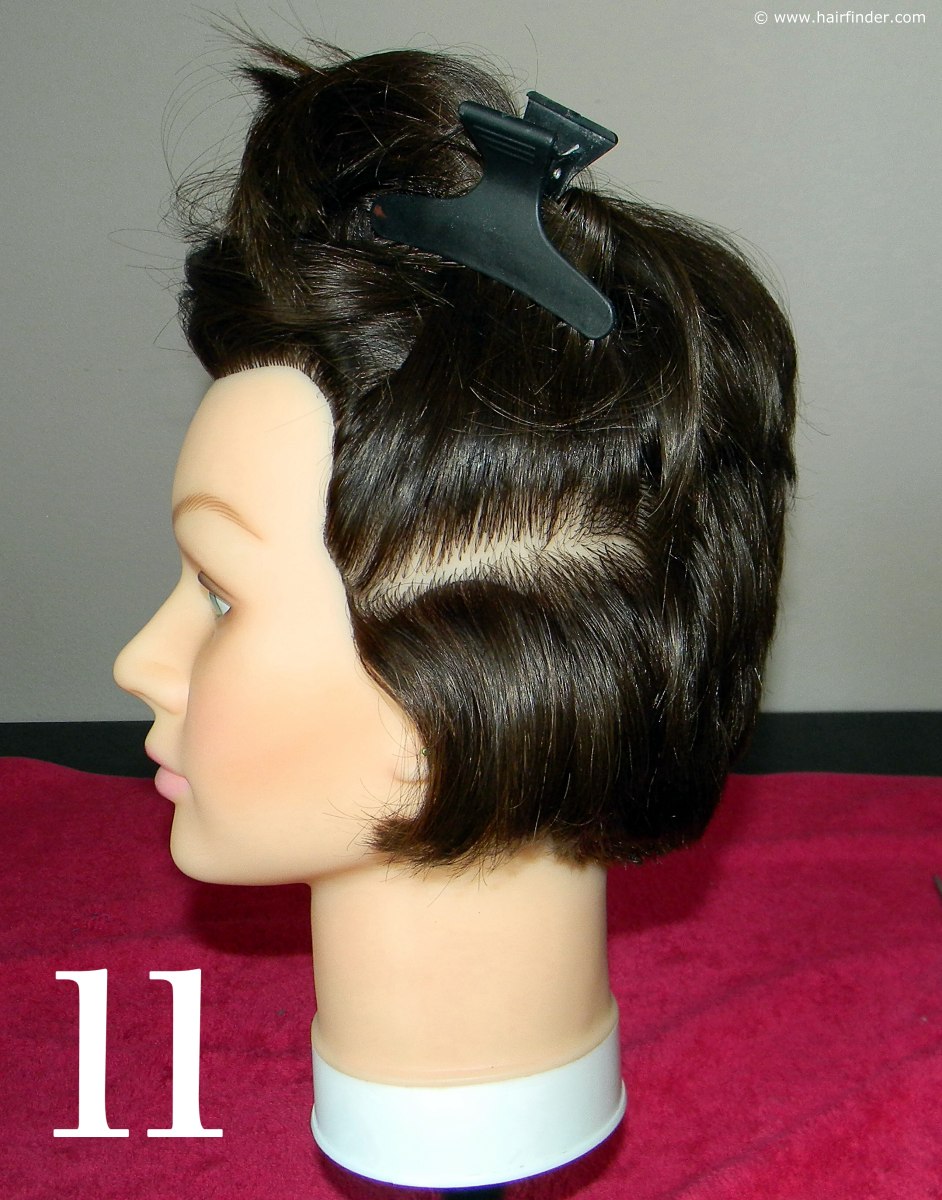
11. Again work in horizontal sections of two inches at a time, clipping the rest of the hair securely with a clip on top of the head. Use your comb and flat iron to get rid of the overly-round shape of the hair. Be careful of the model’s ears while working in such close proximity to it with the flat iron. Most accidents caused by heat-technique appliances are in this region, due to not taking extra care not to burn the client.
Next Page
