The Rope Braid
There are many different ways to braid long hair, and there is a classic braiding look called the Invisible Braid (or the French Braid in the United States) which is very popular. But there is a variant of the Invisible Braid that adds a nice "twist" to the classic look. This classic braid with a twist is called a Rope Braid. Here's how to create the Rope Braid:
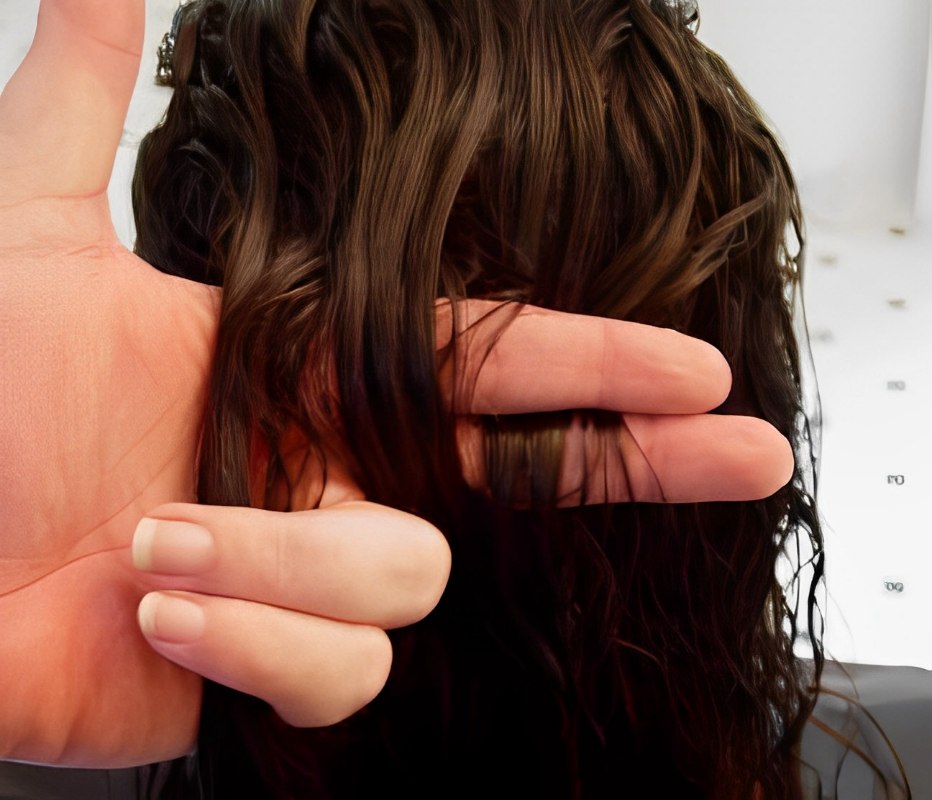
Step One: As always, you want to start with clean hair, either freshly washed, conditioned, and towel-dried, or if you prefer, it can be fully dry. I personally prefer damp hair for braiding. Spray the hair with a detangling spray or leave-in conditioner and comb through the hair until all tangles are removed. Comb the hair back and away from the face.
The model in this demo had curly hair, which makes braiding easier in many ways. You can always add some styling product (mousse, gel, setting lotion, etc.) to add some texture and "grip" to the hair if you have trouble braiding the hair you're working on.

Step Two: Divide the triangular section into three "strands" and hold them in one hand, and separate them with the fingers of the same hand. Begin the braid by crossing the right strand over the center strand, shift the strands to the opposite hand, and then cross the left strand over the "new" center strand. Shift the strands back to the original hand.
Step Three: Now for the "twist": While holding all three strands in the holding hand firmly, "flip" the holding hand to "twist" the braid. Reposition the strands, so that you have them back in the original hand, but with the previous order reversed.
Step Four: Continue the braid by taking a thin slice of hair from the right side of the head and combining it with the right strand, then crossing this over the center strand. Shift the strands to the opposite hand. Now, take a slice from the left side of the head and combine it with the left strand and cross it over the center strand. Return the strands to the starting hand, and "flip" the braid once more. Reposition the strands to the original hand as before.
Step Five: Repeat step four until you have braided your way down the head to the nape of the neck. You can make the braid as tight or as loose as you want by maintaining the tension with which you hold the hair.
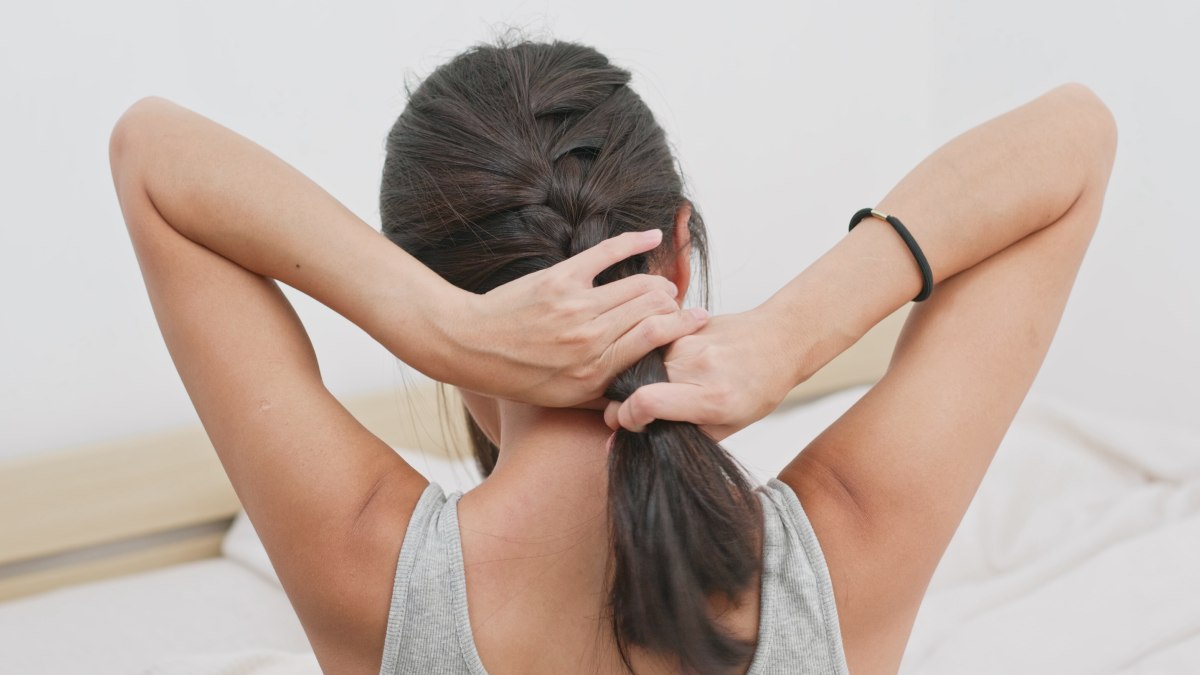
Step Six: Once you've reached the nape of the neck, finish the braid however you want: gather the hair in an elastic band at the neck and leave the remaining hair to flow freely, or continue crossing the strands right-over-center and left-over-center until you reach the ends of the hair.
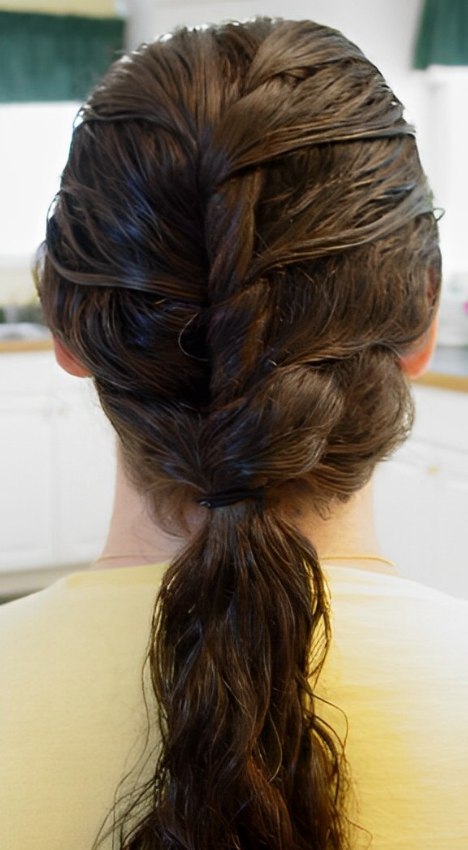
For the demonstration, I stopped the braid at the nape of the neck, gathering the hair into an elastic band. The finished braid can now be decorated with clips, ribbons, bows, flowers, etc. Almost anything could be used to decorate or add additional interest to the braid. There is also the option when stopping at the nape of the neck to use a curling iron to style the tail of the braid into ringlets, or you could use your imagination to come up with a number of fun ways to finish the style.
The rope braid finishes as a tidy look with a prominent ridge feature down the center of the head. The style holds well, and is an excellent way to wear long hair when engaged in all kinds of active endeavors, like sporting events, swimming, and housework.
©Hairfinder.com
See also: More about Braiding Hair
