A Comfortable Up-Style
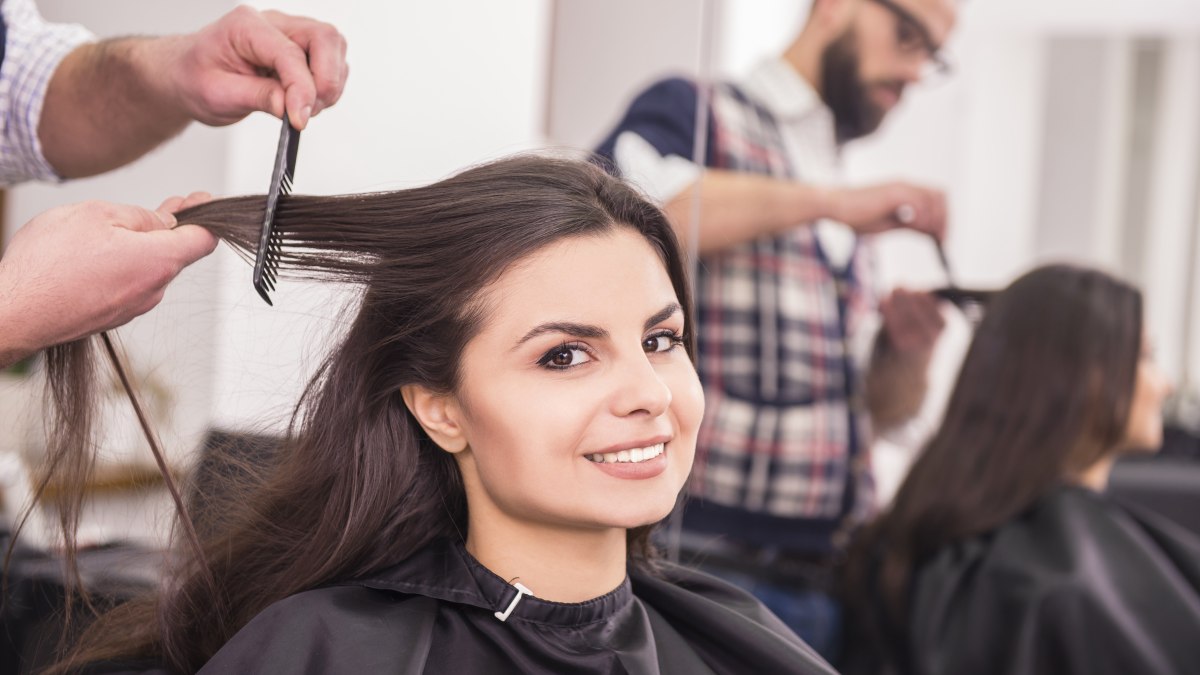
We all know someone who has a tender scalp, or, as my mother always said it, was "tender-headed." It's that client or friend who, no matter how gently you try to work with the comb or brush, flinches and cringes with every stroke.
The person with sensitive scalp hates wearing braids (they hurt because they're too tight), won't sit still for a roller set (again, the rollers and curl clips hurt), and think most up-styles are just an attempt at torture. It's ironic that so many people with sensitive scalps prefer long hair, which requires so much more work to take care of it properly.
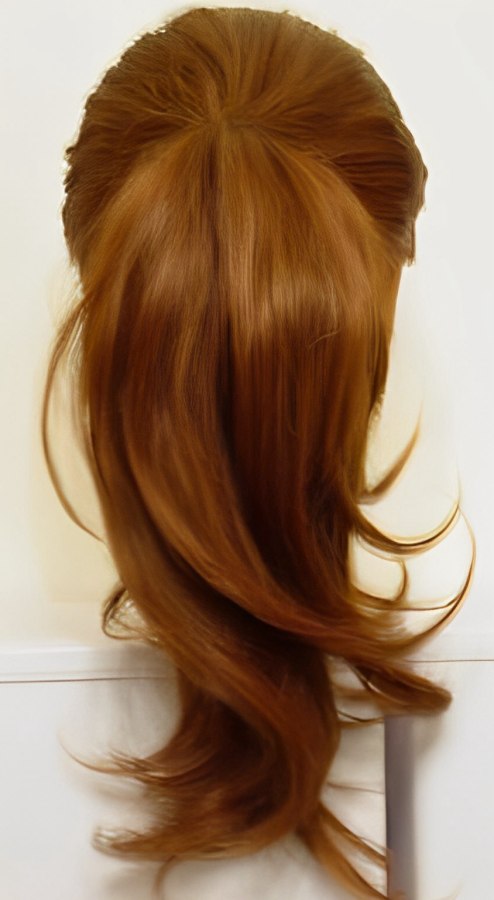
This style works especially well with hair that is past the shoulder in length.
Tools You Will Need:
• Brushes: Wide-toothed, and natural bristle (for finishing and smoothing).
• Tail combs.
• An assortment of large and small bobby pins.
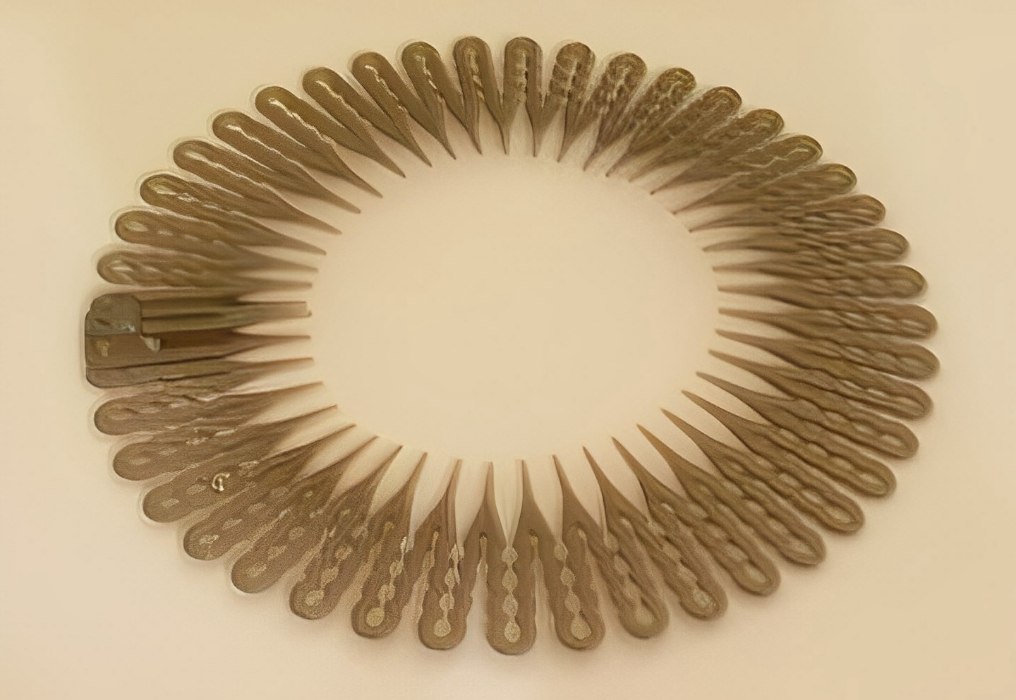
• An expandable hair comb (2nd picture below).
• A snag-safe elastic band.
Creating the Style:
We begin this style with dry, unwashed hair that has been brushed smooth to be free of tangles. Lightly mist the hair with leave-in conditioner or detangling spray and gather the hair up into a ponytail at the upper crown of the head. Be sure to comb the hair smooth and secure it with the snag-proof elastic.
Once the hair is secured, insert the expandable hair comb around the base of the ponytail and clip it closed, sliding the teeth into the hair. The comb should be positioned so that the circle formed is approximately six inches in diameter.
Anchor the comb, using large bobby pins, by inserting them ridged-side down, perpendicular to the direction the hair is combed in. Once the comb is in place, remove the elastic band to let the hair fill the expandable comb.

At this point, we begin separating 1/2-to-1 inch strands of hair from the inner perimeter of the expandable comb using our tail comb, combing them smooth with the comb and our fingers, and shaping them into large, soft coils of hair. These coils are pinned into place to cover the expandable comb using bobby pins, arranging them as desired.
Continue separating and arranging the strands of hair until the upper half of the expandable comb is concealed. Be sure that you always insert your bobby pins with the ridged-side toward the scalp, as this provides more secure traction for the pin and anchoring for the curl.
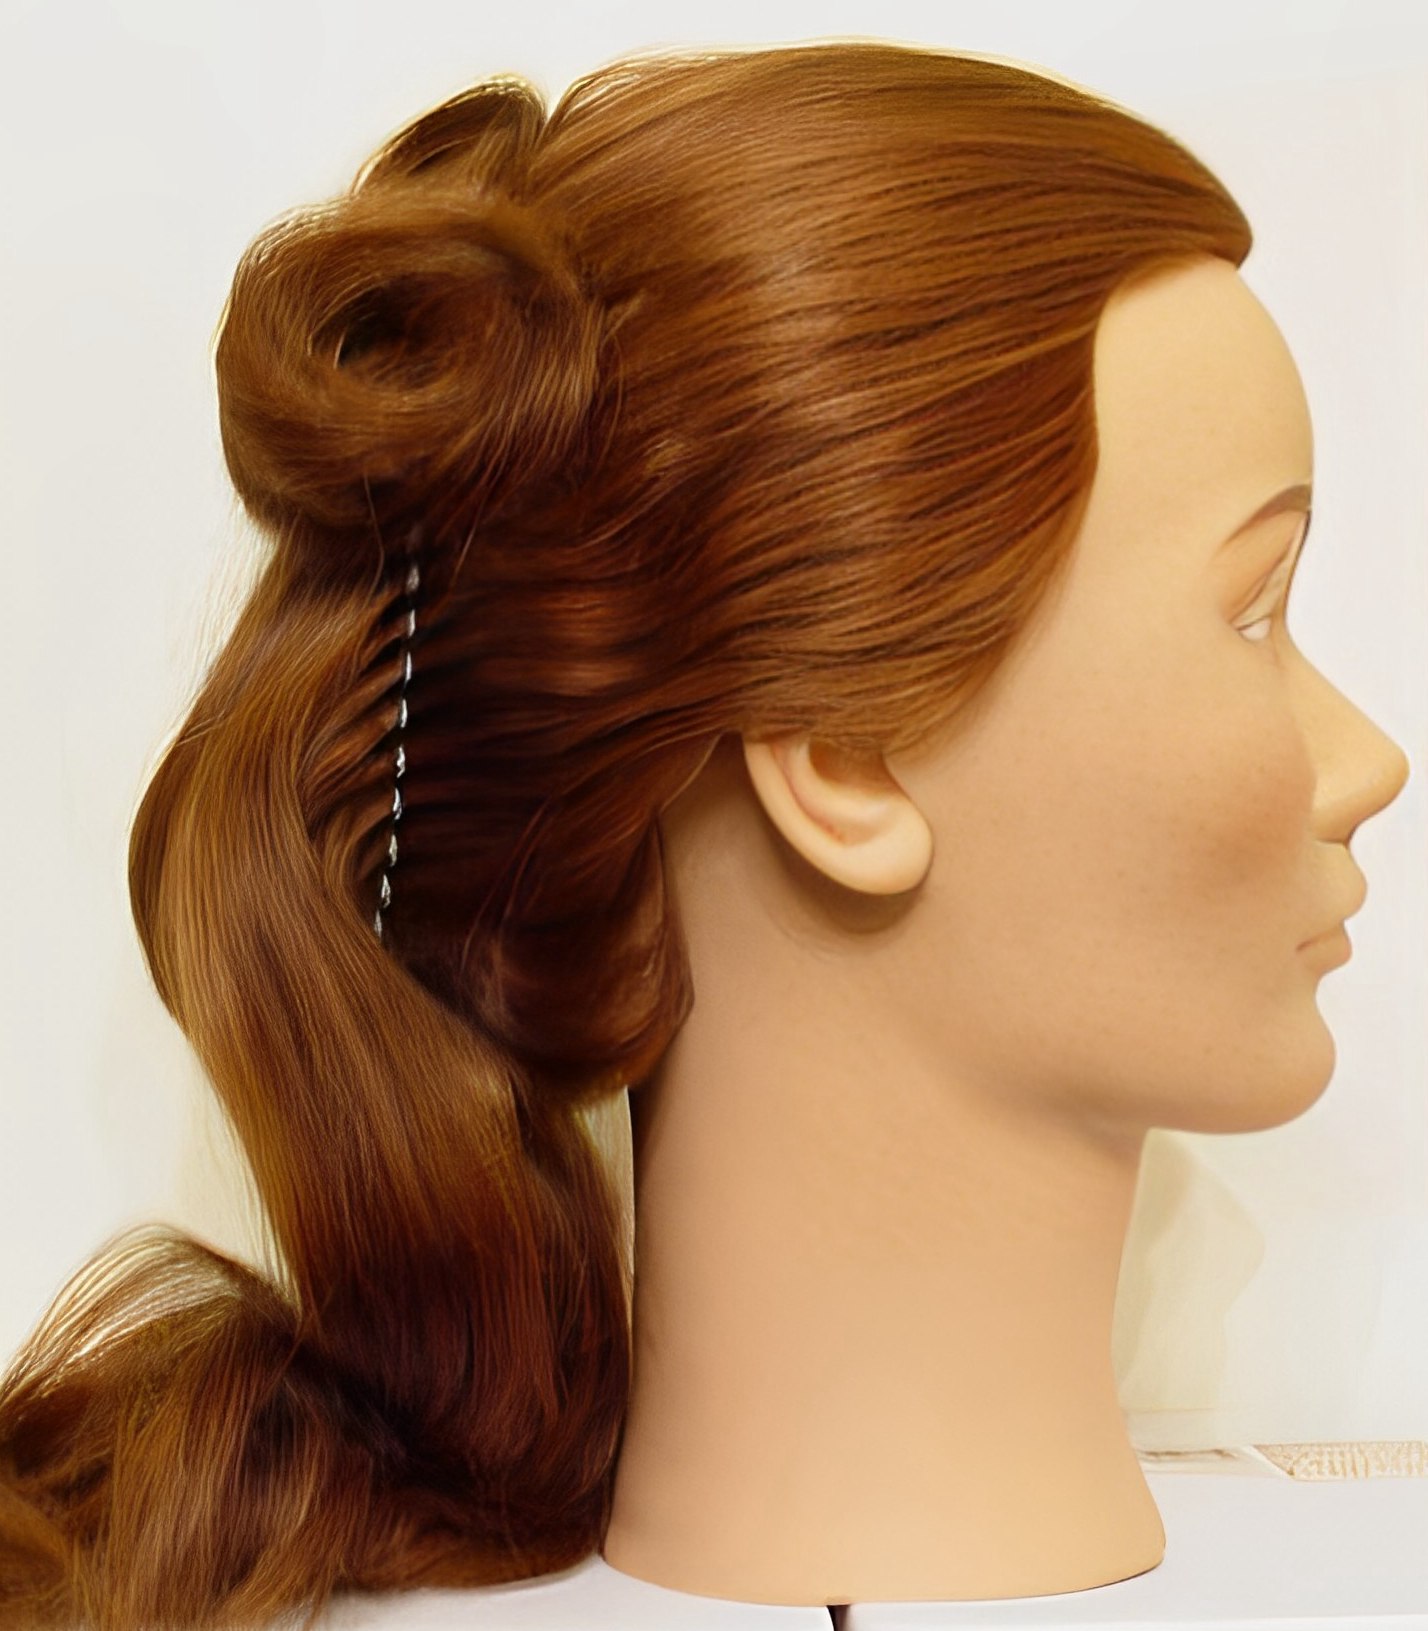
Next, we begin working with the rest of the hair, separating it and arranging it as desired into the previously described nested coils. It isn't necessary to follow any particular pattern of arrangement for these curls. In fact, random arrangements usually look better, because they are more organic in design and appear more natural. If you find that your curls are looking "frizzy" because of fly-away hairs, apply a light misting of hairspray and smooth the curls with your fingers while you are arranging them.
Continue arranging the hair into curls, making sure to cover the lower half of the expandable comb. Be careful not to leave any gaps in the curl placement, but rather make sure that your curls are evenly spaced.
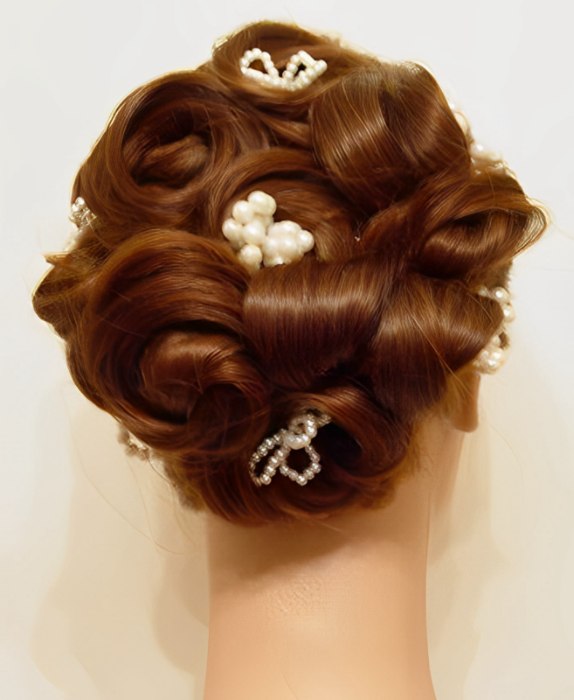
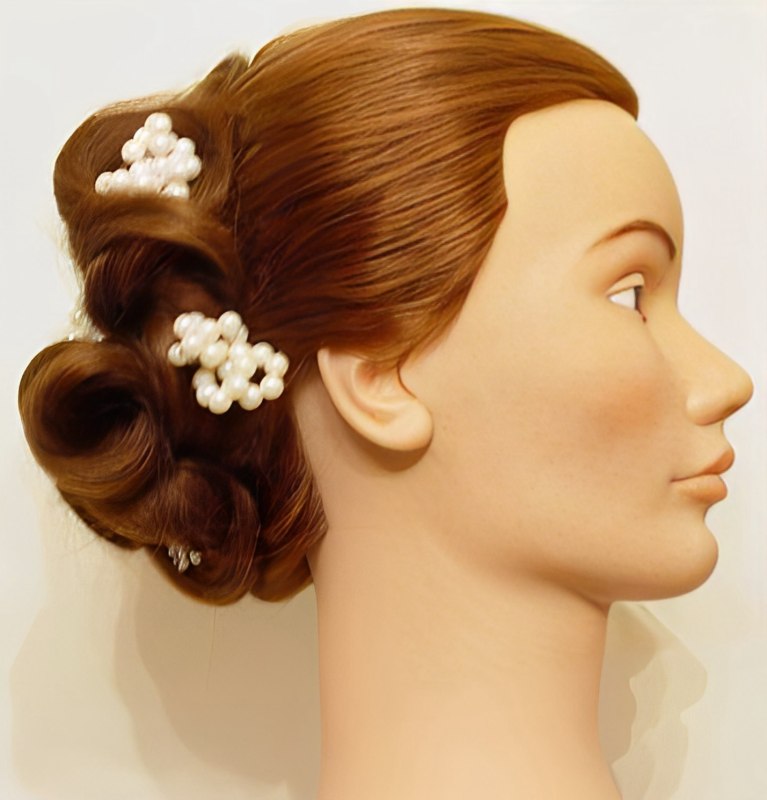
To finish off the style, we lightly sprayed the curls again with hairspray and gently patted them to smooth down any strays and add definition to the curls. We then used small bands of pearls that we twisted to form four-loop accents. These were positioned around and among the nested curls as evenly as possible to add some visual interest and a little festive flair to the style.
The finished effect was a very lovely-looking up-style that would be perfect for wear at holiday parties, or other evening special occasions.
©Hairfinder.com
See also:
More hair styling instructions
More about up styles
Hair styles for prom
