Braided Sections
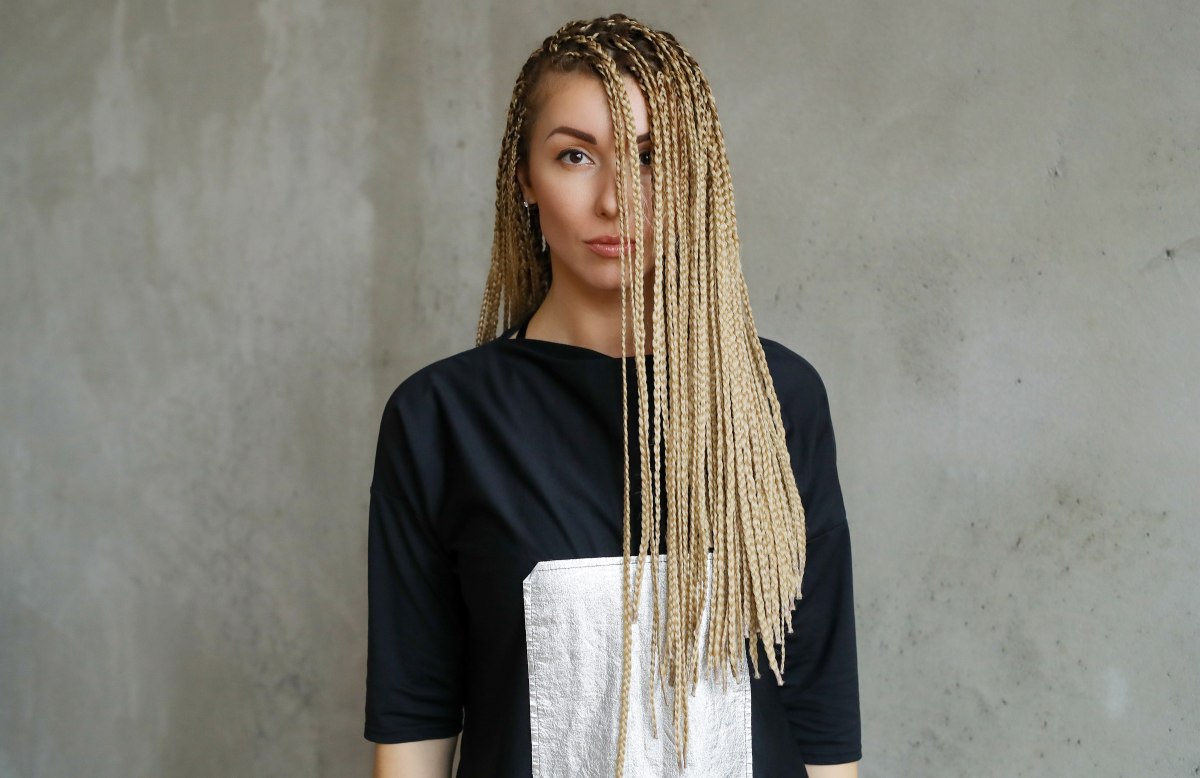
A popular style for summer among women with long hair is braiding, particularly among those women who will be spending large amounts of time at the poolside or on the beach. I've shown you the classic French Braid, and the Rope Braid, and we all know the benefits of pigtail braids in keeping the hair low-maintenance during busy activities, but there are many other braiding techniques that can be performed.
The braid style I demonstrate here, braided sections, is especially good for summer because it allows air to circulate to the scalp and helps to keep the wearer cool. It also allows the wearer to feel the movement of her hair, which some women find comforting.
The same method can be used to condition the hair with a rinse-through conditioner, although a leave-in works best. Wet braids can be dried by blotting with a towel, being careful to gently pat the scalp instead of rubbing.
To begin, dampen the hair with a leave-in conditioner or detangler and comb out any tangles. Part your hair normally, or use a center parting. Be sure to have a clean parting, as this is the line we will be "building" off of, and we want all our partings to be as even and neat as possible. Choose a side to begin sectioning and braiding, and secure the side you are not working with using a hair clip.
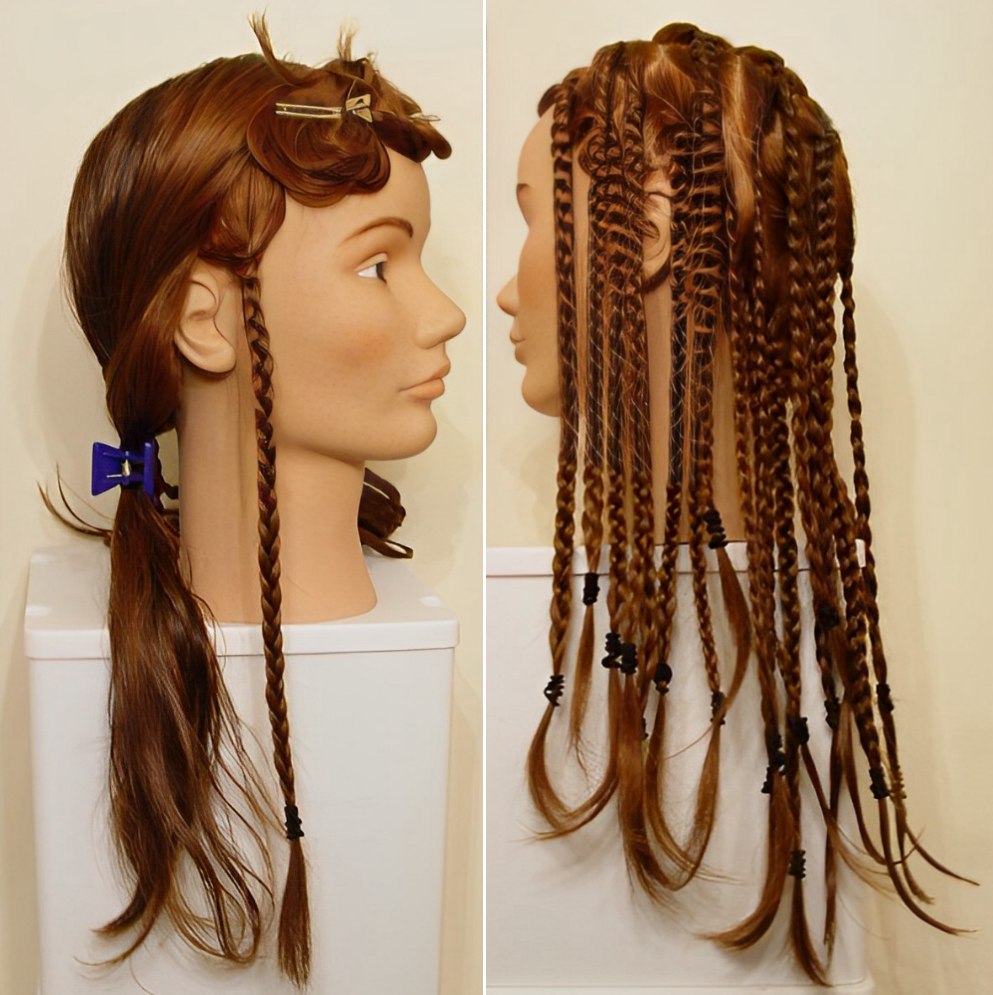
Next, start on the "working" side and part off a long vertical section of hair from the center parting to the top of the ear. Comb the rest of the hair back and clip it out of the way. The vertical section should be approximately 1.5 inches wide. From the bottom of the section, separate a subsection approximately 1.5 inches deep. Clip the remainder of the vertical section out of the way.
Divide your subsection into three separate strands and begin forming a standard braid. Be sure to make the braid tight at the scalp and maintain the tension as you work your way down to the ends of the hair. You can continue the braid as far as you want, but should stop if the hair density begins to taper. Once finished, secure the braid using an elastic band.
Separate another subsection from your vertical section that is the same depth as the first one. Separate the hair and repeat the braiding steps as listed above. Continue until the vertical section has been completely divided and braided.
Depending on the size of the head and hair-covered area, you may only have room for three braids in the first vertical section. In this event, divide the vertical section into three even subsections.
Now, we will use the first braided section as a template. Separate a second vertical section behind the first making it the same width as the initial section. Comb the remaining hair back and re-secure it. Following the initial set of subsections, and beginning at the bottom of the section, divide this section into subsections and braid them as you did in the previous section.
Continue in this fashion until you have completely sectioned, subdivided, and braided one side of the head, then start on the remaining side of the head.
Note: Because of the taper of the hairline at the nape of the neck, you may want to use only one braid at the bottom of the last two vertical sections, and the sections at the nape of the neck may need to be triangular instead of square.
This type of braiding can be done using any shape of subsection you desire. As you get more practiced, you can use triangles, diamond shapes, or even curved lines in your sections and subsections. The only limits are your creativity and patience.
©Hairfinder.com
See also: More about braiding
