Short Round Graduation
Step by step guide on how to cut a short round graduation, from Stacey Broughton, myhairdressers.com
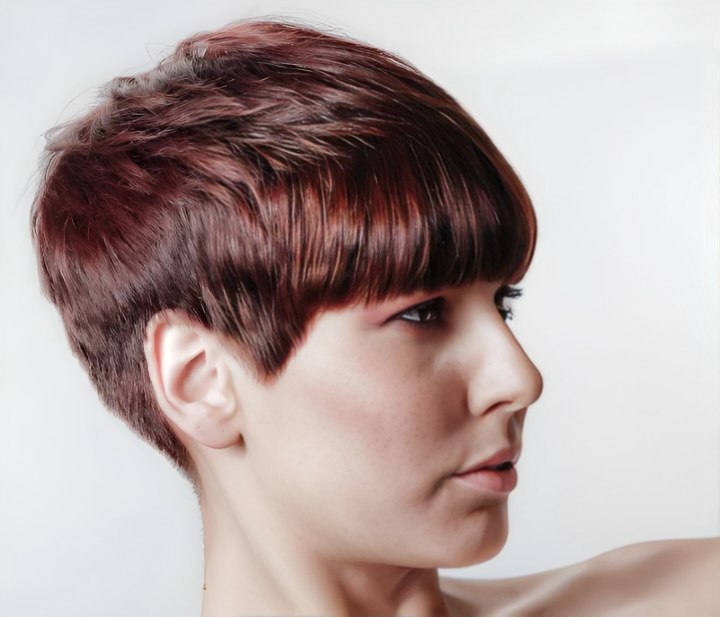
An excellent grounding technique from Stacey Broughton, full of discipline and control and producing clever soft curves worthy of any salon floor. The result is a pixie haircut with a sleek, round graduation with a square take in the front, creating a heavy, exotic, seductive frame with even axial swing through the top.
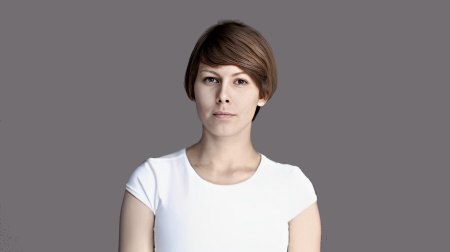
Before: Mary before the cut.
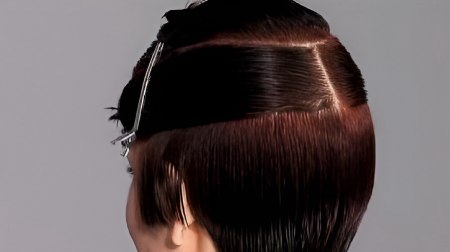
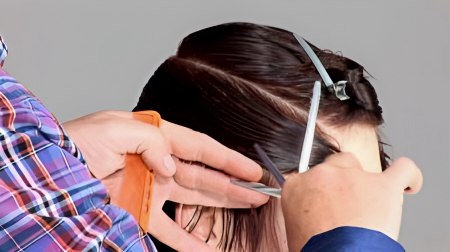
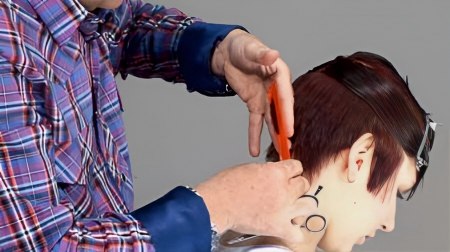
Step 1: Begin with a vertical section from crown to nape. Then take a horizontal section above both the curvature of the head and the occipital bone. This section will be your guide.
Please note that although the section is taken above the curve of the head, the section will lie on the curve once cut.
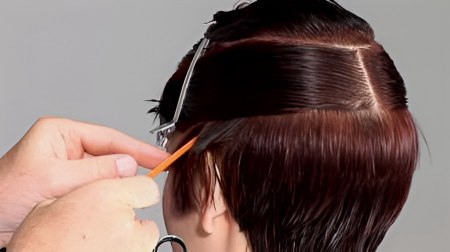
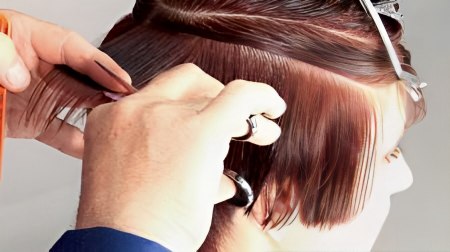
Step 2: Starting in the centre back, elevate the section and over-direct downwards and cut a square line parallel to the head shape.
Step 3: Using the previous section as a guide, work this line through to the front hairline.
Step 4: Repeat this process on the second side. This forms the internal guide from back to front.

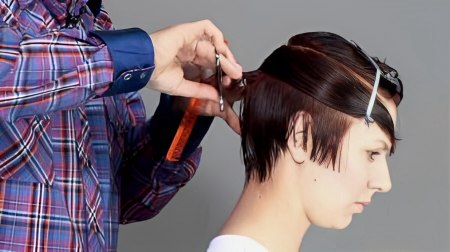
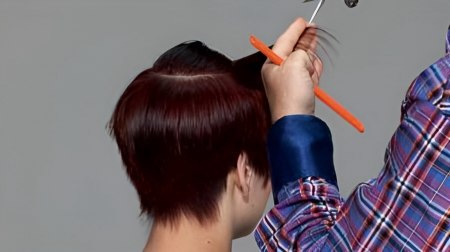
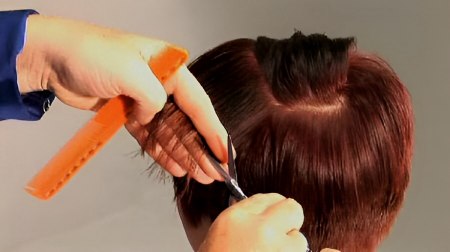
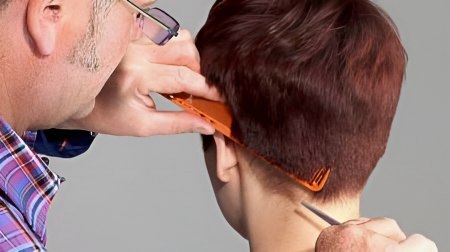
Step 5: Return to the centre-back. Using your top section as a guide, work a graduated shape from long to short into the nape area. Work initially with a vertical section.
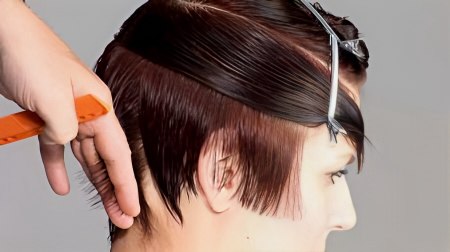
Step 6: As you continue forward, slightly pivot the sections towards the ear. Please note that Stacey leaves out his perimeter in front of the ear.
Step 7: Repeat this process on the second side.
Step 8: Return to the first side, then refine and cross-check around the ear on both sides.
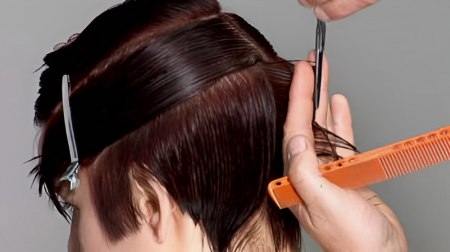
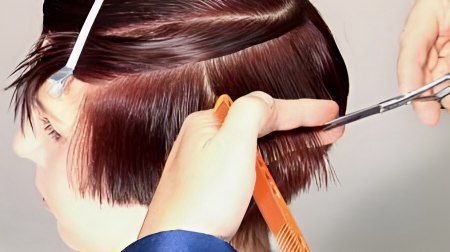
Step 9: Next, work the band above up to the horseshoe section. Using your previous section as a guide, take parallel sections and elevate and over-direct down onto the previous section in order to build the graduation without a weight line. This creates an even and consistent graduation.
Please note that graduation can be used in different ways, depending on bone structure and shape choice. With this cut Stacey has chosen a very sleek shape throughout, building weight towards the front hairline in order to support his heavy fringe.
Step 10: Repeat this process on the second side.
Step 11: Next, work with diagonal sections from the back of the ear towards the front hairline, including the perimeter. This process also enables you to cross-check your work.
Step 12: Repeat this process on the second side.
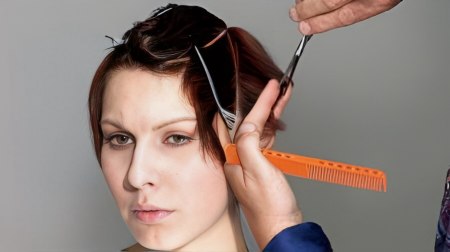
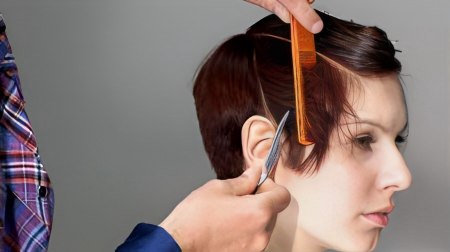
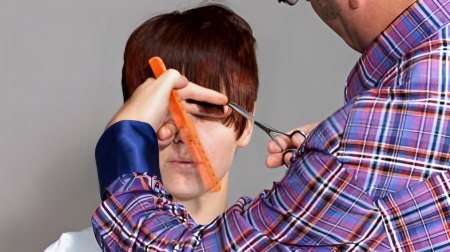
Step 13: Now work with the top area. Take a diagonal section that runs from the horseshoe down over the front of the face to the opposite temple. Cut a thin band that runs along this section.
Step 14: Run the graduation from shorter to longer, from the side into the fringe area. Leave out the temple which you will cut at a later stage as this is a notorious weak area.
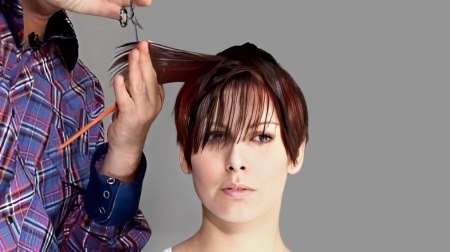
Step 15: Elevate the section and pull your fingers around, keeping the weight towards the font of the face. Extend the graduation from short to long towards the centre of the head. You can see Stacey runs his graduation from shorter to longer from the side into the fringe area.
Continue these sections using your previous sections as a guide, over-directing and elevating as you work to create a seamless build of weight.
Step 16: Repeat this process on the second side. Please note that the process of over-direction on both sides will create a corner through the top area.
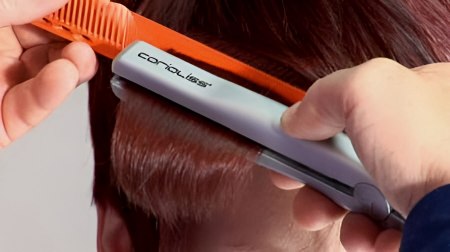
Step 17: Dry and finish the fringe area using Coriollis mini irons.
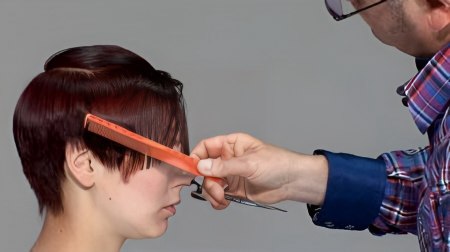
Step 18: Now work on the fringe. Cut a heavy, curved line running from the centre to the top of the cheekbone. Employ a pointing technique combining cutting in the fingers and on the surface of the skin. This creates the required bevel effect.
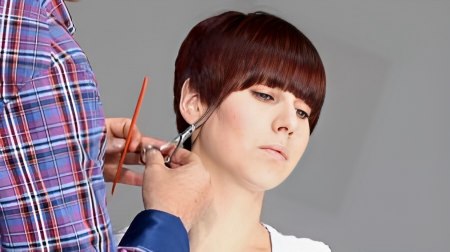
Step 19: Next, refine the perimeter to connect the side areas with the fringe.
Step 20: Refine the shape in the back and the outline, using scissor-over-comb and free-hand techniques.
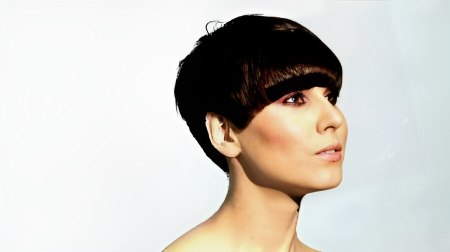
Finish: The result is a sleek, round graduation with a square take in the front, creating a heavy, exotic, seductive frame with even axial swing through the top of the pixie cut.
Text and photos by MHD. Subscribe to view the training video!
See also:
How to cut a short haircut with graduated layering
How to cut a short graduated crop with sweeping fringe
How to cut a very short Audrey hepburn inspired hairstyle
