Racoon/Errol Shoot Step By Step: Redhead
Step 1: Cutting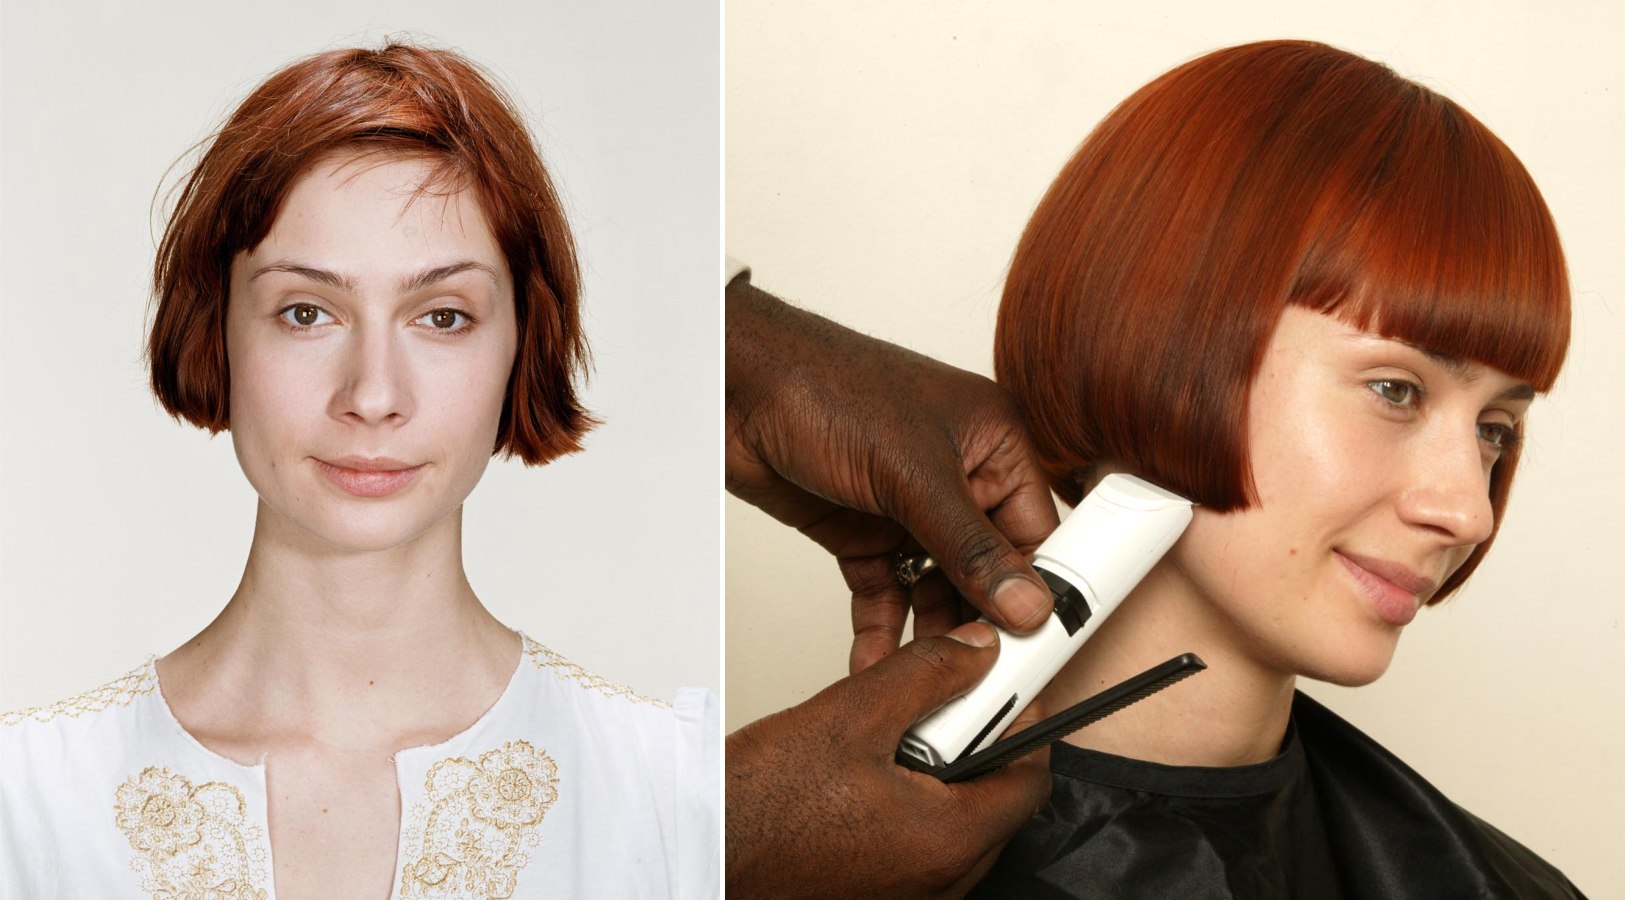
Cut the hair into a classic, slightly graduated, box bob. The geometric angles of the blunt fringe and 45 degree angular points at the front should be finished off with clippers in order to achieve a blunt finish with a soft edge.
Step 2: Sectioning the Hair
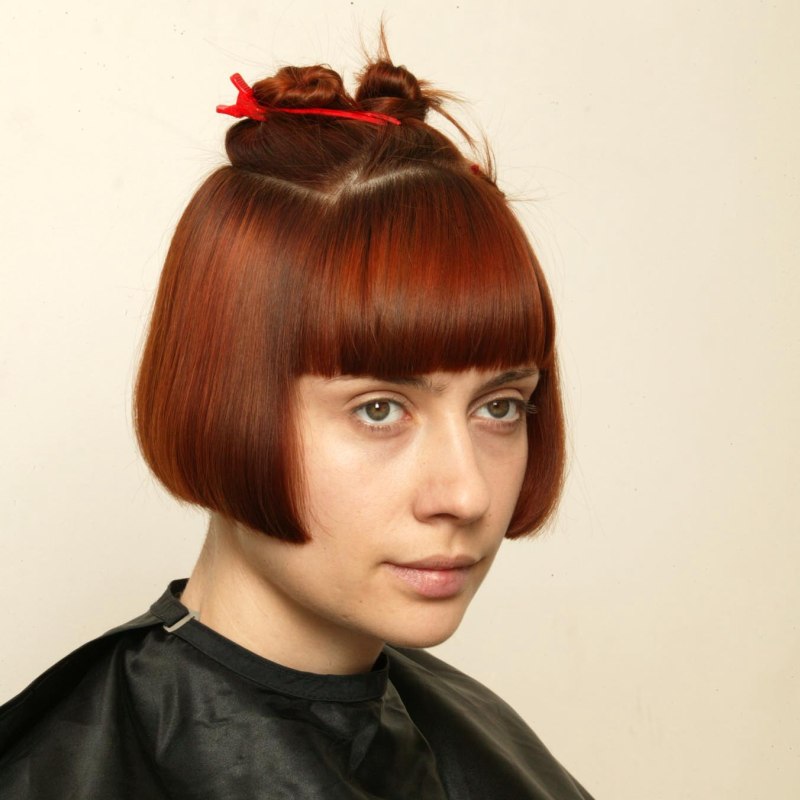
Section off the top layer of hair, from the temple to the crown, in preparation for the placement patterns. When sectioning off the placement patterns, always work with the model's hair growth pattern.
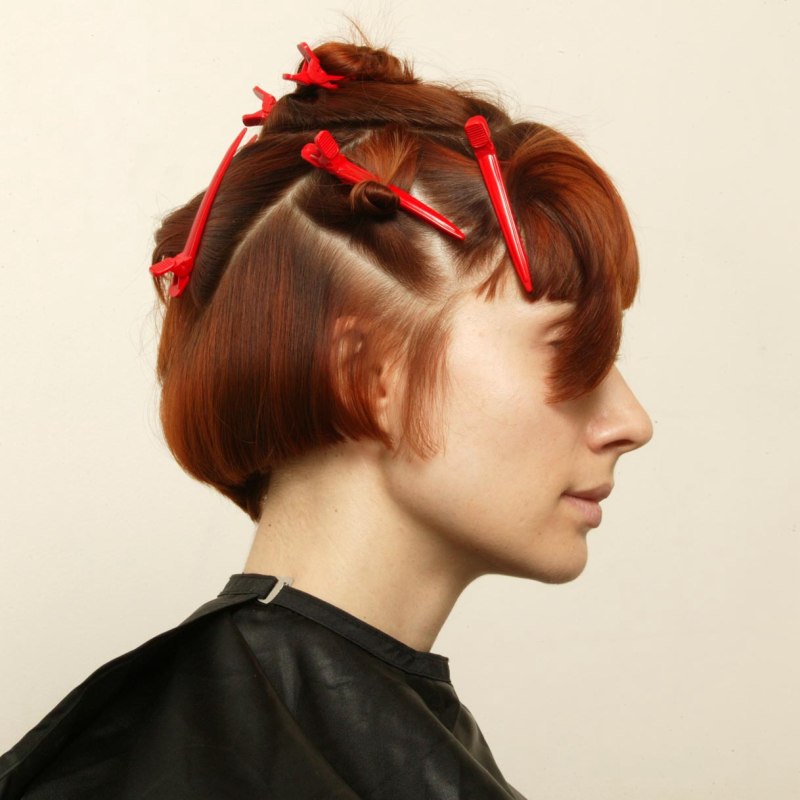
Create a small triangular section on the right side of the head. The base of the triangle should be at the top of the head and the point towards the ear as the placement is not to create length but to achieve a sharper point in the final cut.
Step 4: Large triangular section
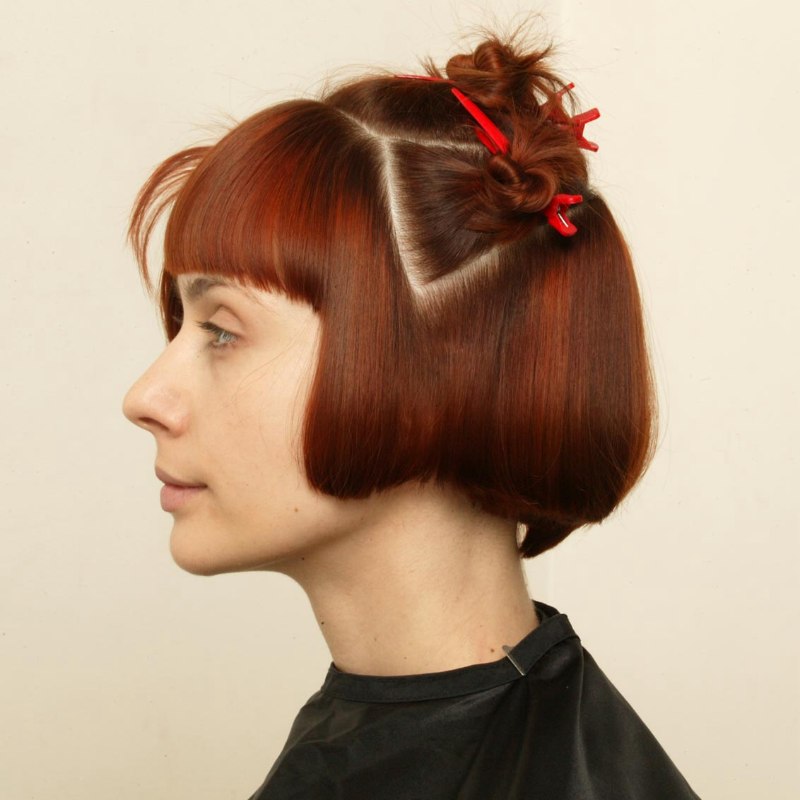
Create a large triangular section on the left side of the head, in a reversed angle to the right side. The base of the triangle should be at the front of the head and the point towards the crown, in order to create more weight and hair at the front. Having a larger section on one side will create a strong asymmetric angle to the finished style.
Step 5: Forming a bond
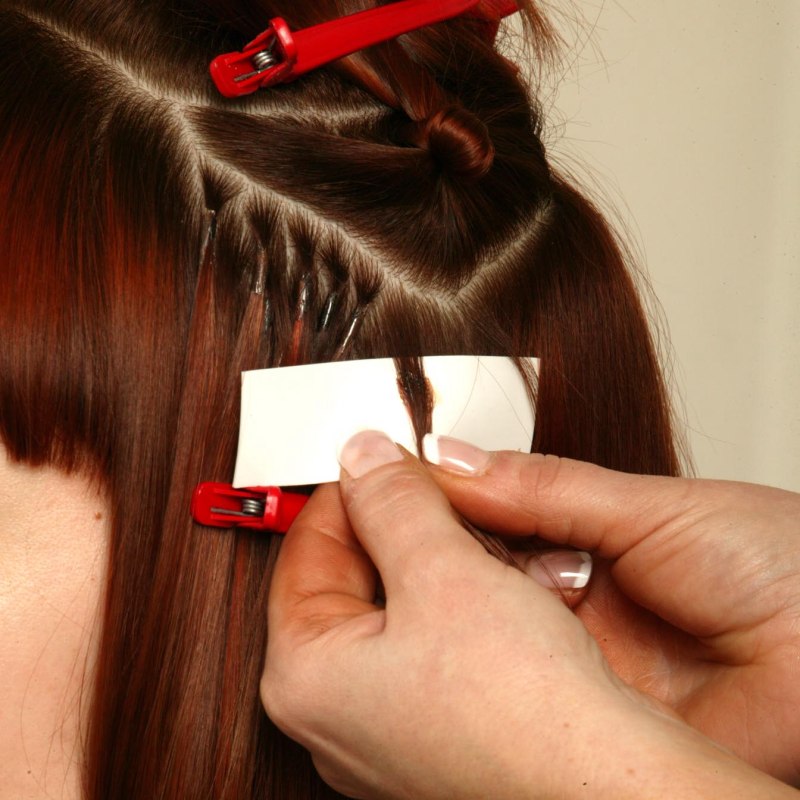
Bleed the bonding through the hair by pushing up from beneath, bringing the hands together. Pinch top and bottom and roll between the fingers to form a solid bead using both hands. Repeat until a solid row of extensions are created.
Step 6: Finished Sectioning

Starting at the bottom of the triangular section, work the hair extensions diagonally across from the temple to the crown, which will ensure the hair falls forward on an angle. Ensure the rows are solid throughout the section, with the top 3 rows scattered.
Step 7a: Cutting
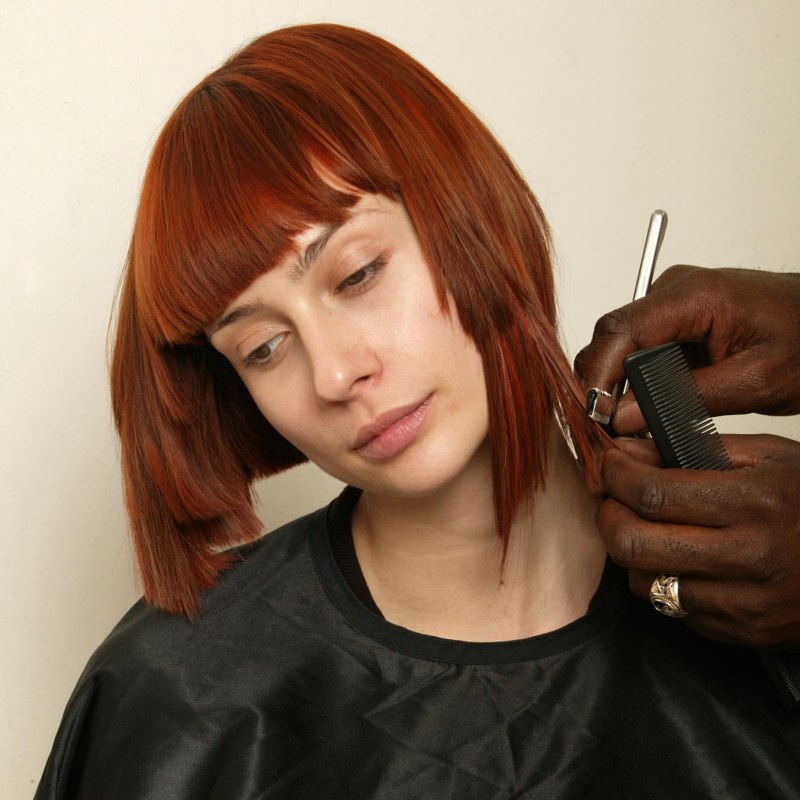
Use a razor to remove the bulk of the length and weight. Then razor the ends of the hair to create two perfect asymmetrical points.
Step 7b: Cutting continued

Use a point cutting technique to blend the extensions with the natural hair and to also soften the edges and lighten the angles.
Step 8: Finishing
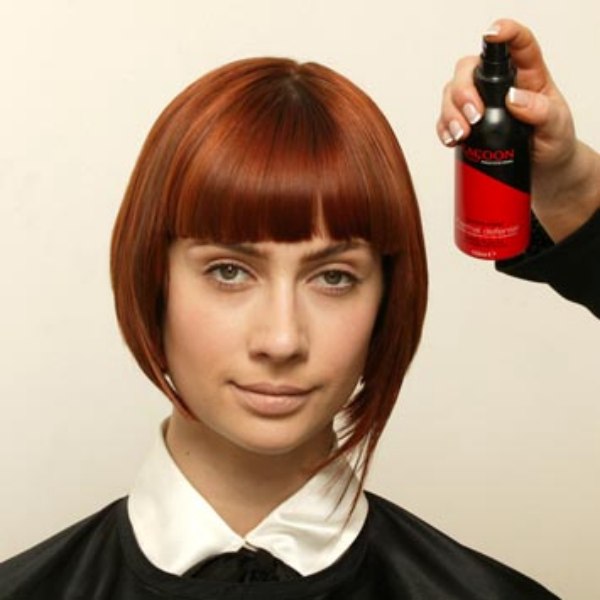
Spritz the hair with a fine mist of Racoon-Xtend Thermal Defense, to protect the hair from heat styling and then enhance the shape and definition of the style using styling irons.
Finished style
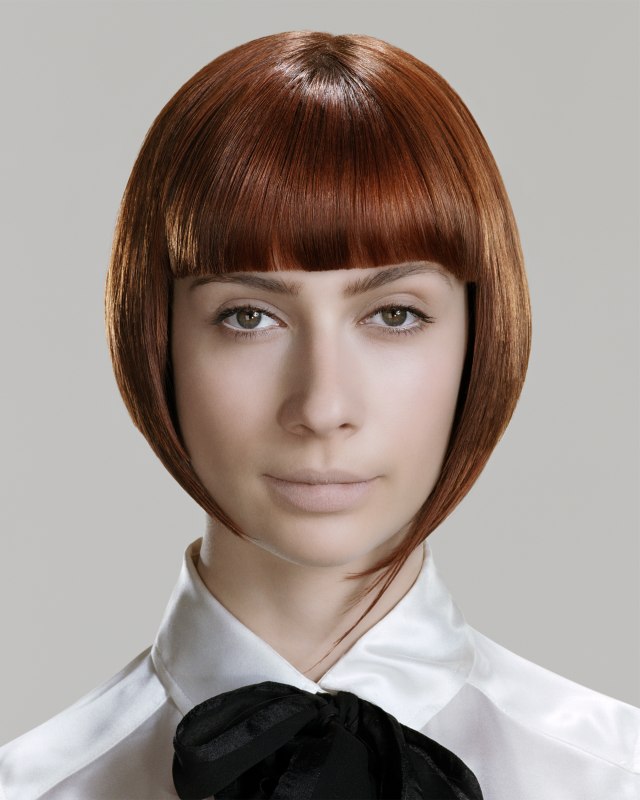
Hair: Errol Douglas for Racoon International
Extensions: Racoon Artistic Team
Photography: Alex Cecchini
Styling: Robert Morrison
Make-Up: Irene Rogers
See also: Short hairstyles
